Miside Custom Models Loader v3.1.3
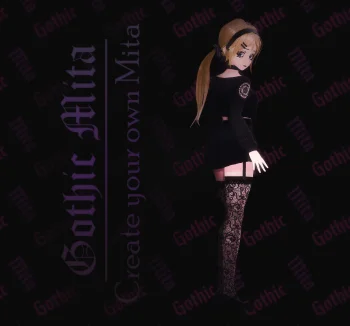
Allows custom models that replace crazy mita/cappie/kinda mita to be created/loaded.
INSTALLATION
Step 1: Download and install bepinex
You'll need this version here: https://github.com/BepInEx/BepInEx/releases/download/v6.0.0-pre.2/BepInEx-Unity.IL2CPP-win-x64-6.0.0-pre.2.zip
Extract the files into the game folder.MisideYour game folder should look something like this now.
|
|-BepInEx
|- plugins
|- config
|- etc...
|-dotnet
|-MiSideFull_Data
|-GameAssembly.dll
|-MiSideFull.exe
|-winhttp.dll
|-etc...
Step 2: Install mod
Download steam version of the mod, extract the files and put them in the BepInEx -> plugins folder inside the game directory
INSTALLING CUSTOM MODELS AND USAGE
Put any mods you download in the BepInEx -> plugins -> models folder. Create it if it doesn't exist
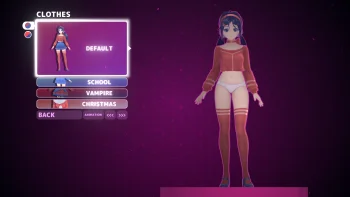
You can then press F1 or F2 to go to next model or previous
Keybinds config for F1/F2, can be changed in file Bepinex\config\MS_CustomModels.cfg
CREATING CUSTOM MODELS
Step 1:
Download Unity 2021.3.35 (https://unity.com/releases/editor/archive)
Download blender (https://www.blender.org/download/)
Download git (https://gitforwindows.org/)
Download the original fbx from files and extract it somewhere.
Step 2:
Open blender and go import fbx, look for "Mita.fbx" in the zip file you downloaded
earlier. Uncheck animation, and change scale to 100
Move model back to 0 0 0
Now make whatever changes you want, you can sculpt, remove mesh, retexture
whatever the hell you want but you must preserve the armature.you can
add meshes.bones (for extra jiggles, not explained here) but you cant go
removing or renaming bones or else you'll break animations.
If you want face shapekeys to work, rename your face/head shapekeys to the one found in mita's original head
and preserve the head object with the name "Head" when exporting
next export fbx and scale it down to 0.01 if u scaled it up when importing
Step 3:
Next create a unity project using Unity 2021.3.35. Next drag and drop the exported fbx into unity assets
window, select the fbx and on the right VERY IMPORTANT MAKE SURE TO
UNCHECK "Convert Units" and click apply
The textures may not be correct when you reimport the model (especially when using the
whole/parts of the original model from the game. It is
advised to unpack the materials from the materials window seen in the previous step
and set them up again so that they look exactly like u want.
Drag model into scene, you'll see that there are two extra gameobjects to
which the rig is parented to for whatever reason when we import (dont
know how to make sure it doesnt happen), this doesn't break anything but
make sure to set the position and rotation of the two parents to 0,0,0
position and rotation
This is completely optional but if u only want to swap just the body and not the head you can right click the object and click "create empty",
you can then name it "KEEP_x" where x is the object you want to keep from the original model, For example to just keep the head you can add 5 empties called
KEEP_Head
KEEP_Attribute
KEEP_FaceLayer
KEEP_Hair
KEEP_Hairs
You can also add an empty object called "REPLACE_SHADERS" which'll swap the materials on your model to one found in game (with the main texture from your original material)
Now drag the root of your model in the scene hierarchy into the assets window and it'll ask if you want to
create an original prefab or variant prefab. Select original
Step 4:
Next install https://github.com/Unity-Technologies/AssetBundles-Browser to your unity project and go window -> assetbundle browser, drag the prefab from the assets window into the big area
go to build window, change output path to your bepinex plugins\models folder and click build
You're done! now when you launch your game you should see your custom model when u press F1 or F2
if want to share your mod, you'll see these other files in your
plugins\models folder you don't need the .manifest files as they do
nothing, just take the one with the same name as your model.
Hopefully its somewhat clear, I'm not the best at blender and stuff but I'll try my best to answer questions if I can
Step 5 (Optional physics and only if u really need it):
Dynamic bones is partially supported for any bone you want. Unfortunately the game is il2cpp which means injected components like dynamic bones wont load properly from assetbundles. To work around this, a json txt file can be added to your assetbundle defining the setup you want. DynamicBoneColliders are not supported currently. An example of the file looks like this[This adds chest physics, simply drag the ".txt" into the same bundle as your model prefab.
{
"root":"Chest",
"exclusions":[
"Left shoulder",
"Neck2",
"Right shoulder",
"Sweater",
"Sweater b 3",
"Sweater b 3 L",
"Sweater b 3 R",
"Sweater side 3 L",
"Sweater side 3 R"
],
"damping":0.2,
"elasticity":0.1,
"stiffness":0.1,
"inert":0.85
}
]
