CHR Luminoso Reshade

INTRODUCTION
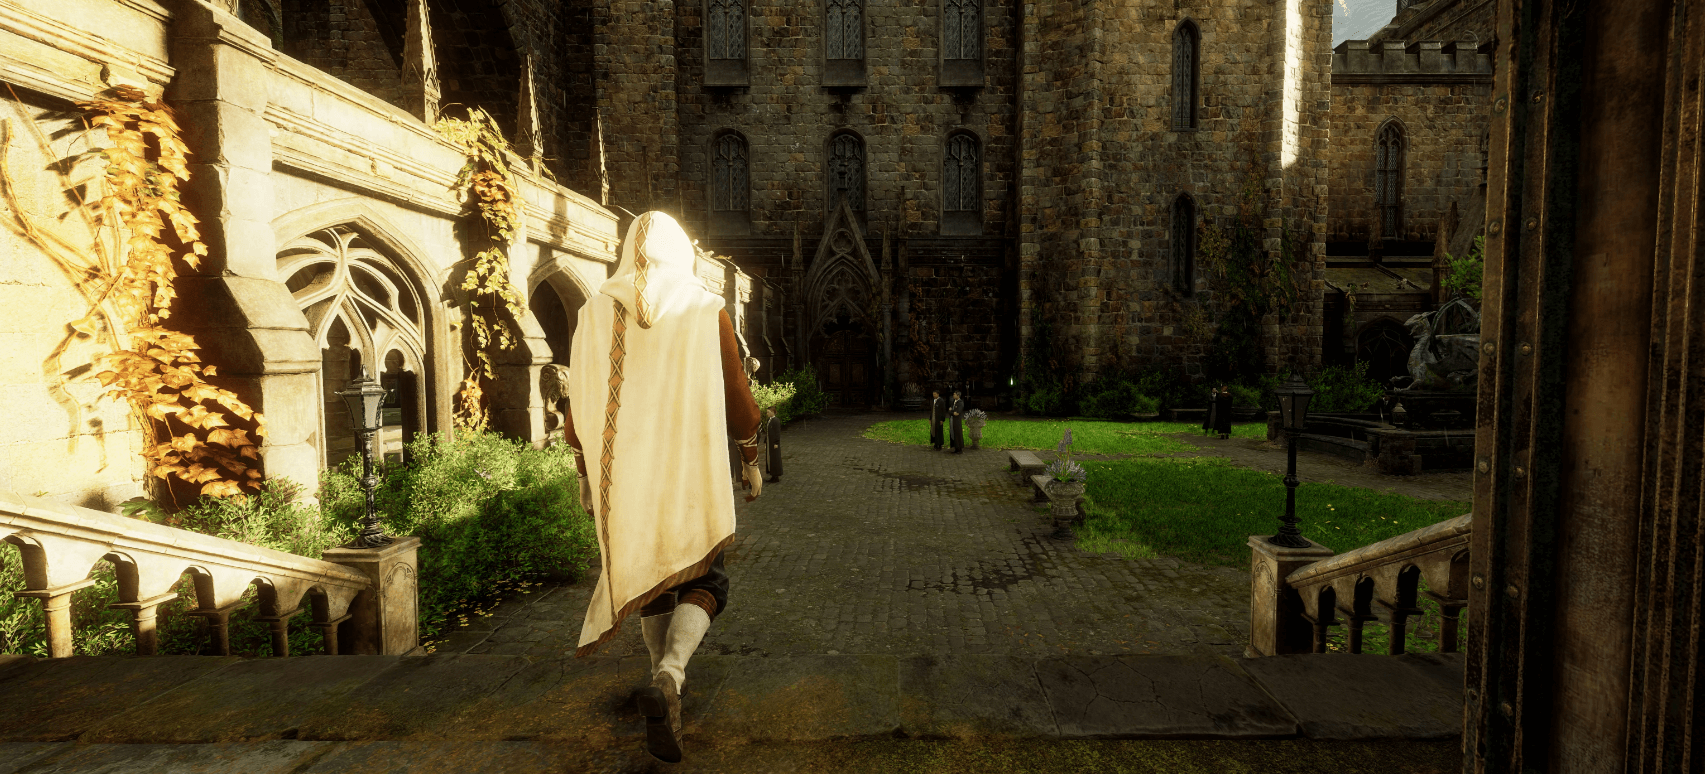
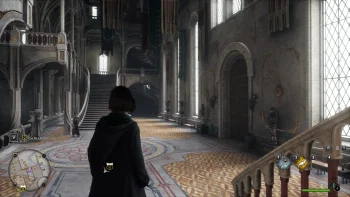
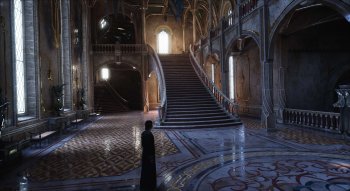
Welcome to my second reshade preset for Hogwarts Legacy, which aims to replace the in-game ray tracing with more performance-friendly global illumination. After tuning for many hours, finally you can too enjoy ray traced like lighting without the huge performance loss. Please keep in mind that this preset was created with in-game fog turned off in the Engine.ini file.
ABOUT SHADERS
Version 2.0
Fixed the missing folders, so you don't have to manually place solaris into shaders folder.
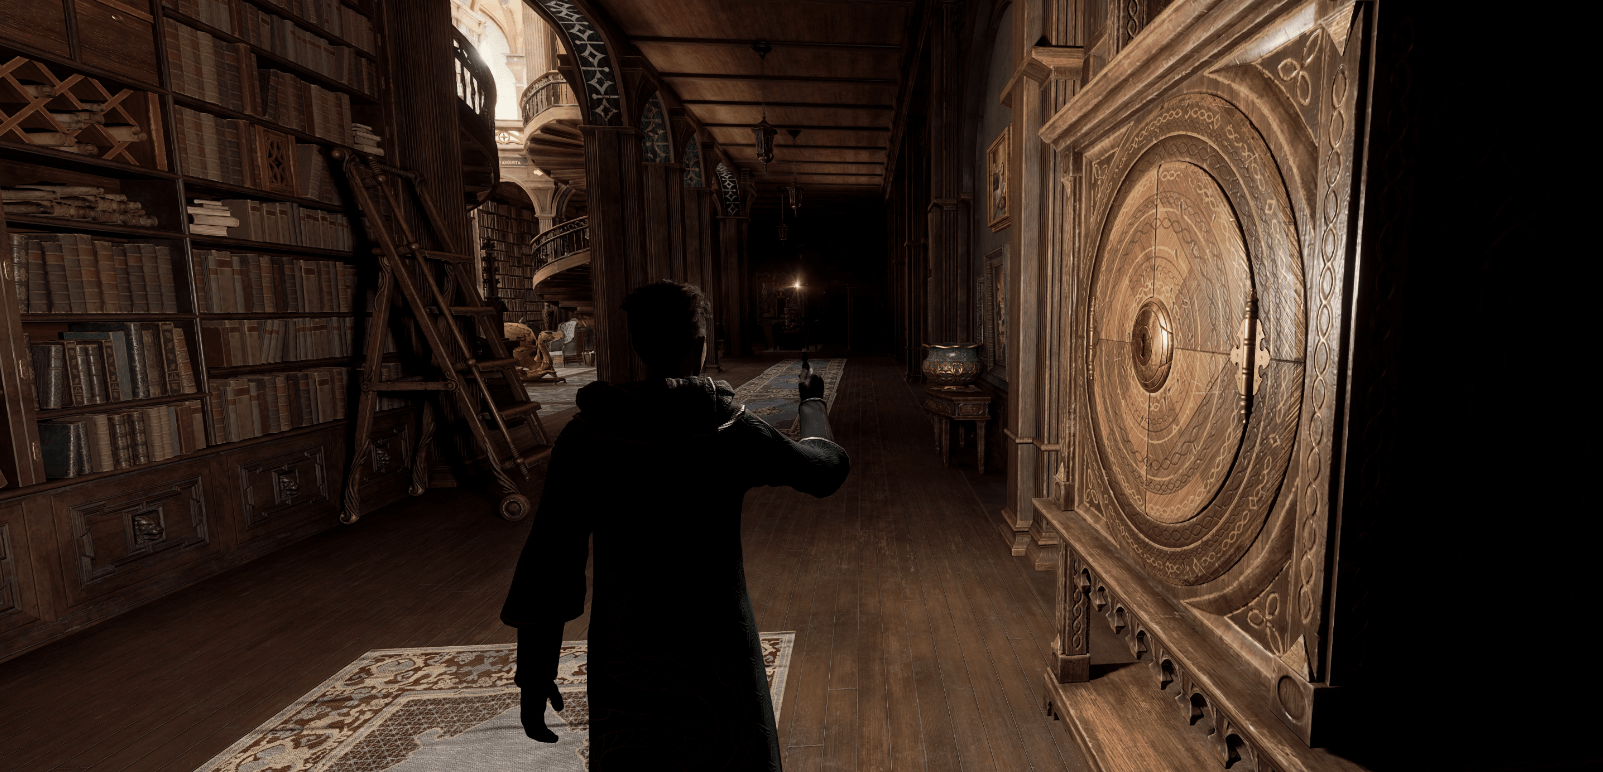
Reworked global illumination now with more precise depth based effect and more adjustments. I started to use 6880x2880 ultrawide resolution with DLSS quality. Frame Gen and RTX are turned OFF for two reasons: 1 - they seems to be buggy with depth based shaders, 2 - in-game ray tracing is implemented in poor quality. Other graphics settings remained the same as before.
Version 1.0
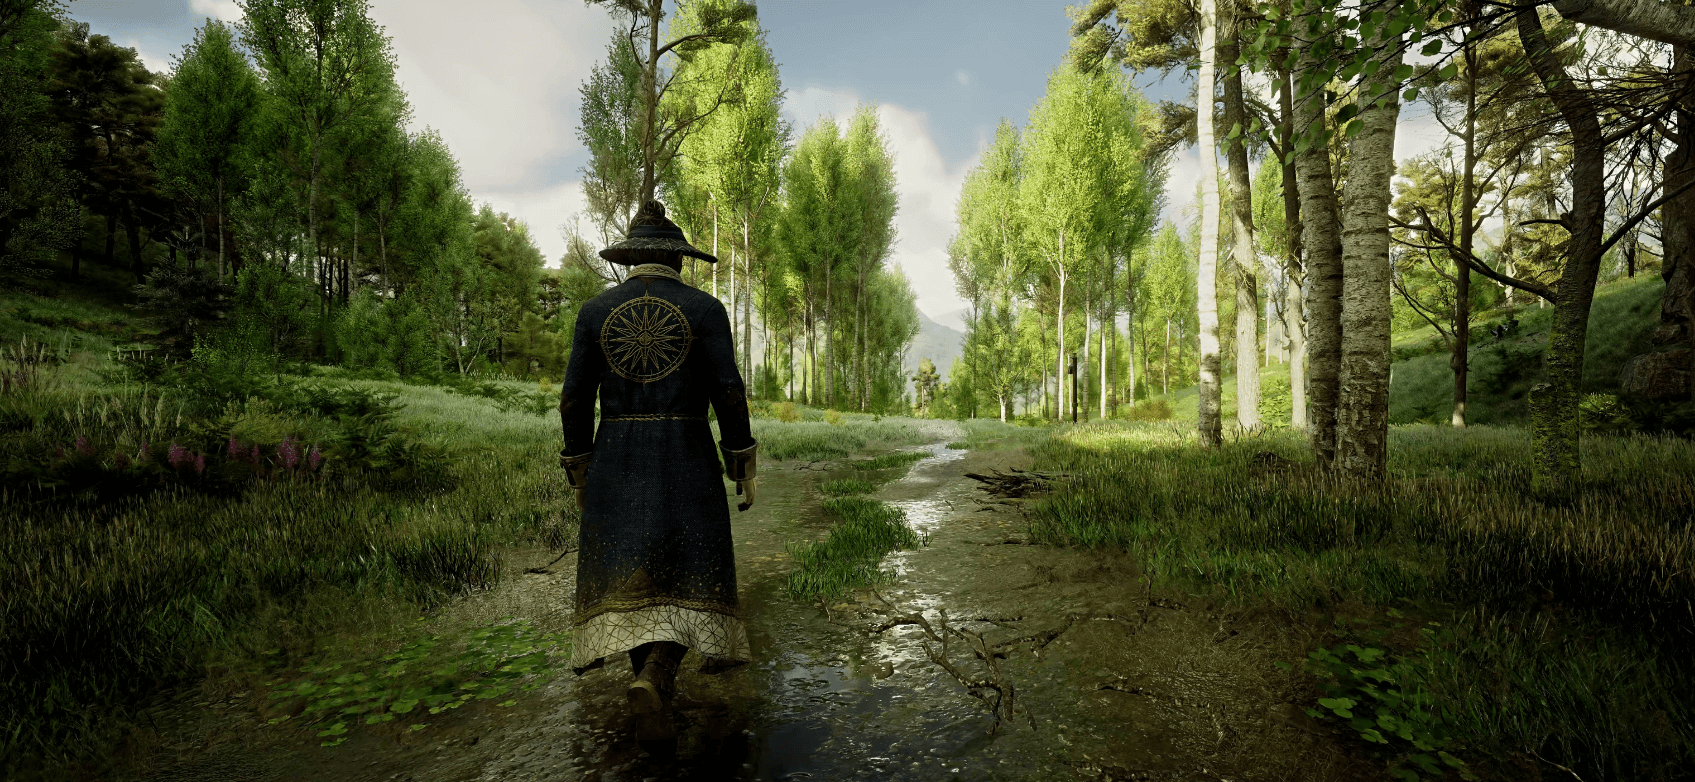
Radiant GI and Blooming HDR is used for more realistic lighting and bloom effects, focal dof to blur the distant objects with disabled fog. Bonus lutpack is used for color correction and a tiny bit of sharpening for a more crispy look. Performance drop is about 15%
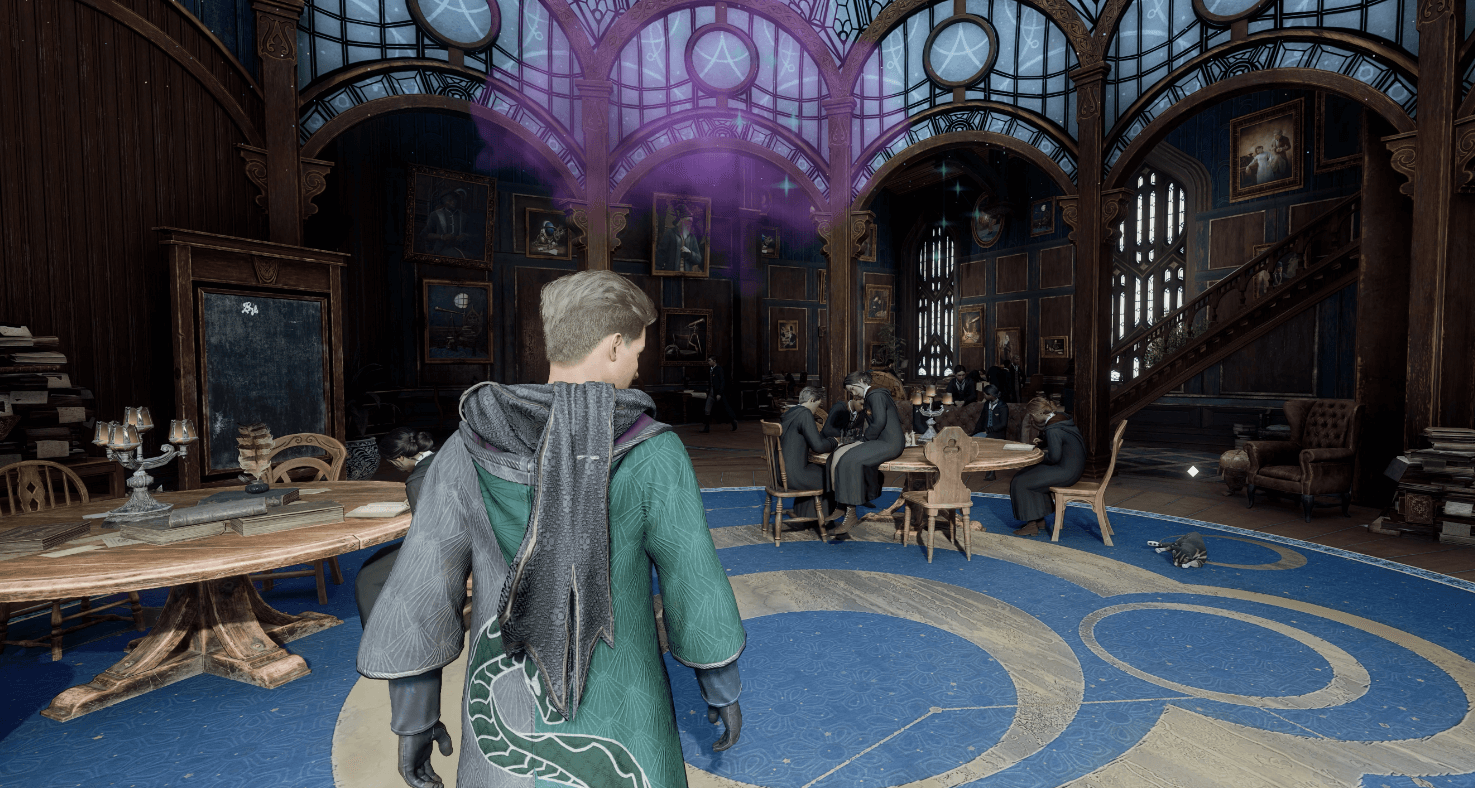
My graphics settings: I play on 5160x2160 resolution with DLSS Quality and every graphic setting set on maximum. Film Grain, motion blur, chromatic a. and depth of field are turned off. I have set every ray tracing option to ON and ultra, but you can turn it off because global illumination basically fills this role.
Bear in mind that this preset is optimized for this resolution and graphic settings, so if you are playing on lower resolution like 1080p, you can experience some issues, like oversharpening or too much blur or white lines, which is how global illumination looks on low resolution.
Attention: Make sure your Depth Buffer is set correctly in Reshade or else you wouldn't notice the depth based filters correctly (GI and FocalDof).
1. Open up reshade
2. Click on "Edit global preprocessor definitions" where you will likely see numbers 1000, 0, 0, 0
3. Rewrite the second "0" to "1".
INSTALL
1. Download the latest ReShade from the original site.
2. Install ALL the shaders by clicking twice on the "Uncheck all" button.
3. Download and unzip the presets into your main folder where your ".exe" is located.
4. Launch the game and press "Home" to bring up the Reshade interface, you can Skip Tutorial.
5. Choose the preset in the upper bar on the interface then press "Select".
6. Enjoy and endorse if you like it!
If you experience black dots and stripes during the ingame menu or on the map, then open the Reshade interface with "Home" and on the "Add-ons" tab tick one of the boxes with long numbers and letters under the depth buffers part. Looks like this: 000000ex000bc45rg.
 1KB
1KB
Zs Magical Cinexperience
A personal ReShade that brings a simple cinematic experience to Hogwarts. Screenshots are using Low settings. Could look better or worse with different settings
 7KB
7KB
Jorb's RTGI ReShade Preset - Hogwarts Legacy
ReShade preset that utilizes RTGI in order to give a more robust bounce-lighting presentation.
 32.6MB
Lux Naturalis (Reshade Preset)
I created this personal reshade preset to add more contrast and natural lighting to Hogwarts legacy's world without overdoing vibrance and crushing shadows as harshly as most reshades do, while still making a noticeable improvement in the game's visuals.
 Updated: 10-02-2025, 07:40
23.3MB
Updated: 10-02-2025, 07:40
23.3MB
Ultra Plus Best Performance and Visuals for Everyone
Enables cut-scene quality for the whole game, fixes FPS, stutters, texture-loading, raytracing, contrast and sharpness.