Ultra Plus Best Performance and Visuals for Everyone

Ultra+ Goals
- Fix all bugs, stuttering, and FPS (including stutters and 8 March update bugs... You don't need to downgrade to the 18 Feb version!)
- Improve all visuals to cut-scene quality
- Keep FPS sensible (so most people can use it)
- Let you choose your preferences (see Extra Options below)
- Do everything for you so you can just enjoy the game!
Quick Start
- Choose a version (Insane, Full, etc.), replace your Engine.ini in %localappdata%\Hogwarts Legacy\Saved\Config\WindowsNoEditor and enjoy
- (Most people will want to download the stable v3.x version)
- Upgrade DLSS to v2.5.1 or v3.1.11 if you haven't already (latest files and instructions included in download)
- Calibrate your black point on the first in-game video settings page > two thirds down > Image Calibration
About Ultra+
Ultra+ is a series of mods designed for all PCs, fixing bugs and performance, with the best possible visuals.
v12
Alpha support for the new patch. We will be working to improve the visual issues introduced by the recent patch, but overall the game should look good!
NOTE 1: Do NOT set a poolsize above 2000 with v4.x-streaming versions, no matter what any guides say! v4.x is a new method
NOTE 2: The first time you run v4.x-streaming shaders may take a long time to compile. This is normal and good! Go have a snack 😊
(I still recommend going through all the steps in How to Use below)
[media=https://youtu.be/rP2kzEIxc_k]
[media=https://youtu.be/bAoP12D2yk0]
About
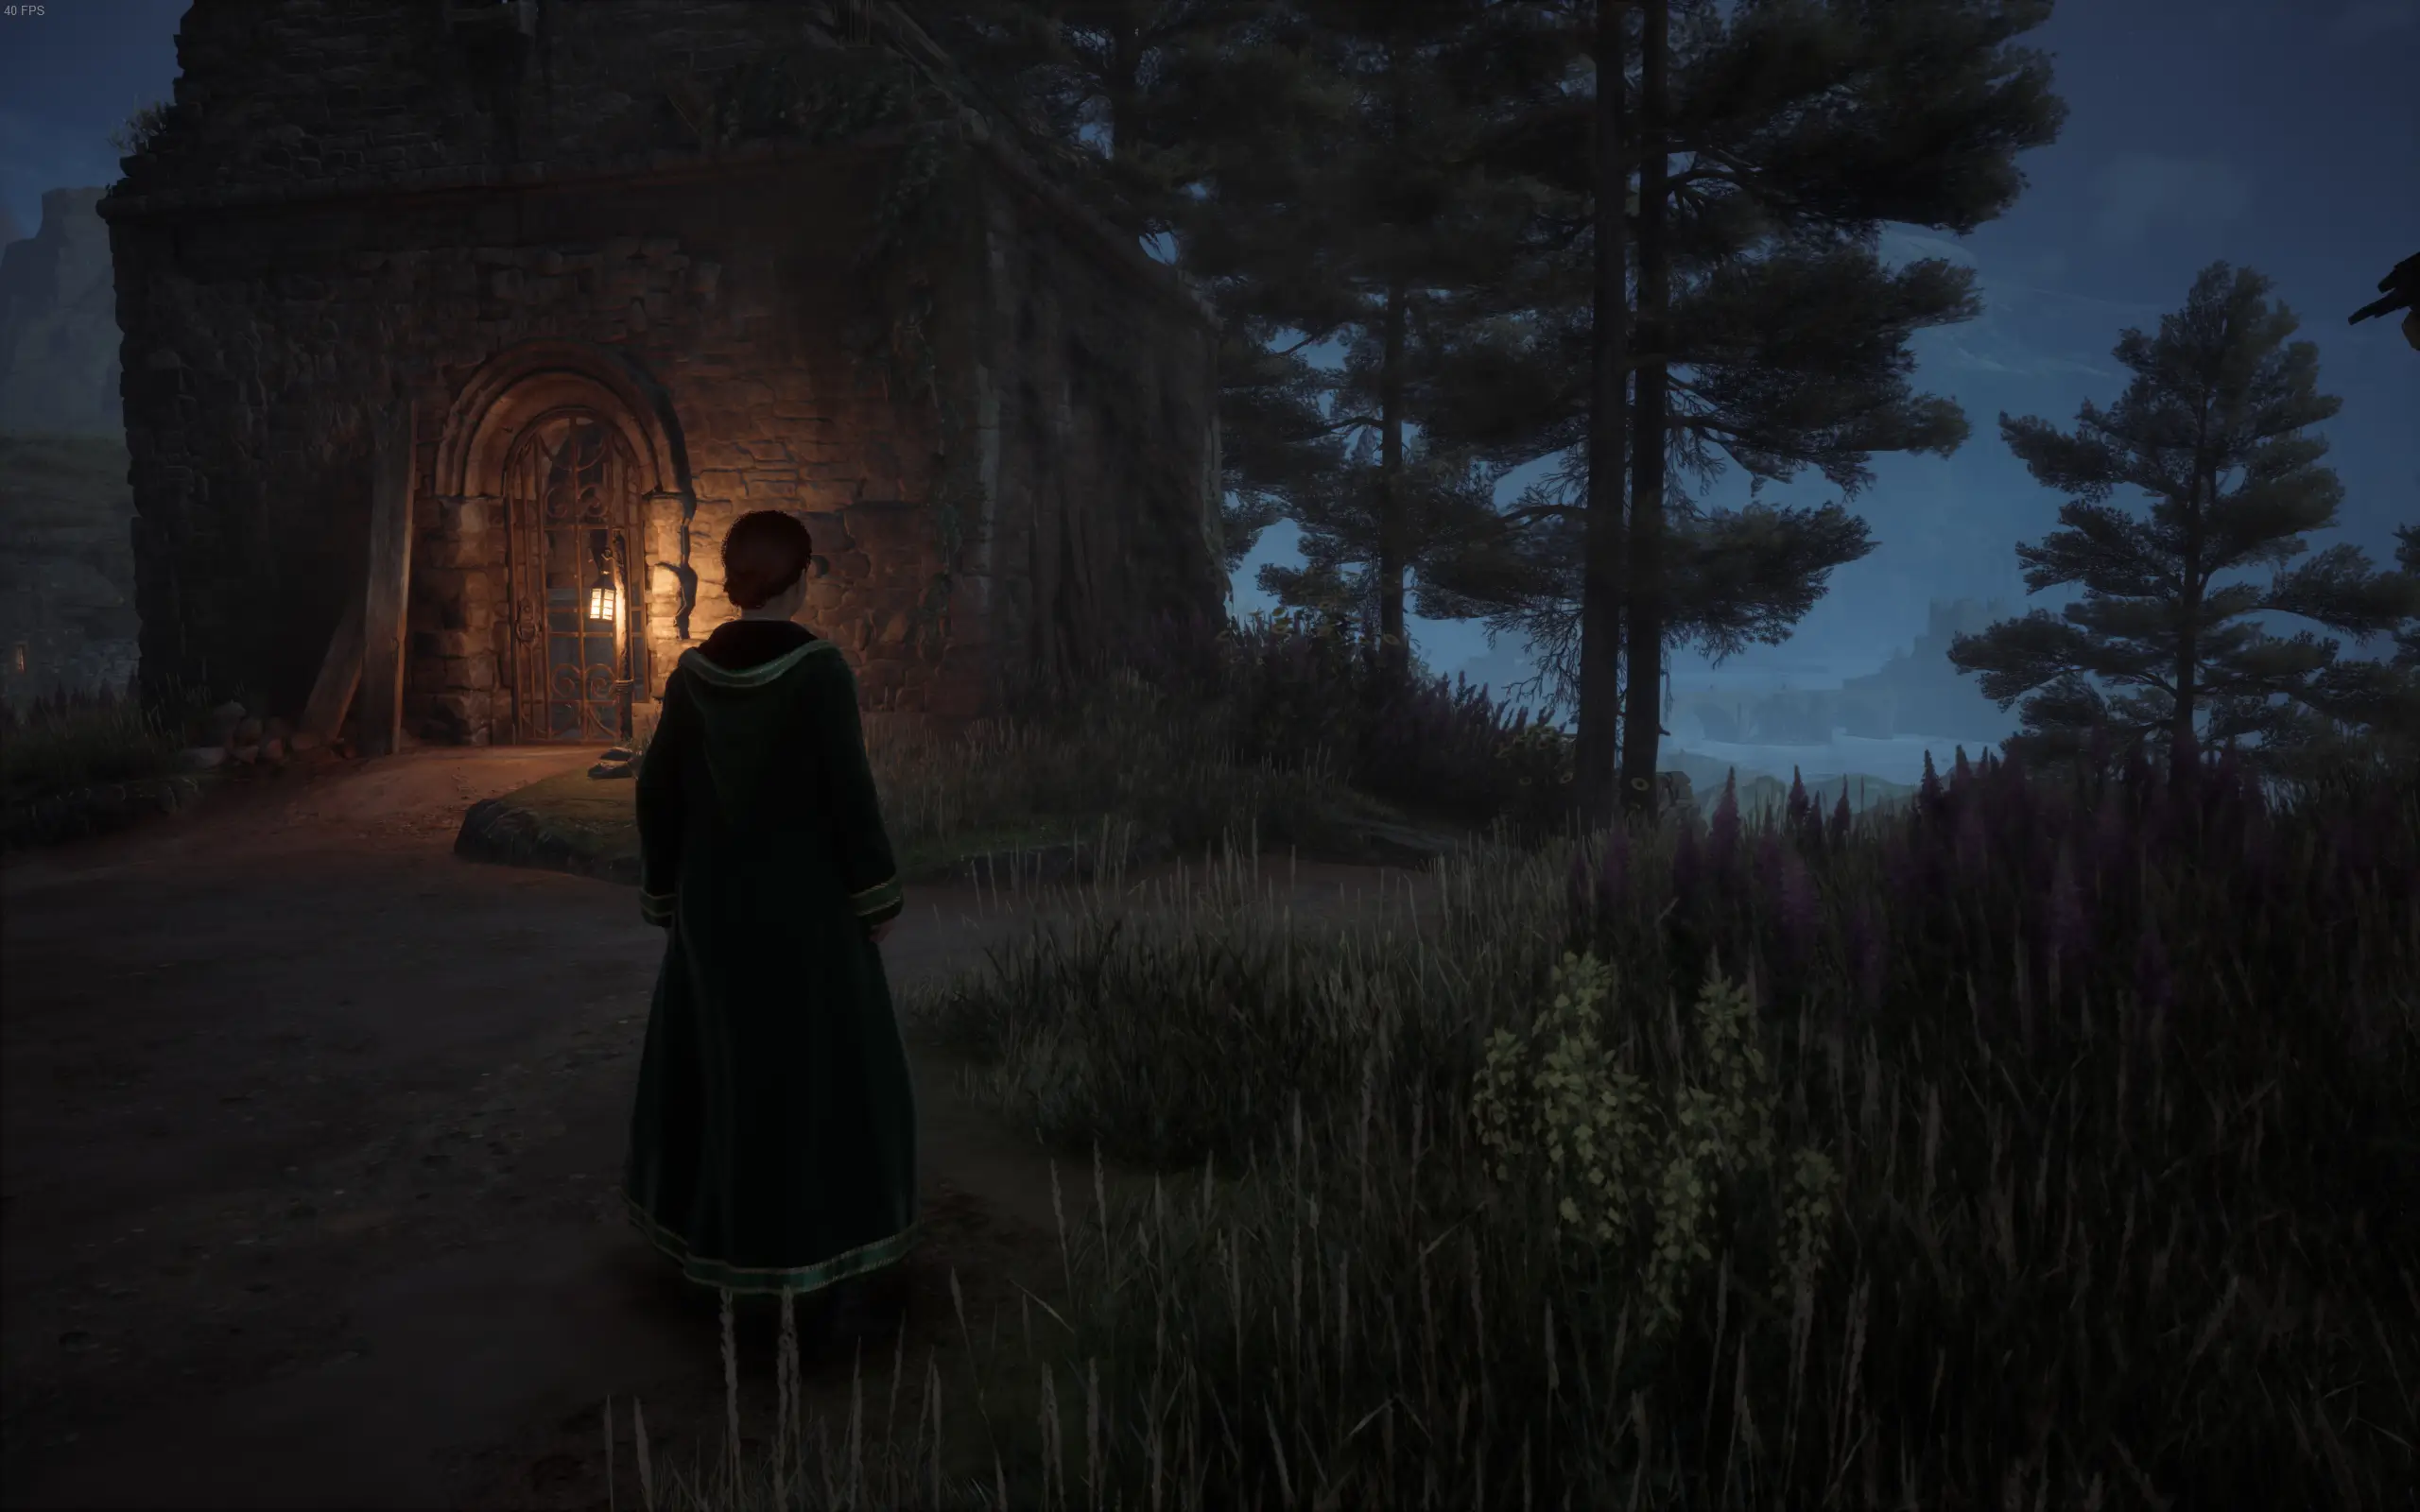
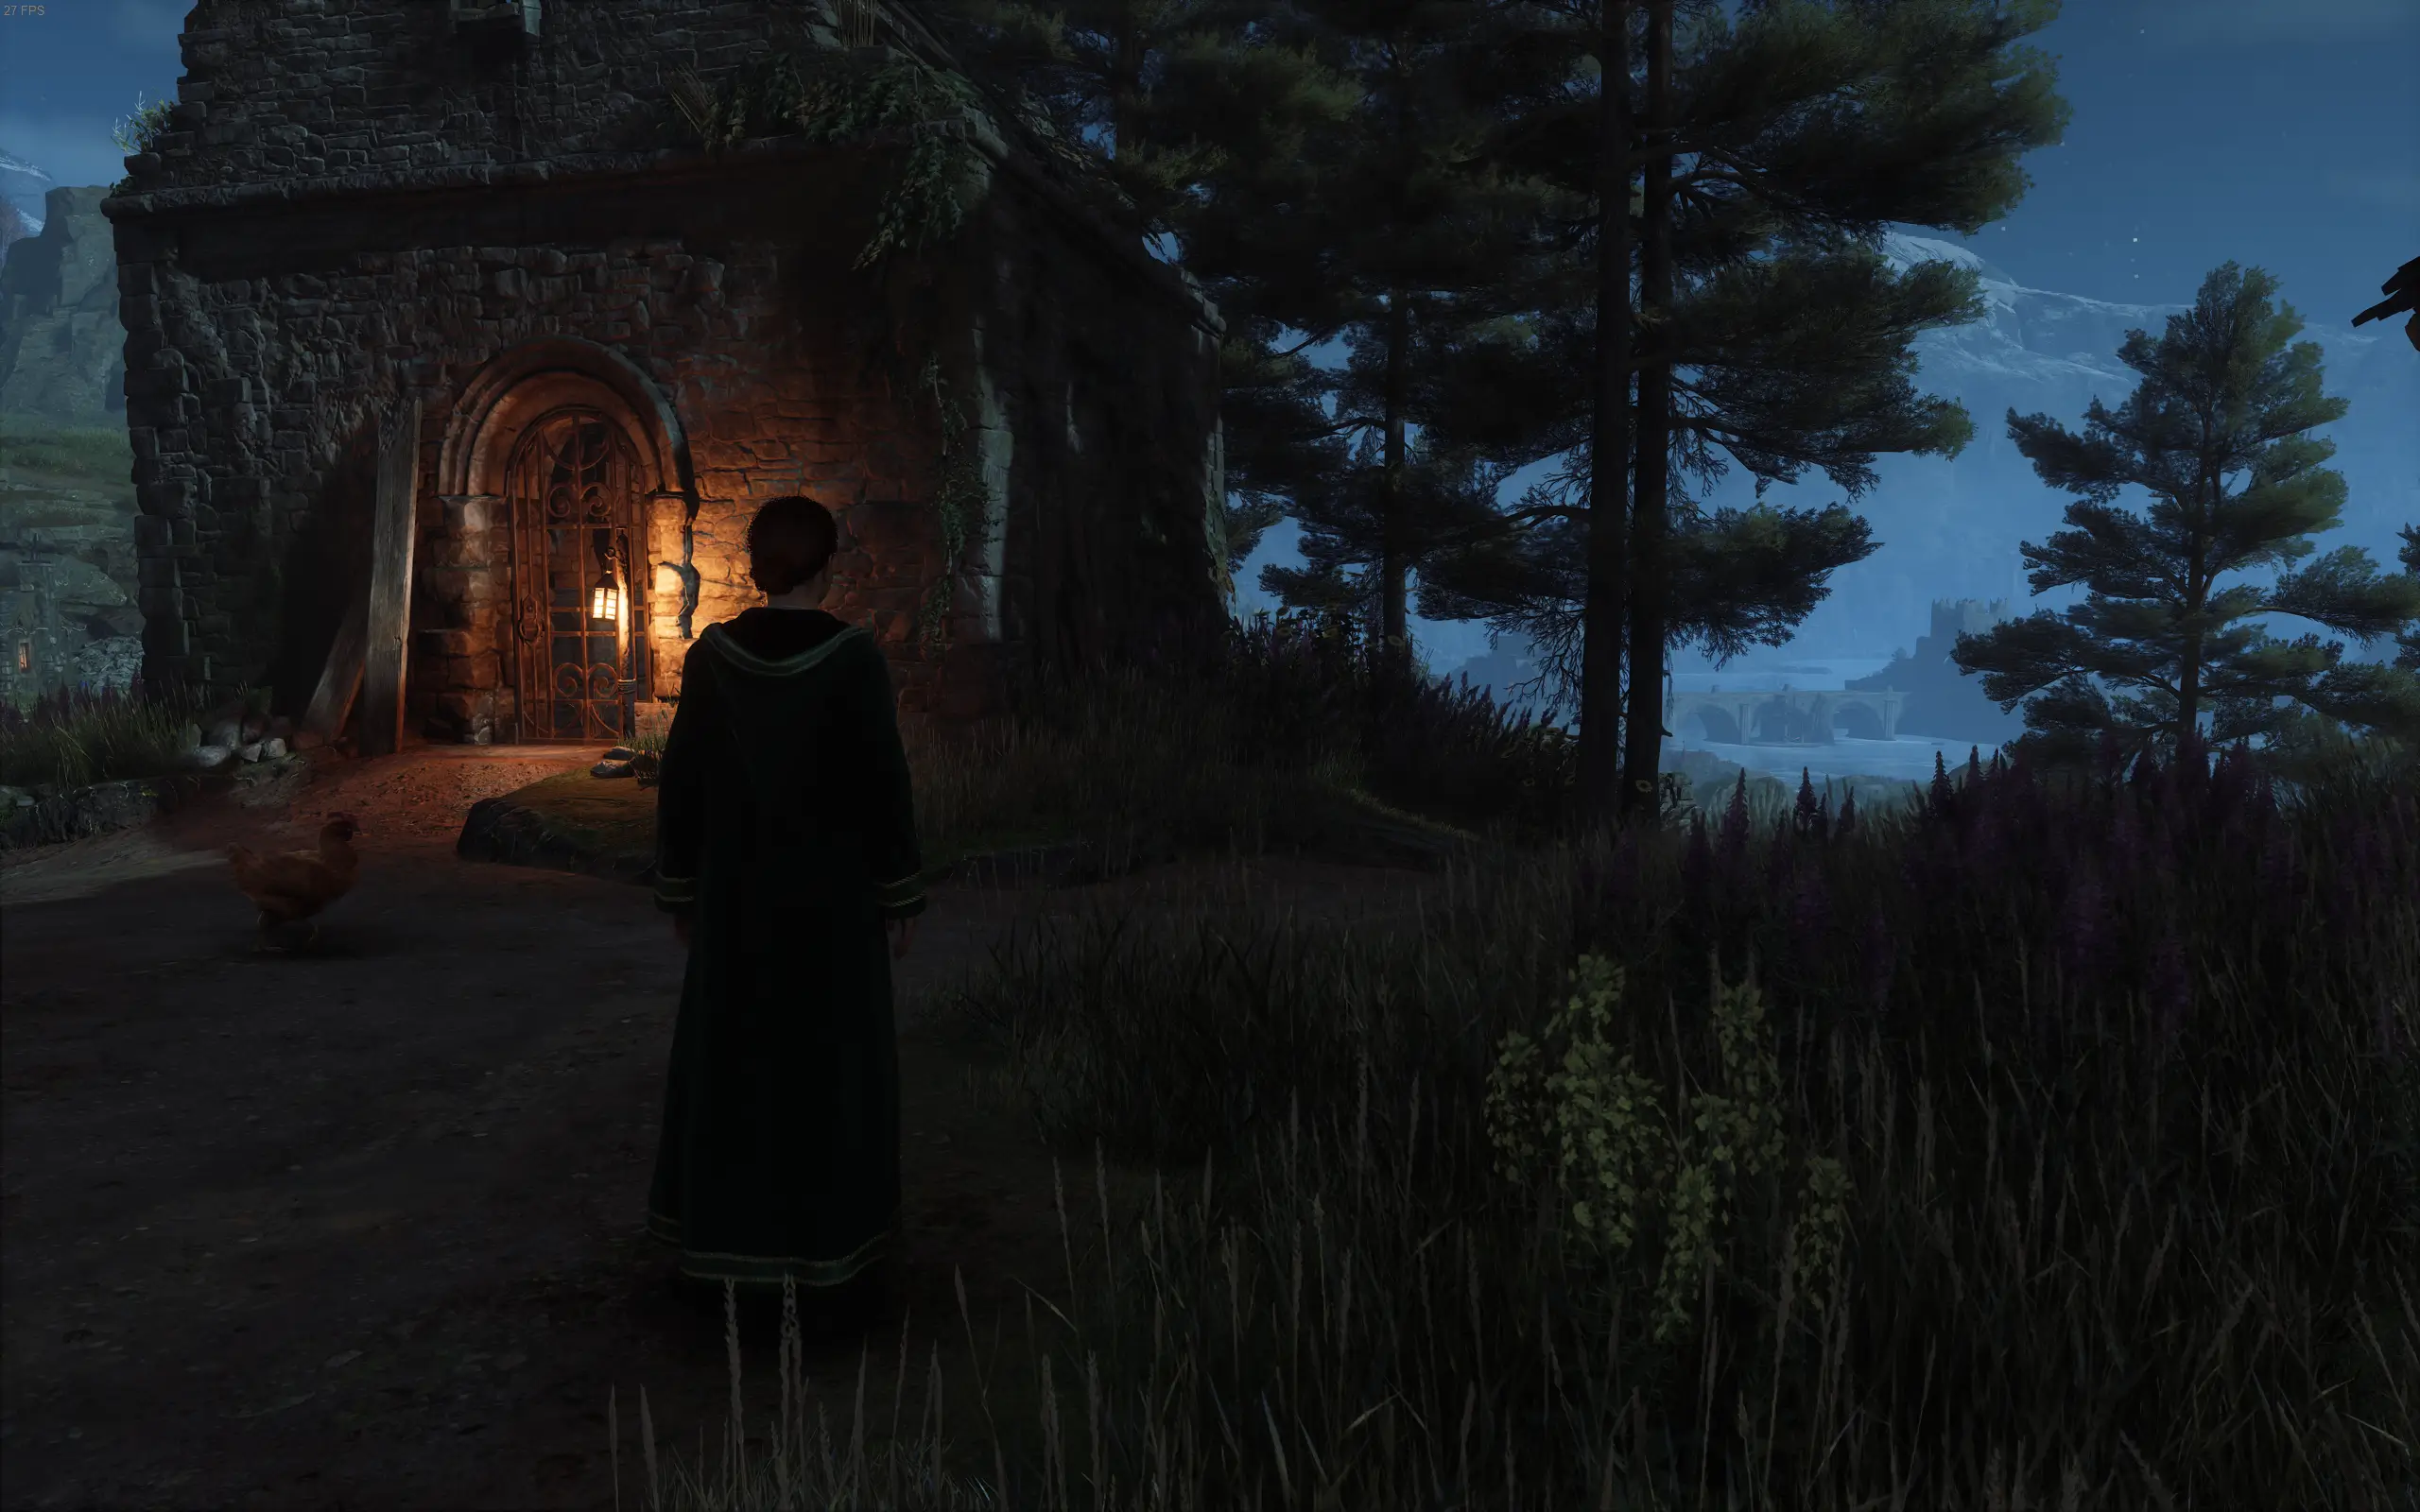
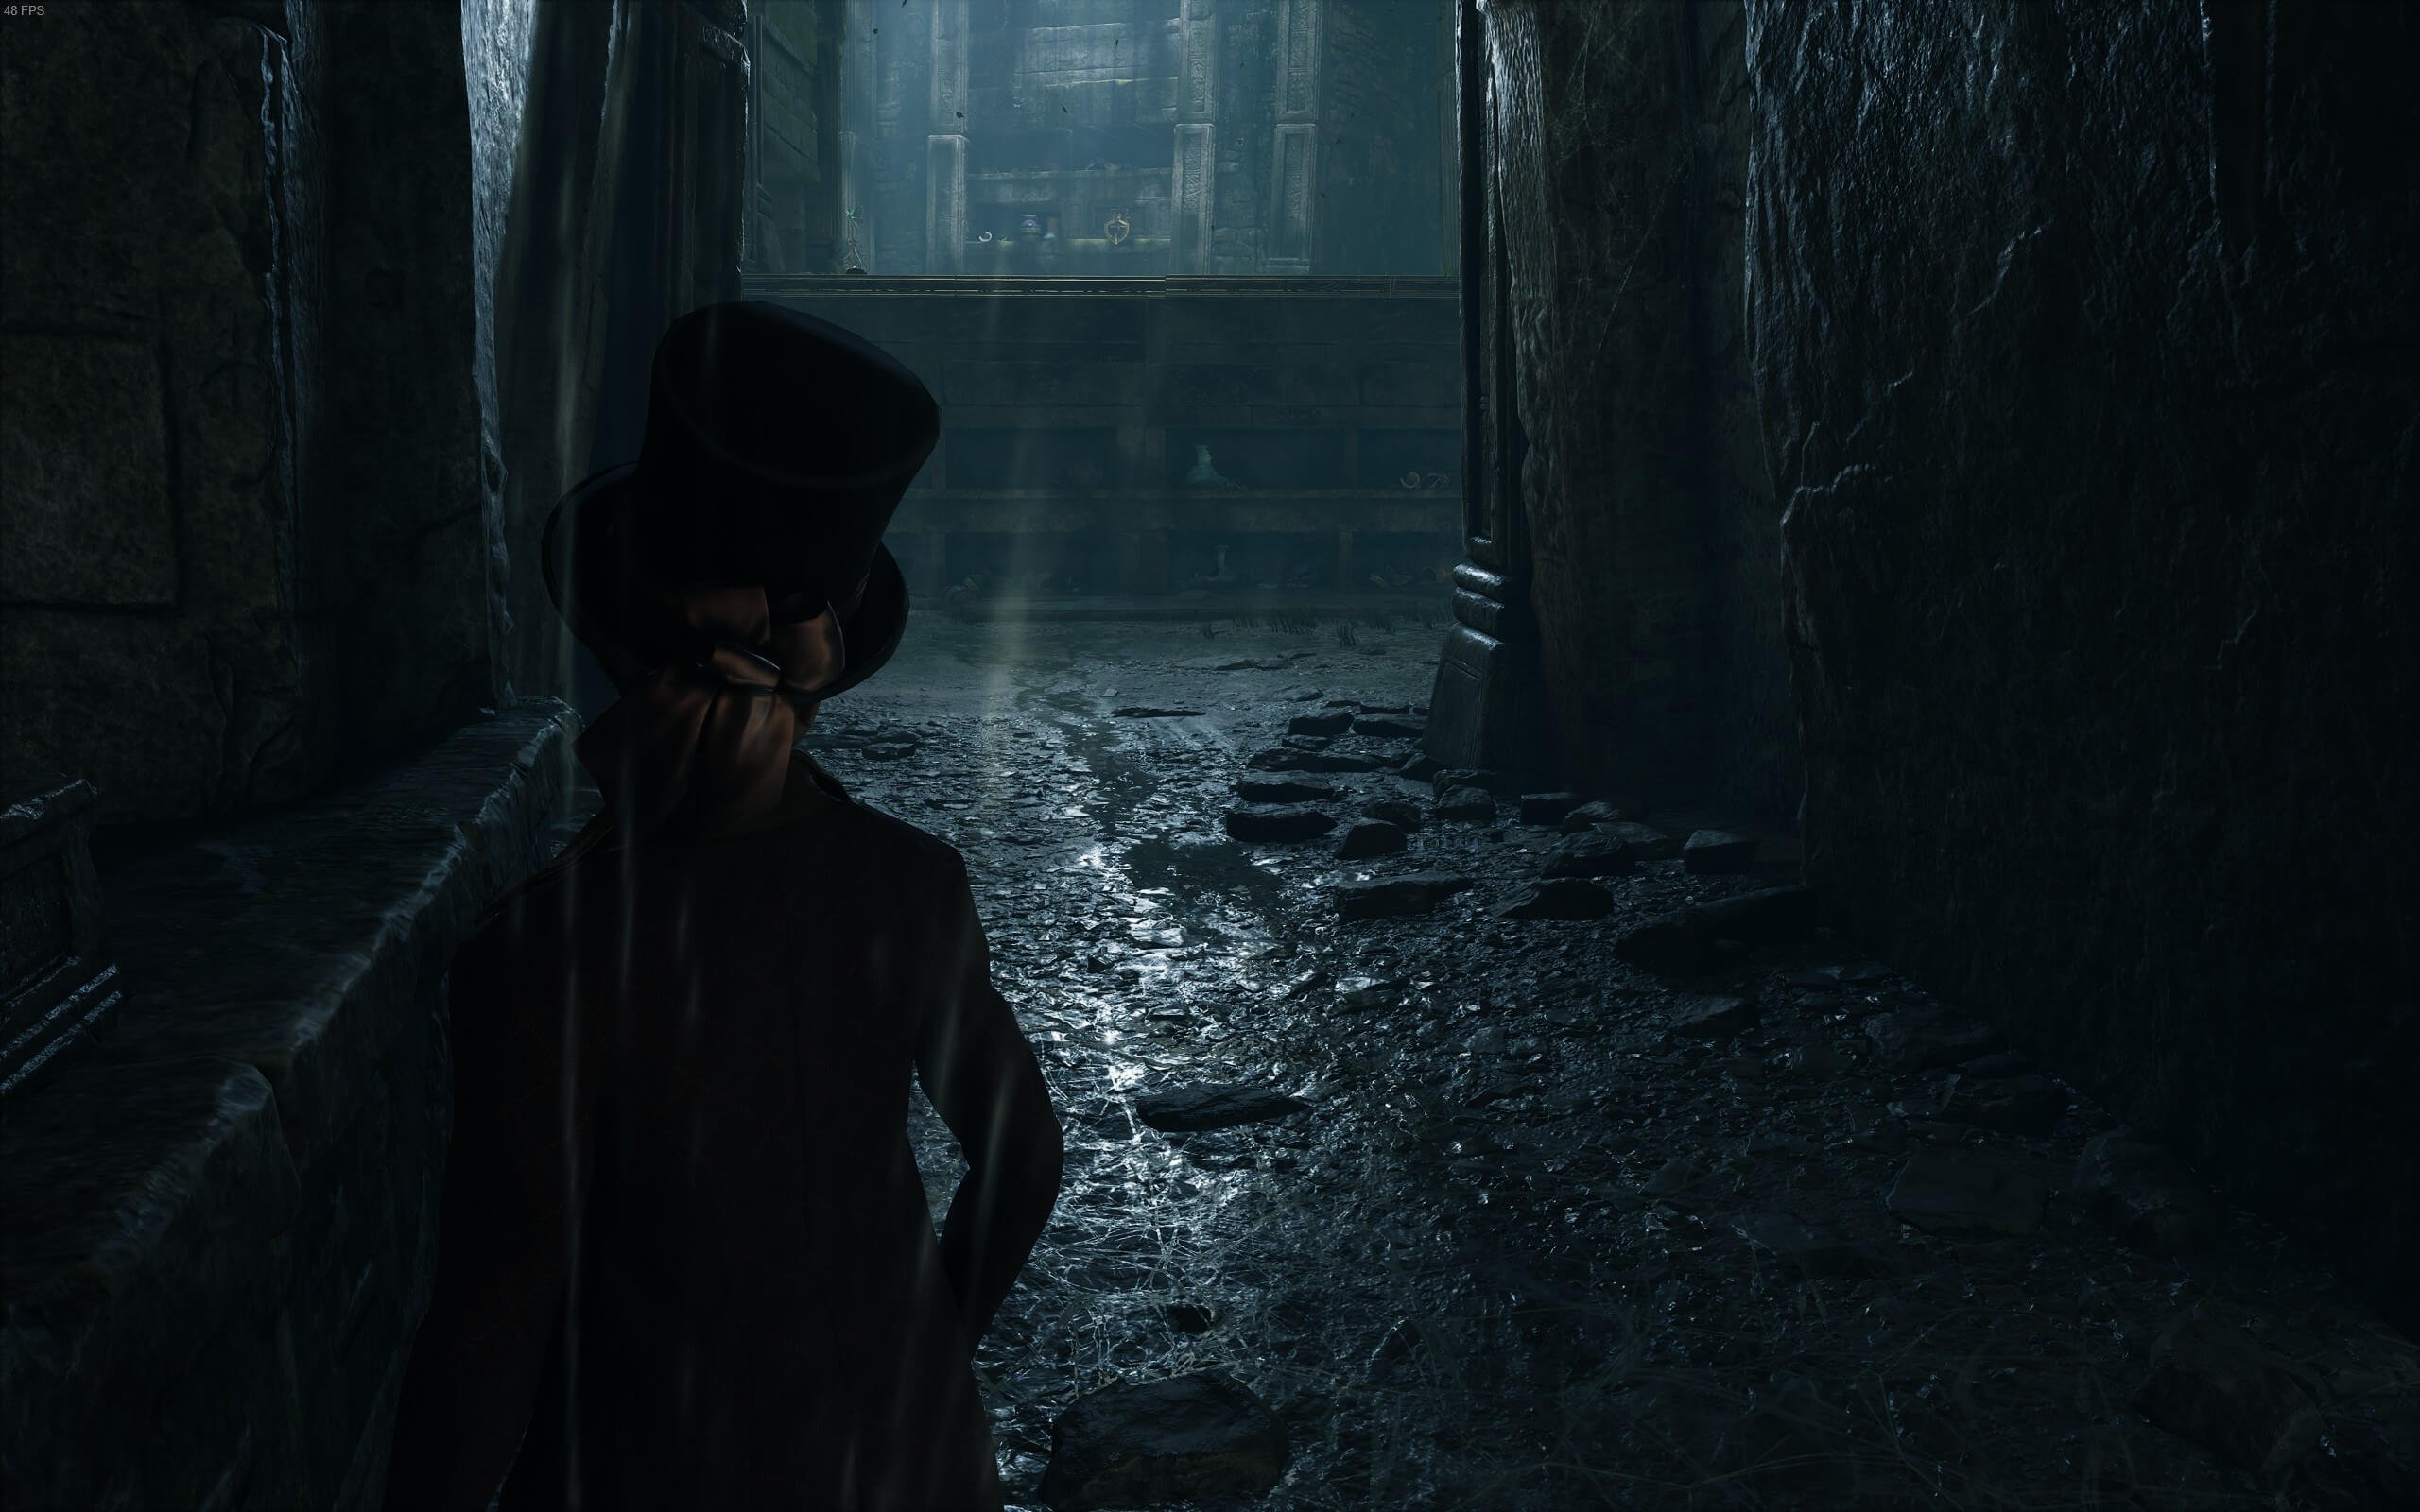
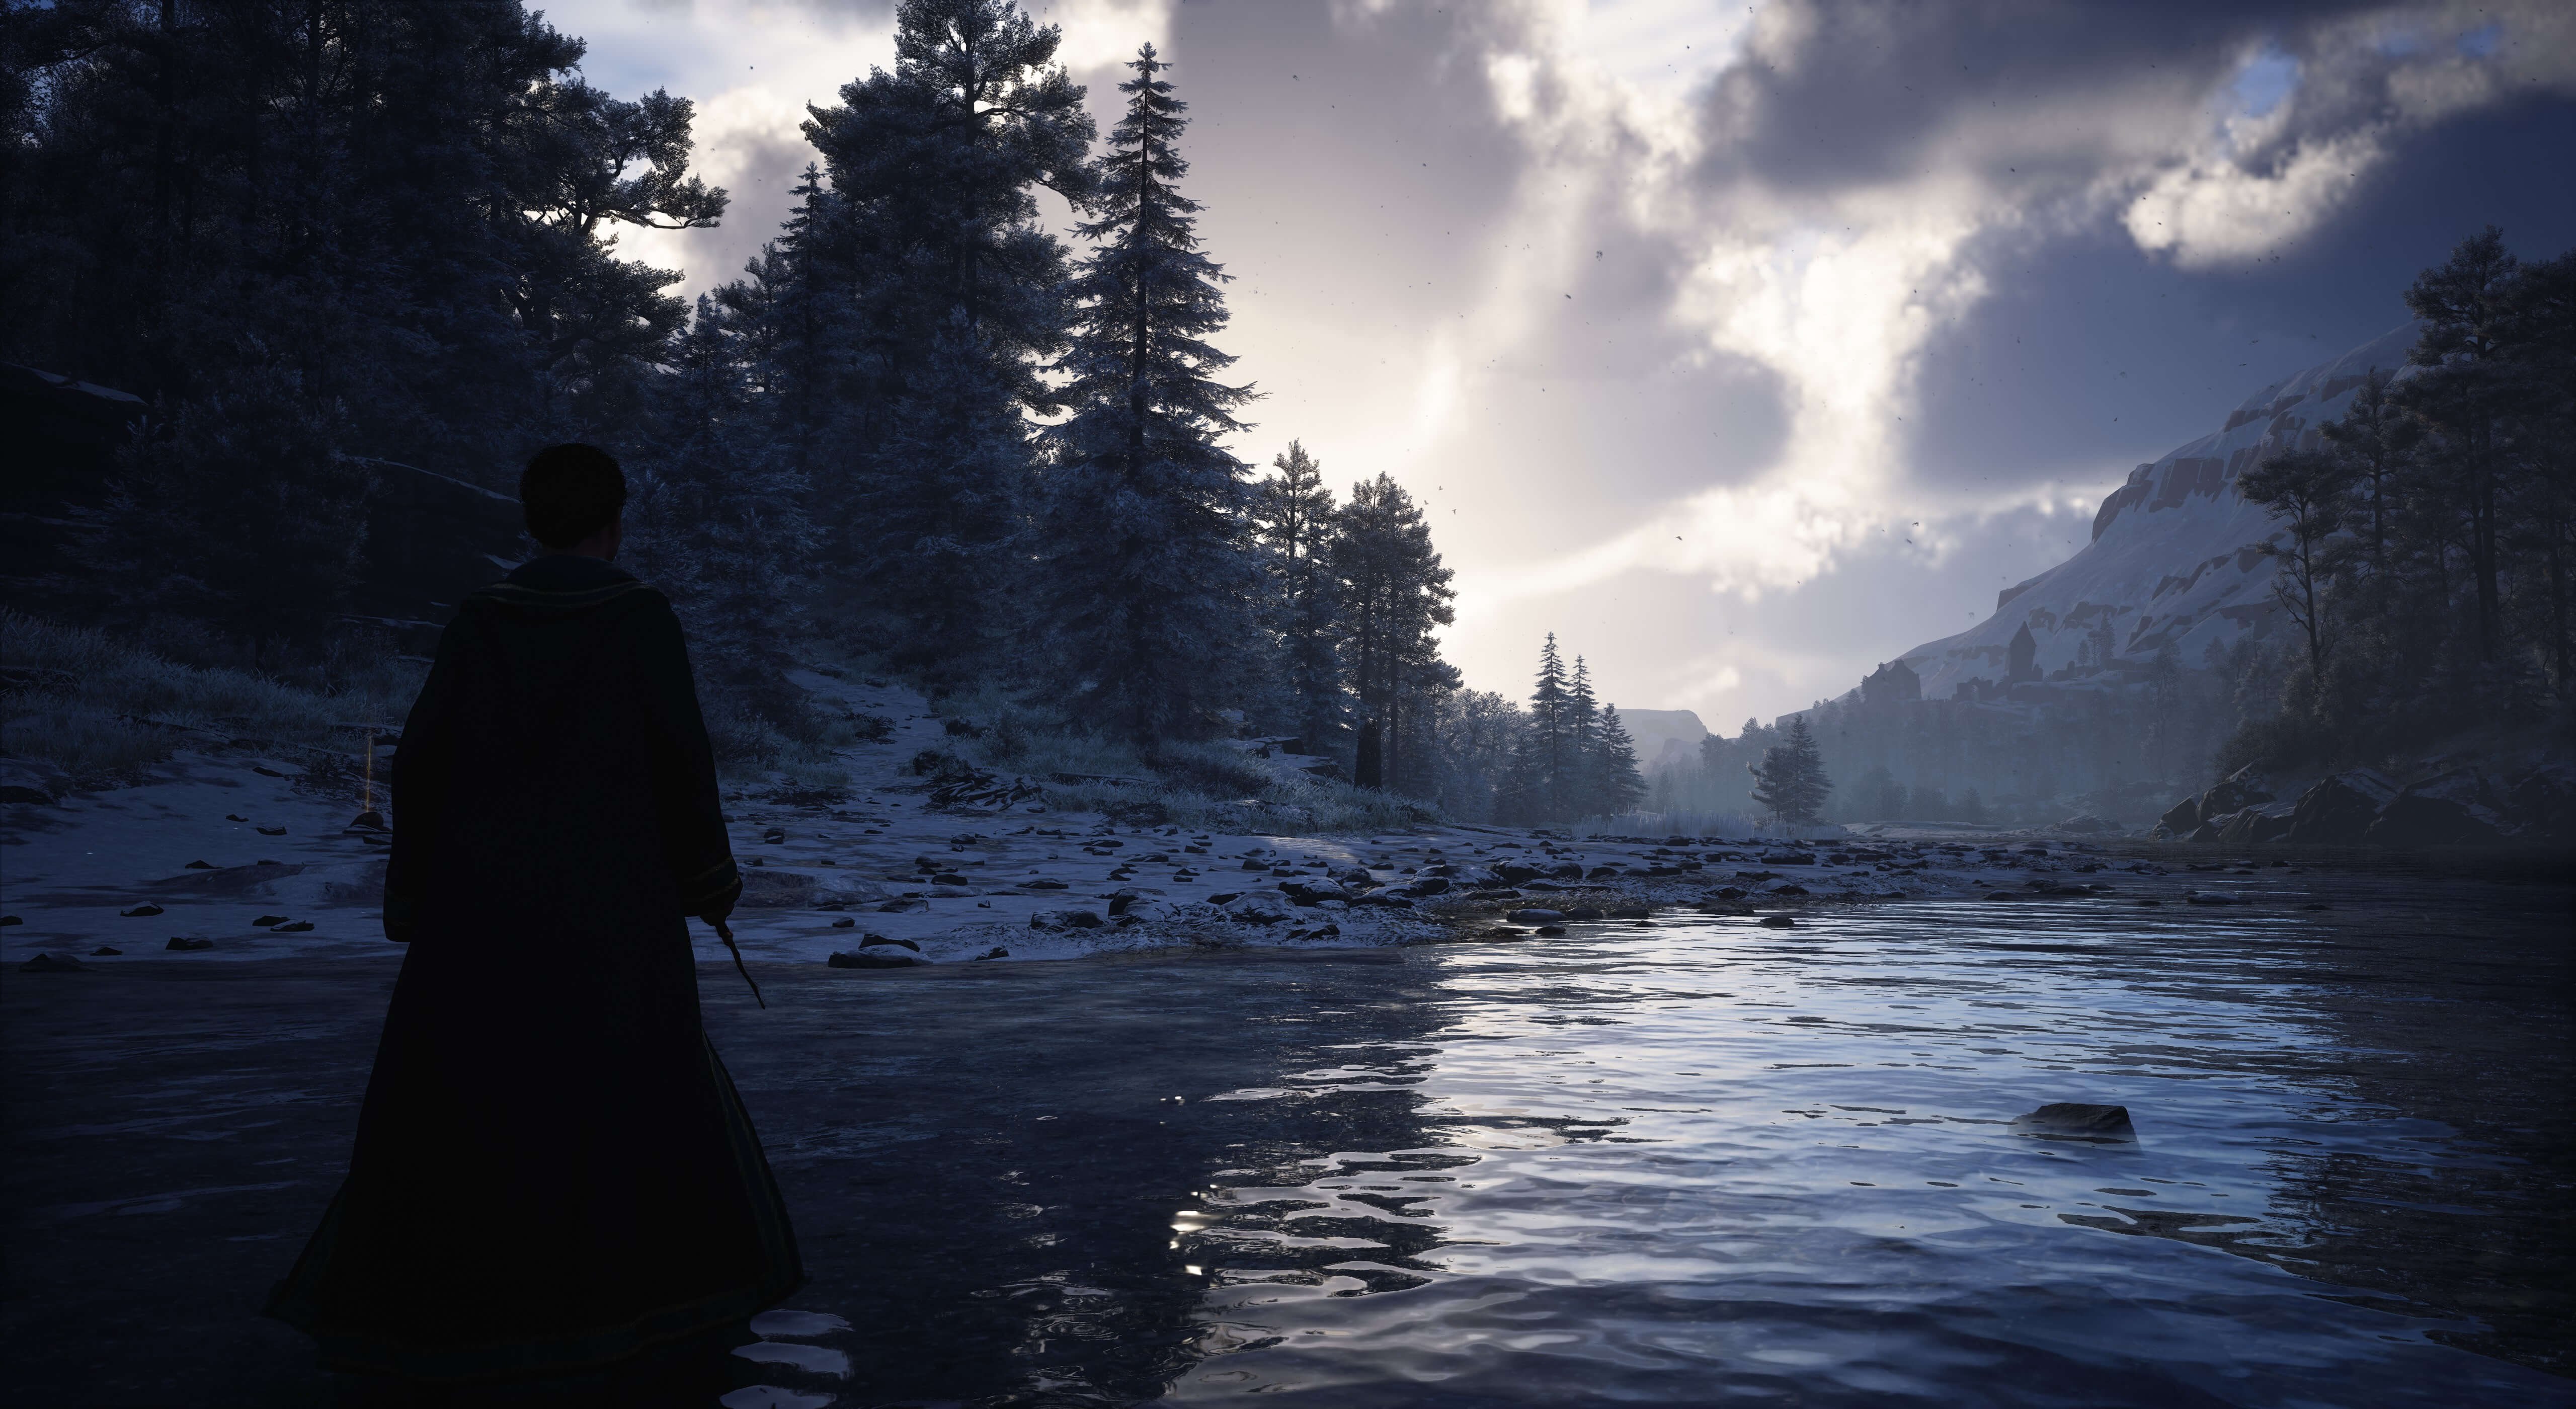
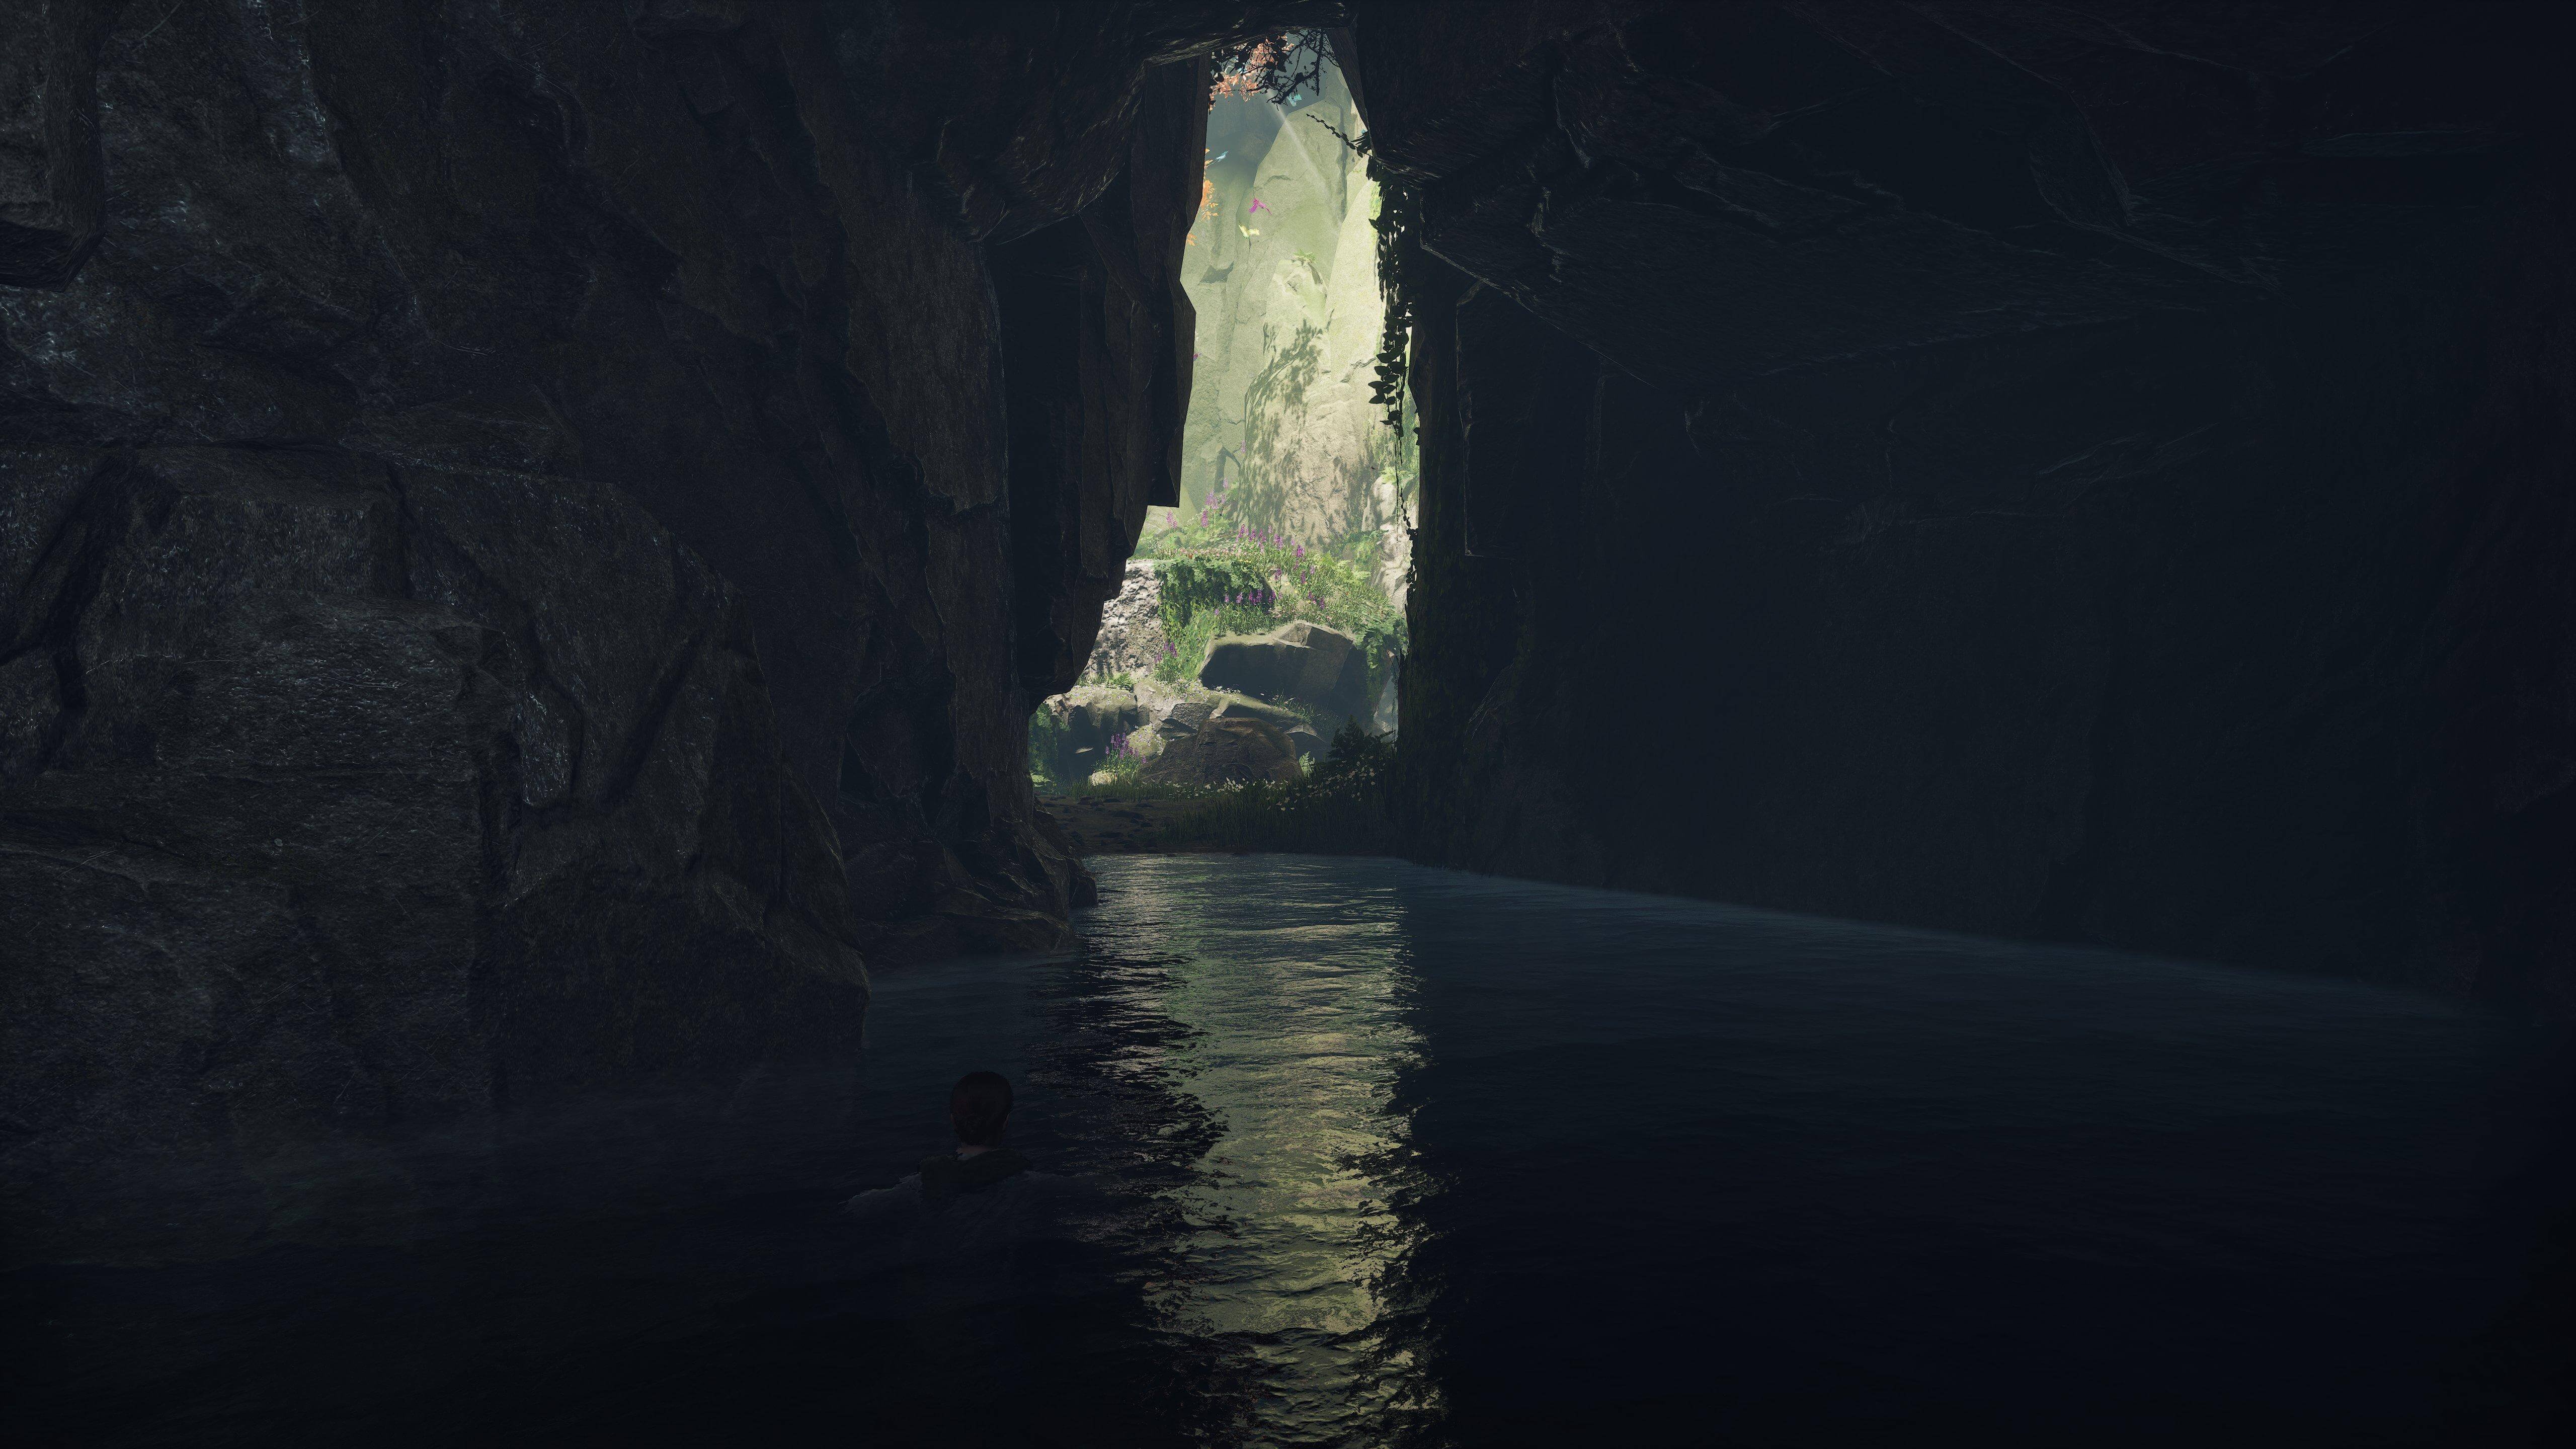
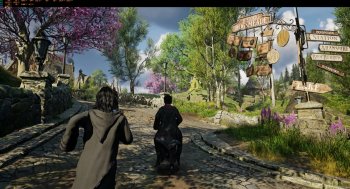
My goal in making this was to make everything look more cohesive and less washed-out, without losing the "fantasy" feeling. When I played through I found a number of bugs, so I fixed those too. But then I realised - cut-scenes look SO amazing compared to the rest of the game... and I thought, why can't I have that all the time??
This isn't a regular Engine.ini tweak, and most of what's in here isn't in other Engine.ini tweaks. But don't take it from me...
"Just wanted to say, out of all the mods and tweaks I've been doing to get RTX and Ray Tracing features to work with decent performance in this game, this one actually did it." - TheJuggler17
"You are legitimately a godsend, thank you so much. This is the ONLY fix that works for me and solves all of my technical issues with this game, not to mention that it makes the game look so much better without a huge performance hit" - ChristianLangano
"Thank you again for all the effort you're putting into this clearly essential mod for many users."
- Korzun
There are 5 different versions depending on your PC and what you will prefer:
- Ultra+ Insane RT - Same as Ultra+ Full RT, but enables raytraced water and disables RT culling to fix terrible pop-in problems with RT reflections. This means it can now reflect all of the landscape on the water. Otherwise the same as Full RT. This version also has the shiny RT reflections .To use Insane RT, turn on at least RT ambient occlusion. All other raytracing options are already optimised and ready for you to use (or not) as you choose.
- Ultra+ Full RT - Same as Ultra+ Full, but disables SSGI (because it costs fps even though it's not used with RTAO). To use, turn on at least RT ambient occlusion. All other raytracing options are already optimised and ready for you to use (or not) as you choose.
- Ultra+ Full - Uses screenspace global illumination (SSGI) for more accurate shadows. Use this if you're not using RT ambient occlusion - there is no other difference from Full RT.
- Ultra+ Balanced - Has all settings with the biggest visual uplift, but with performance and memory-heavy settings removed.
- Ultra+ Performance - Just the colour adjustments, stutter fixes, and disables distortion to save graphics memory. Ideal for low-end cards.
Please let me know your experience in the Posts and I will try to help.
- Fixes crazy shiny raytraced reflections everywhere from the 8 March update
- Fixes texture loading issues from 8 March update
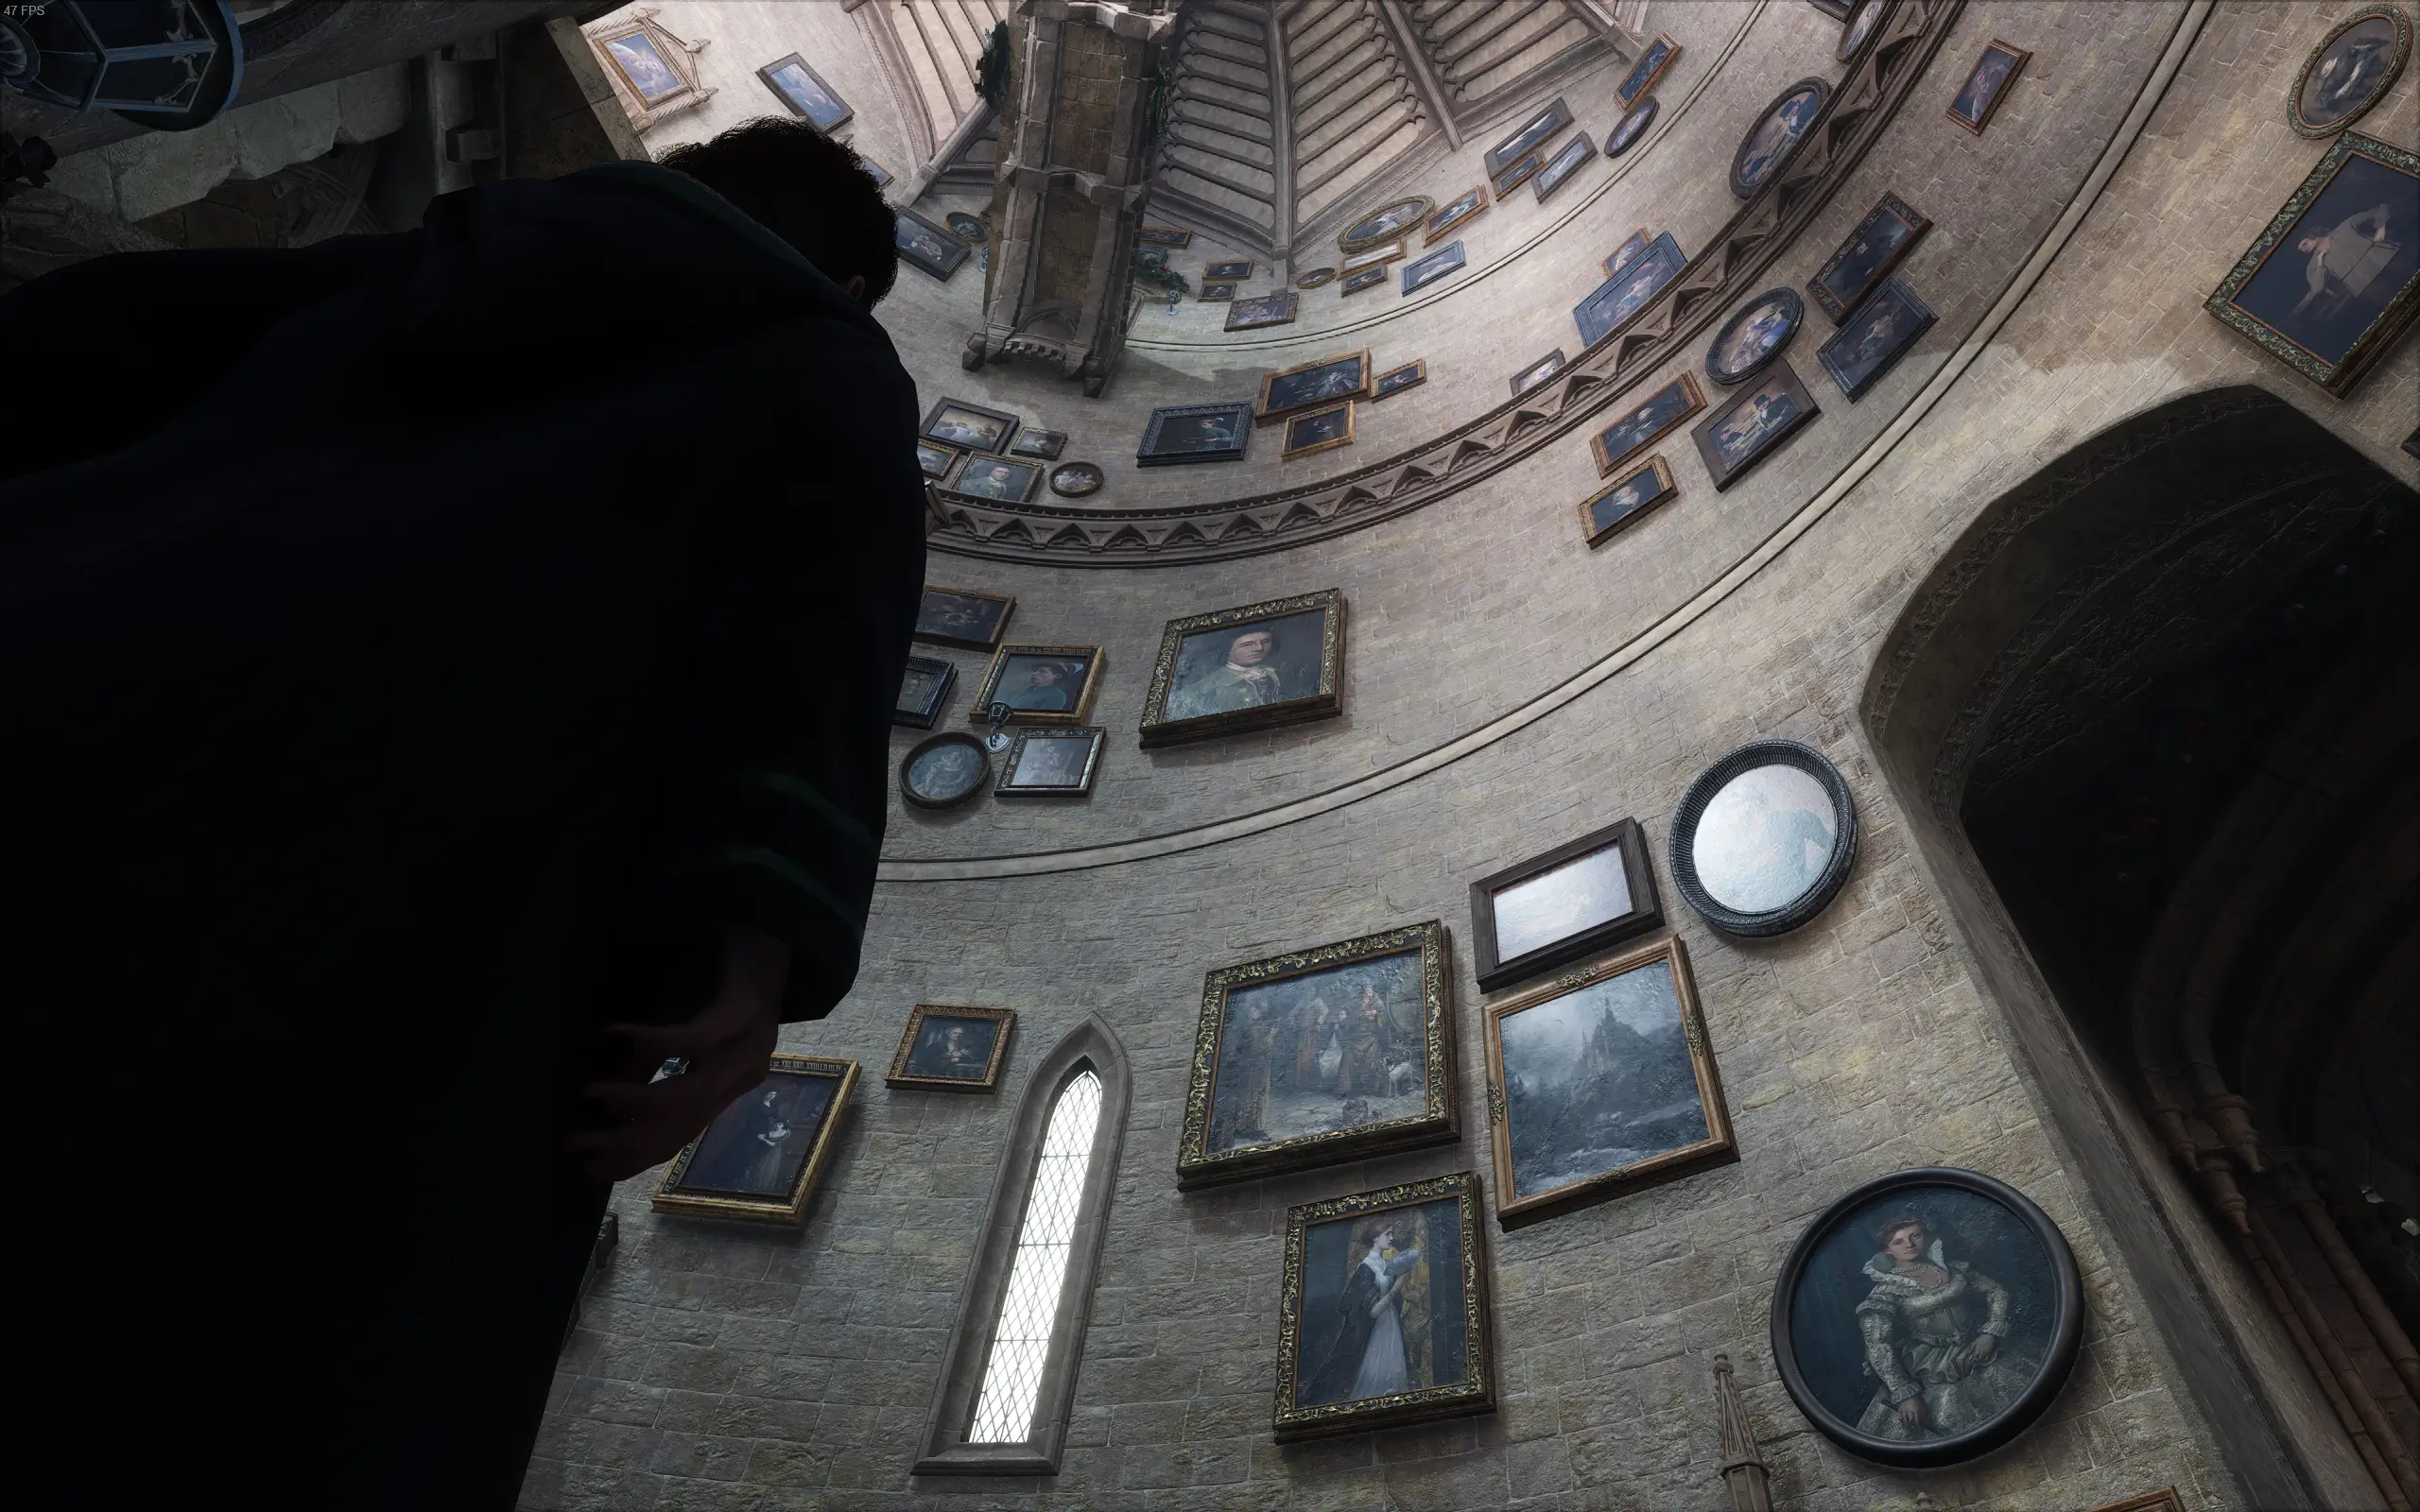
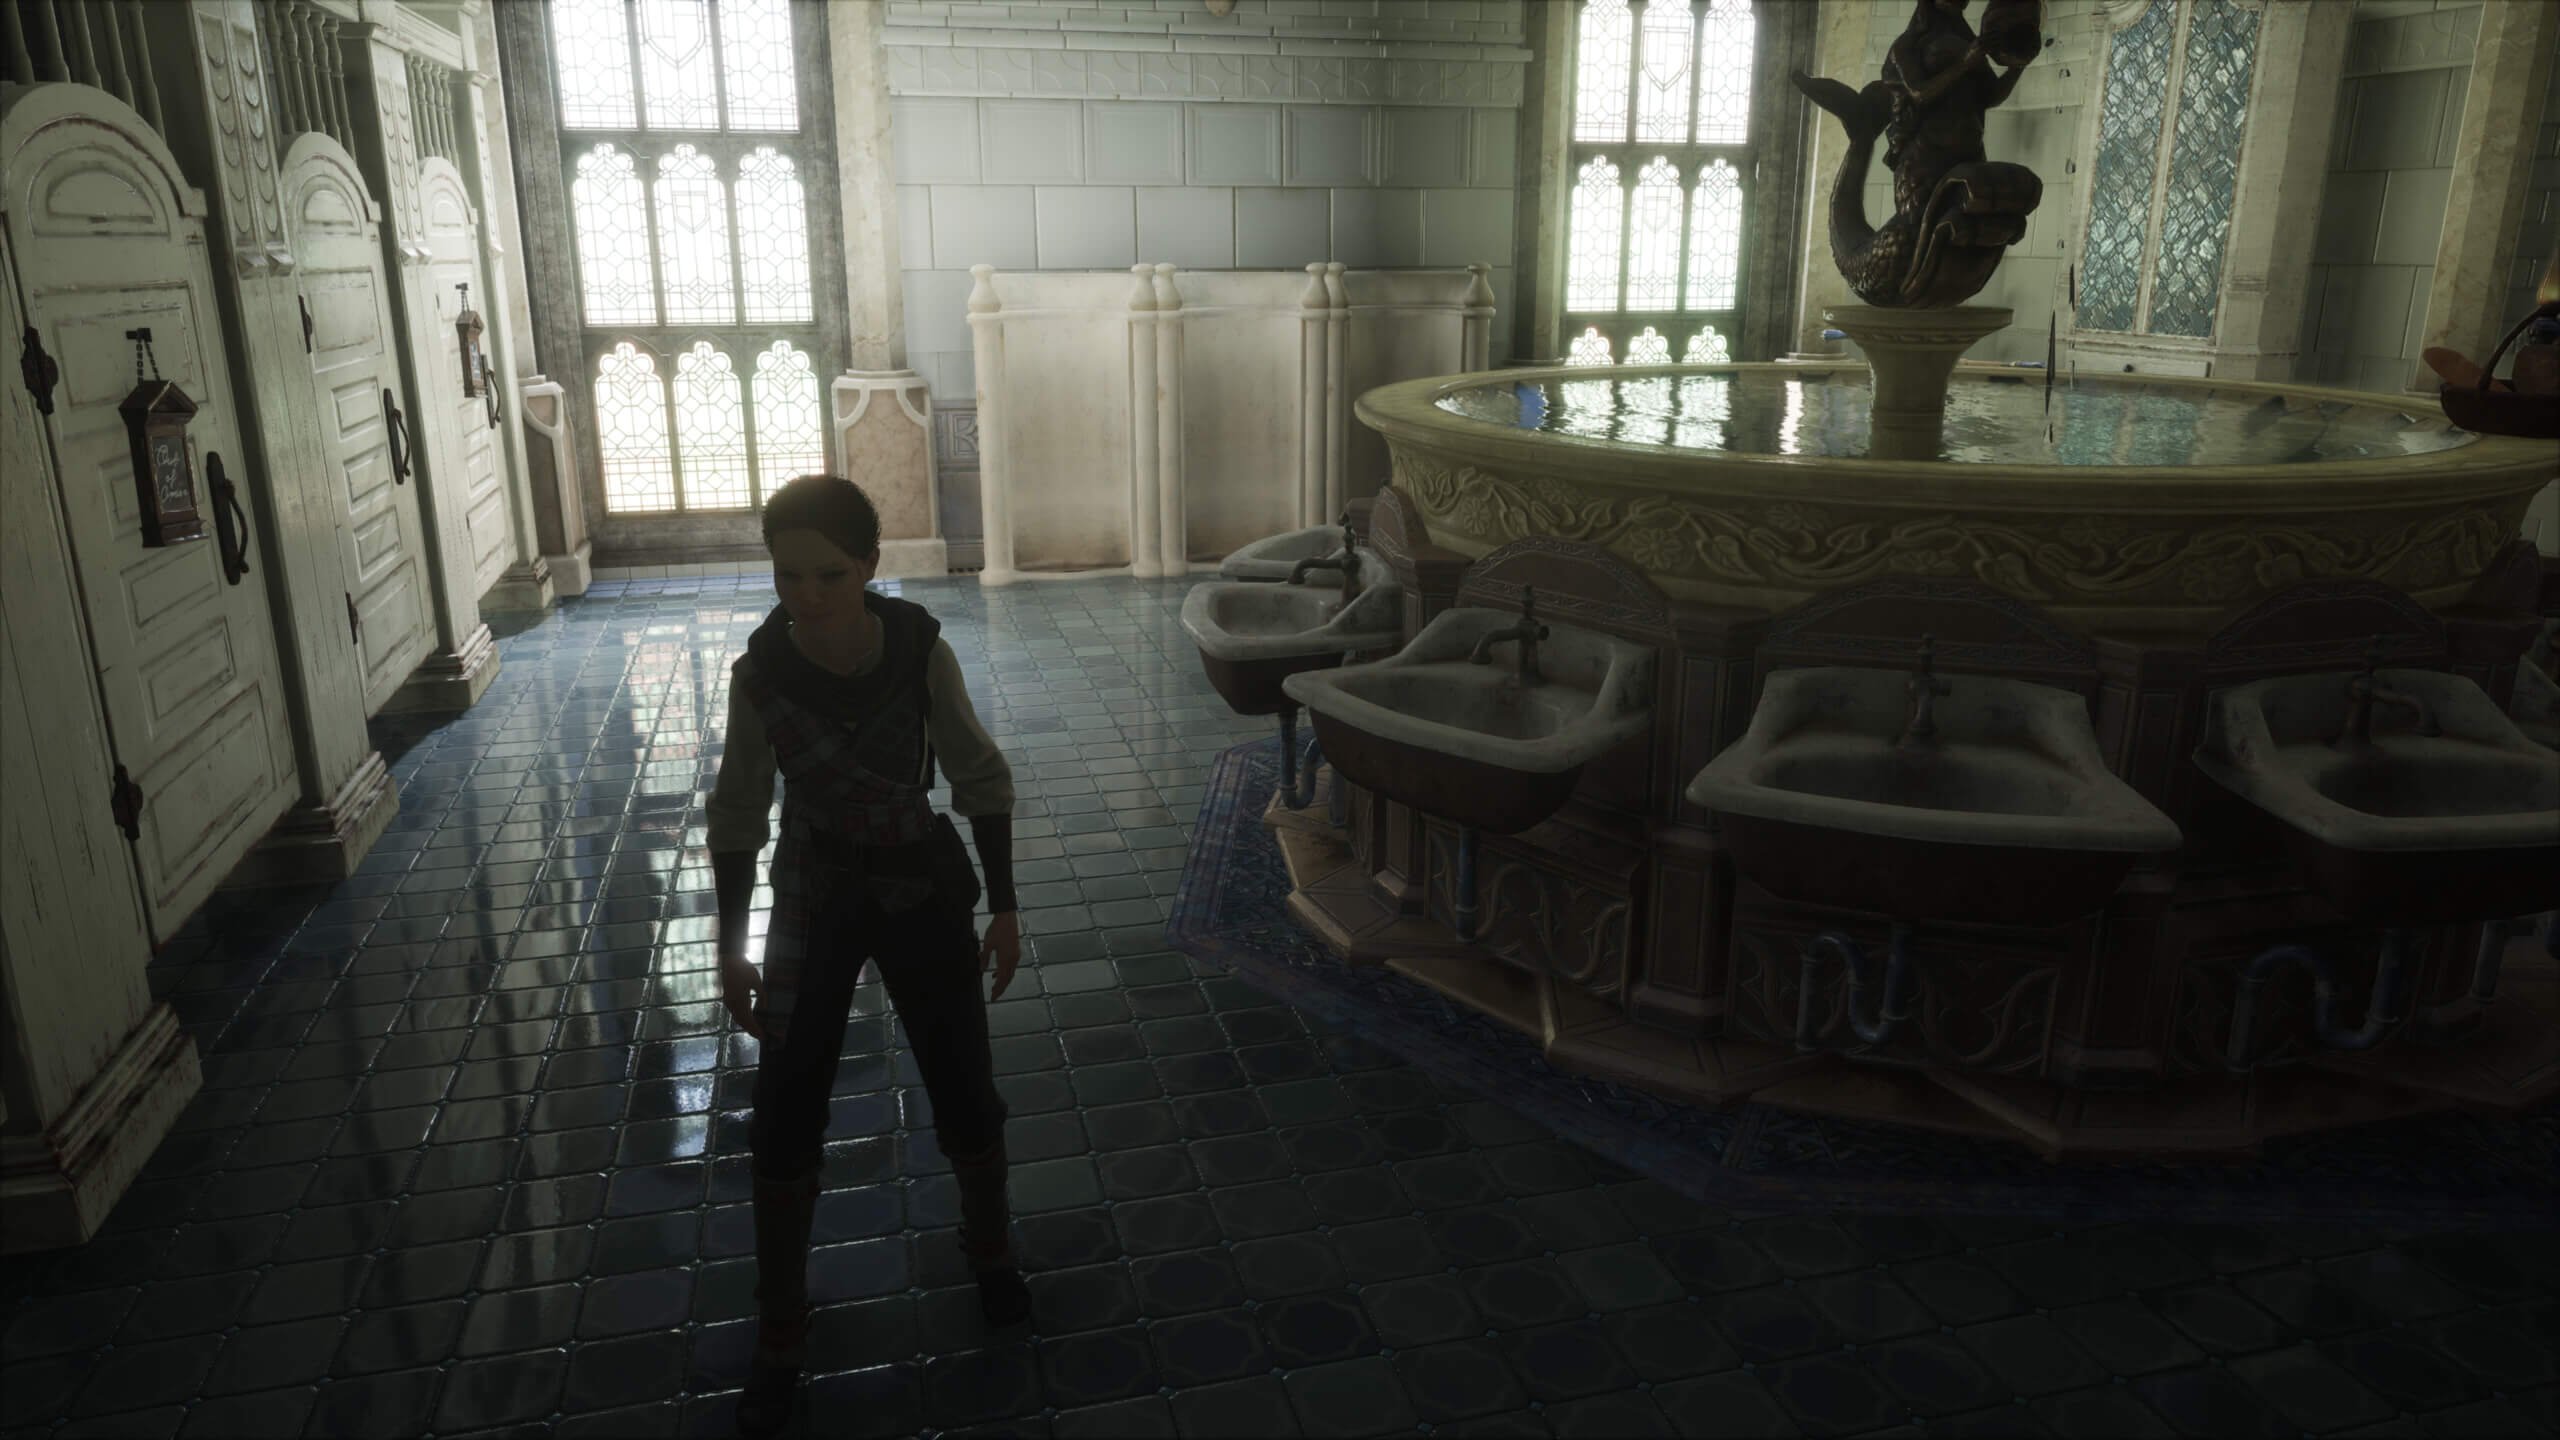
- Carefully adjusts gamma, exposure, and shadows, so the game uses the full colourspace and dynamic range of light
- Adjusts the lens and auto-exposure to reduce window glare from adjusting gamma
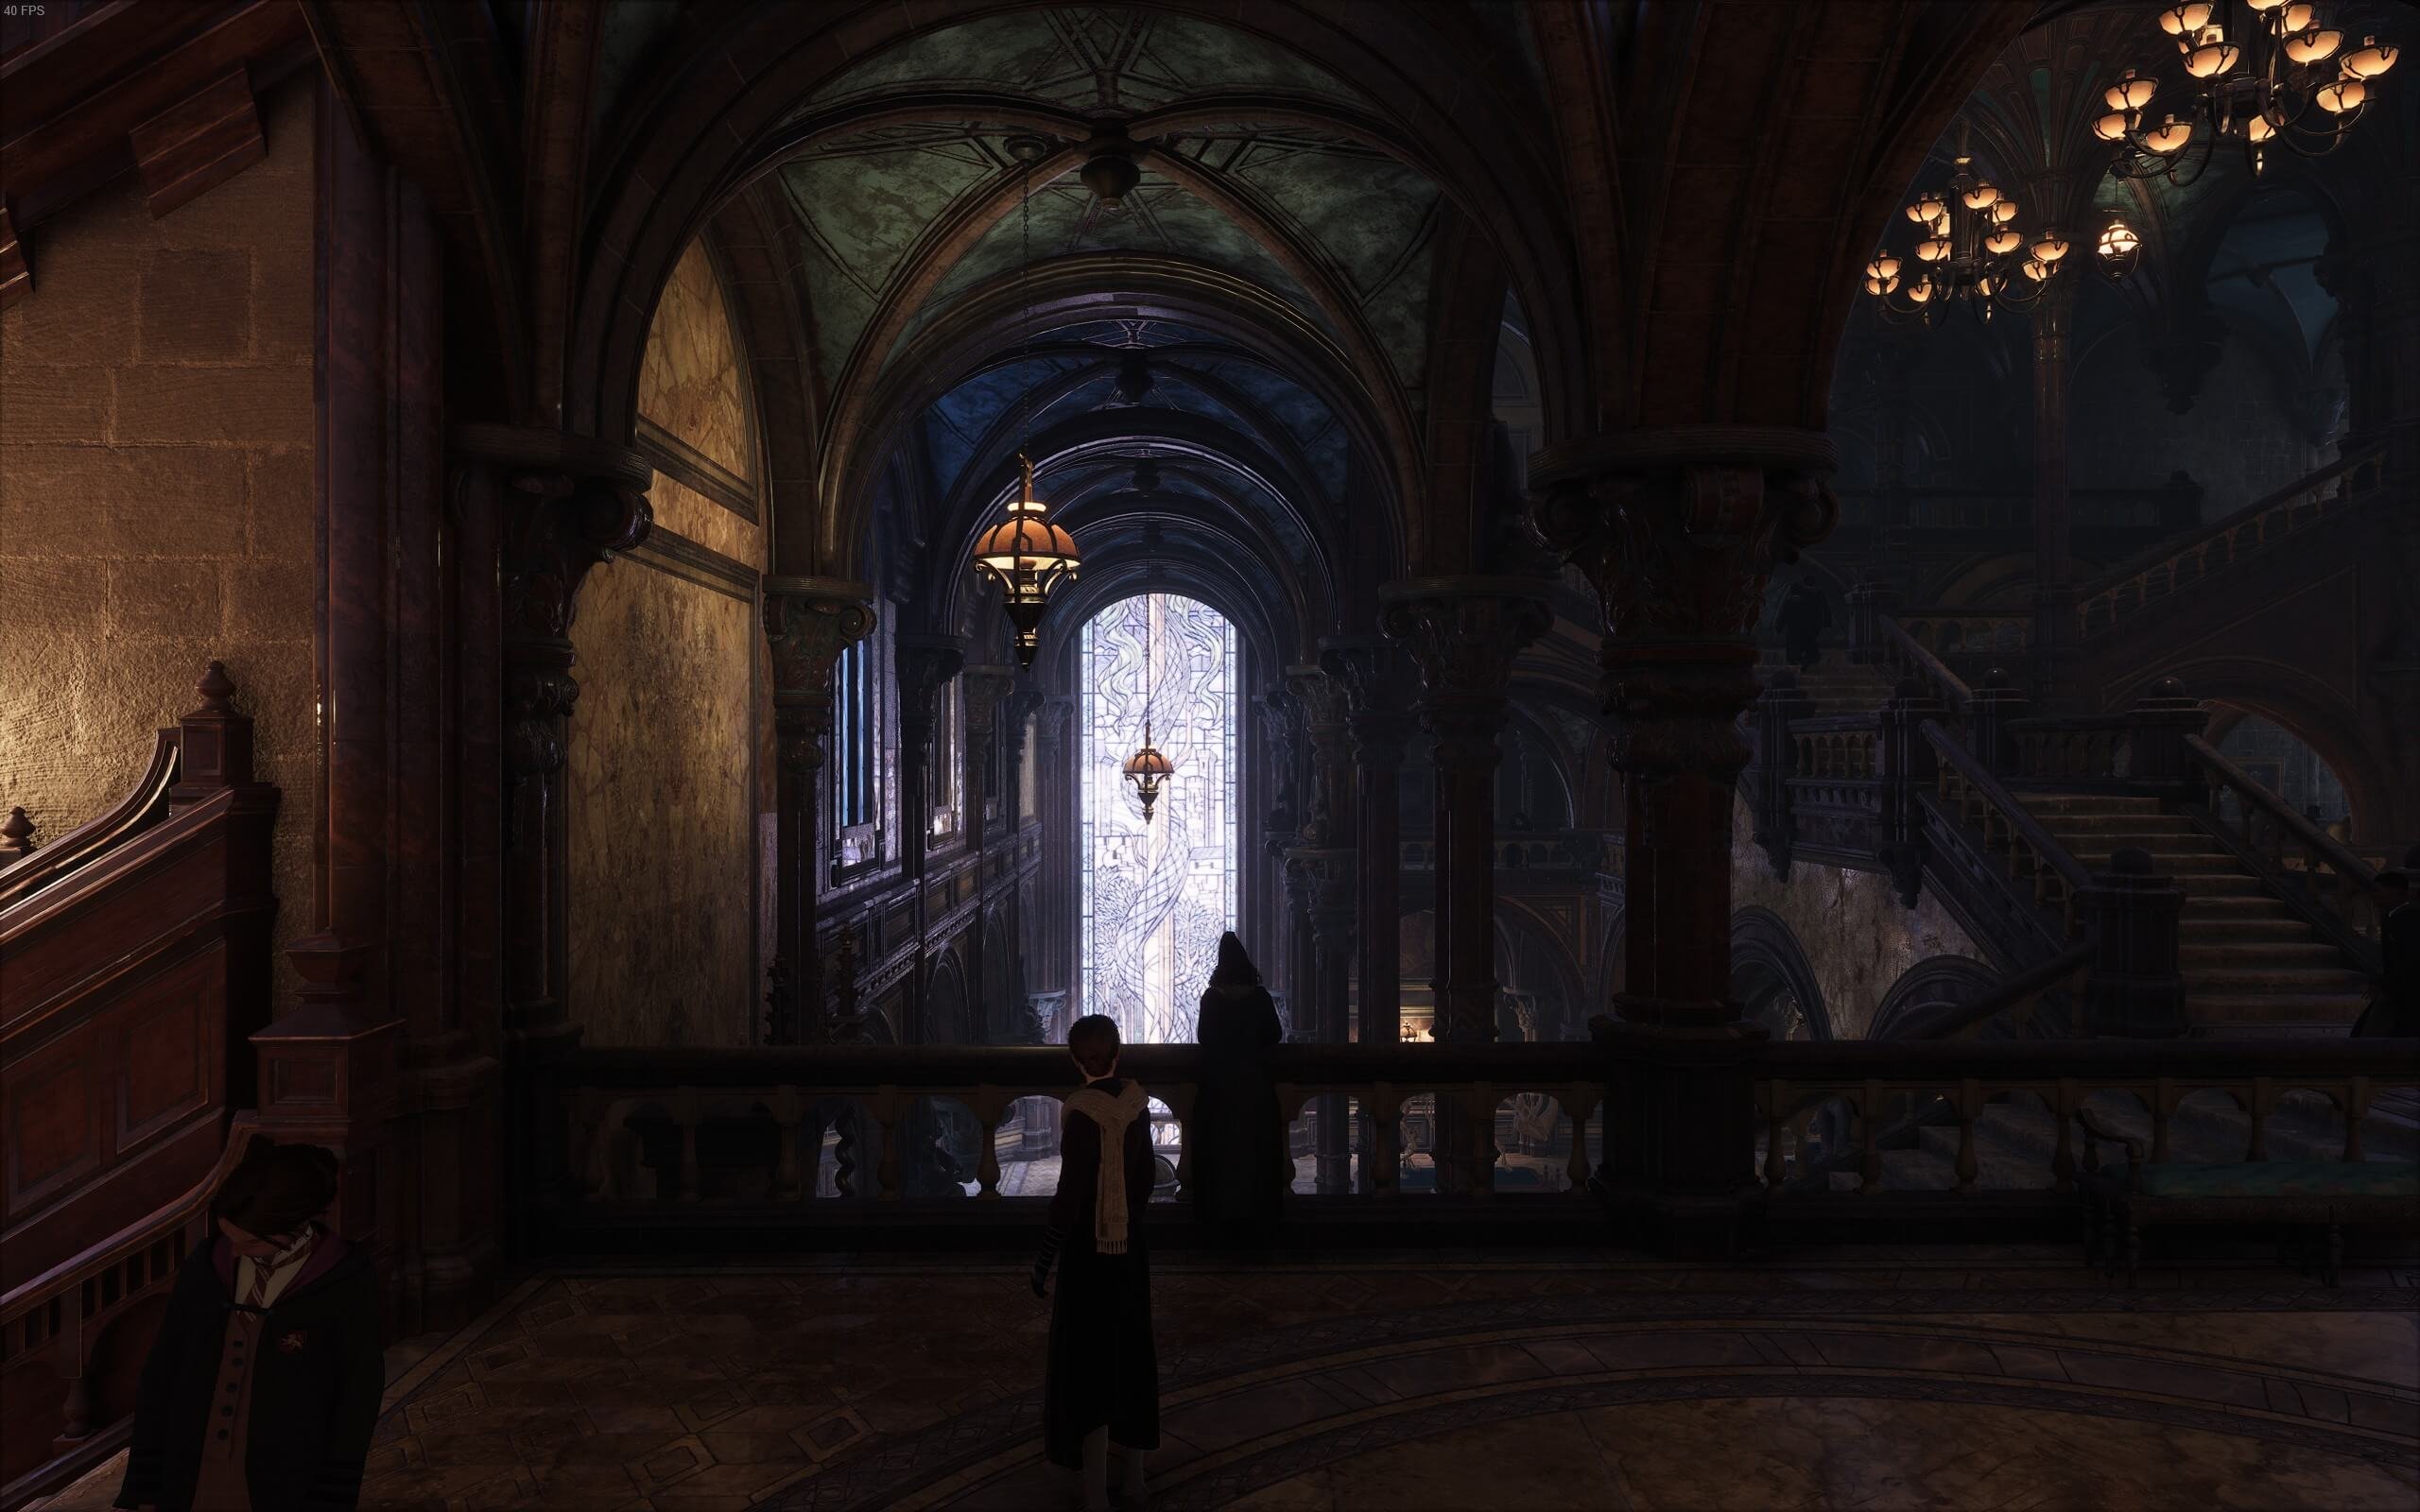
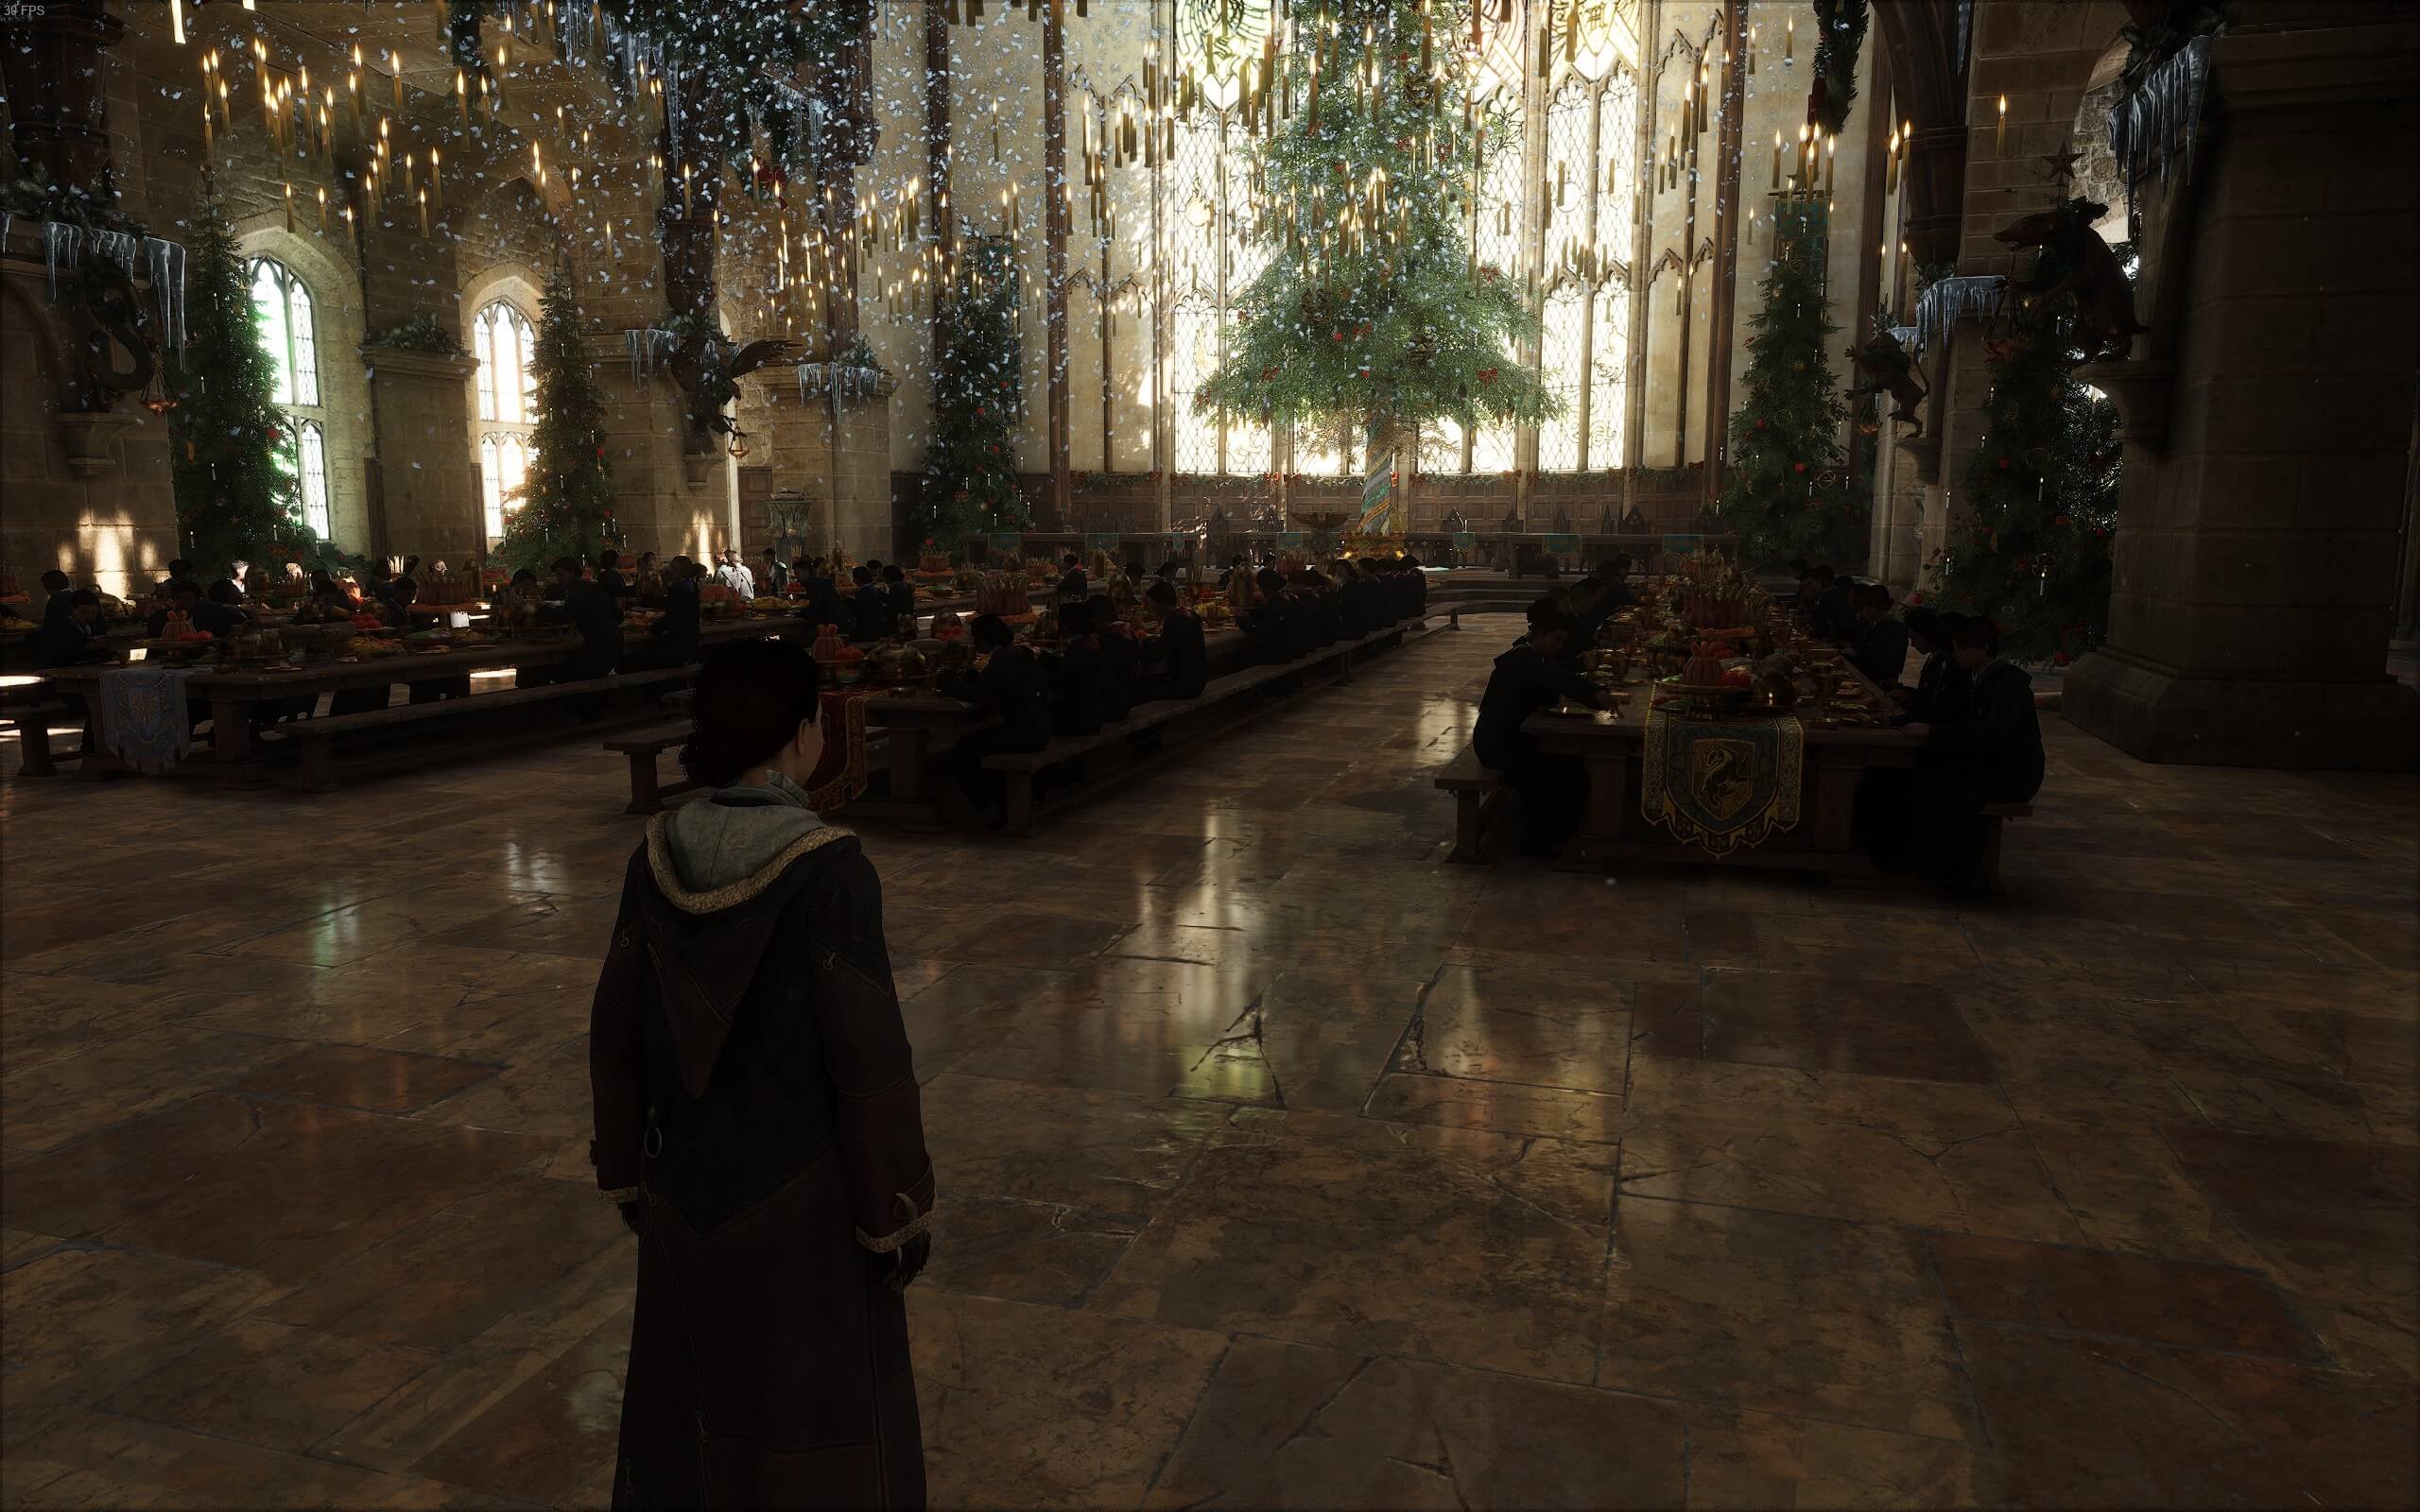
- Enables global illumination (SSGI - non-RT versions only) which makes light and shadows look far more "real". SSGI runs at 50% res which saves 10–20 FPS with no visible change in quality
- Tweaks fog so its more realistic - fog now moves and swirls in light shafts eerily like real fog. Fog flickering in light shafts is fixed
- Water in lakes and ocean now uses raytraced reflections, with reflections optimised so they are stable and minimise pop-ins
- Cleans up non-RT screenspace reflections and adds shadows to them (for example boats on the water cast shadows)
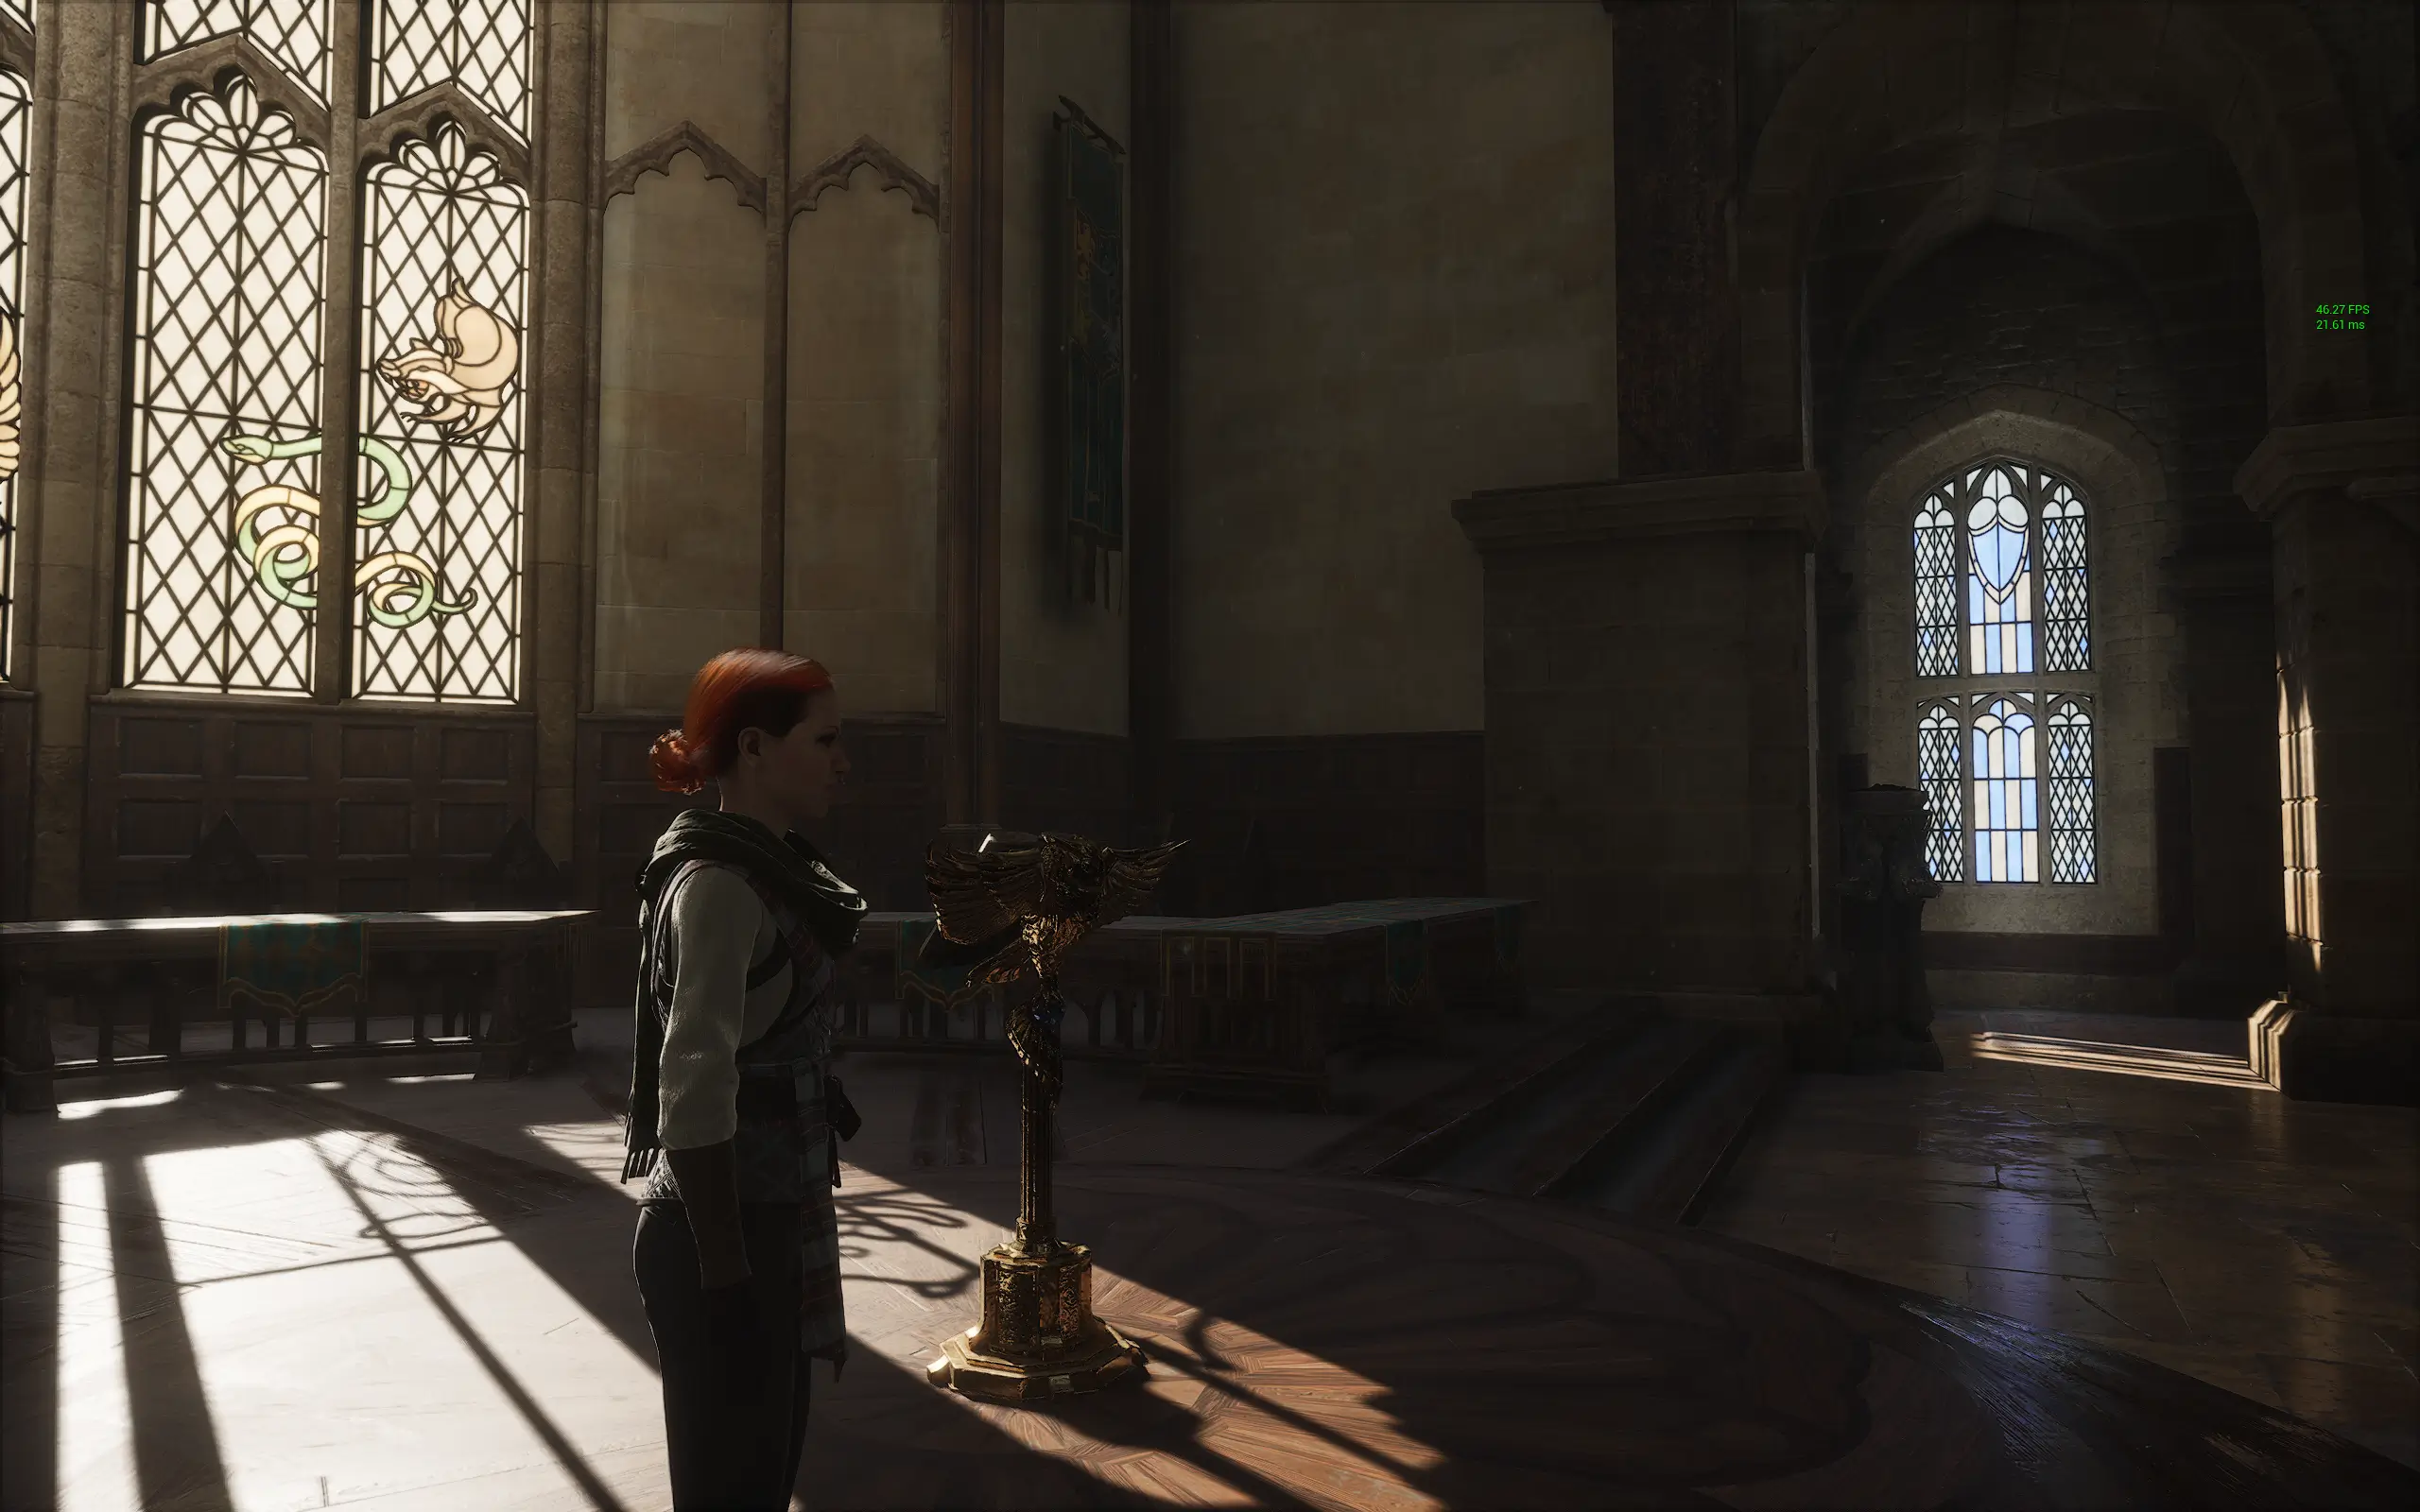
- Shadows are now augmented by SSGI (non-RT) and improved RTAO (RT-only) and look more full and realistic. Shadow pop-ins are fixed in almost all cases. Flickering shadows are fixed in many places, and reduced where they can't be fixed (yet)
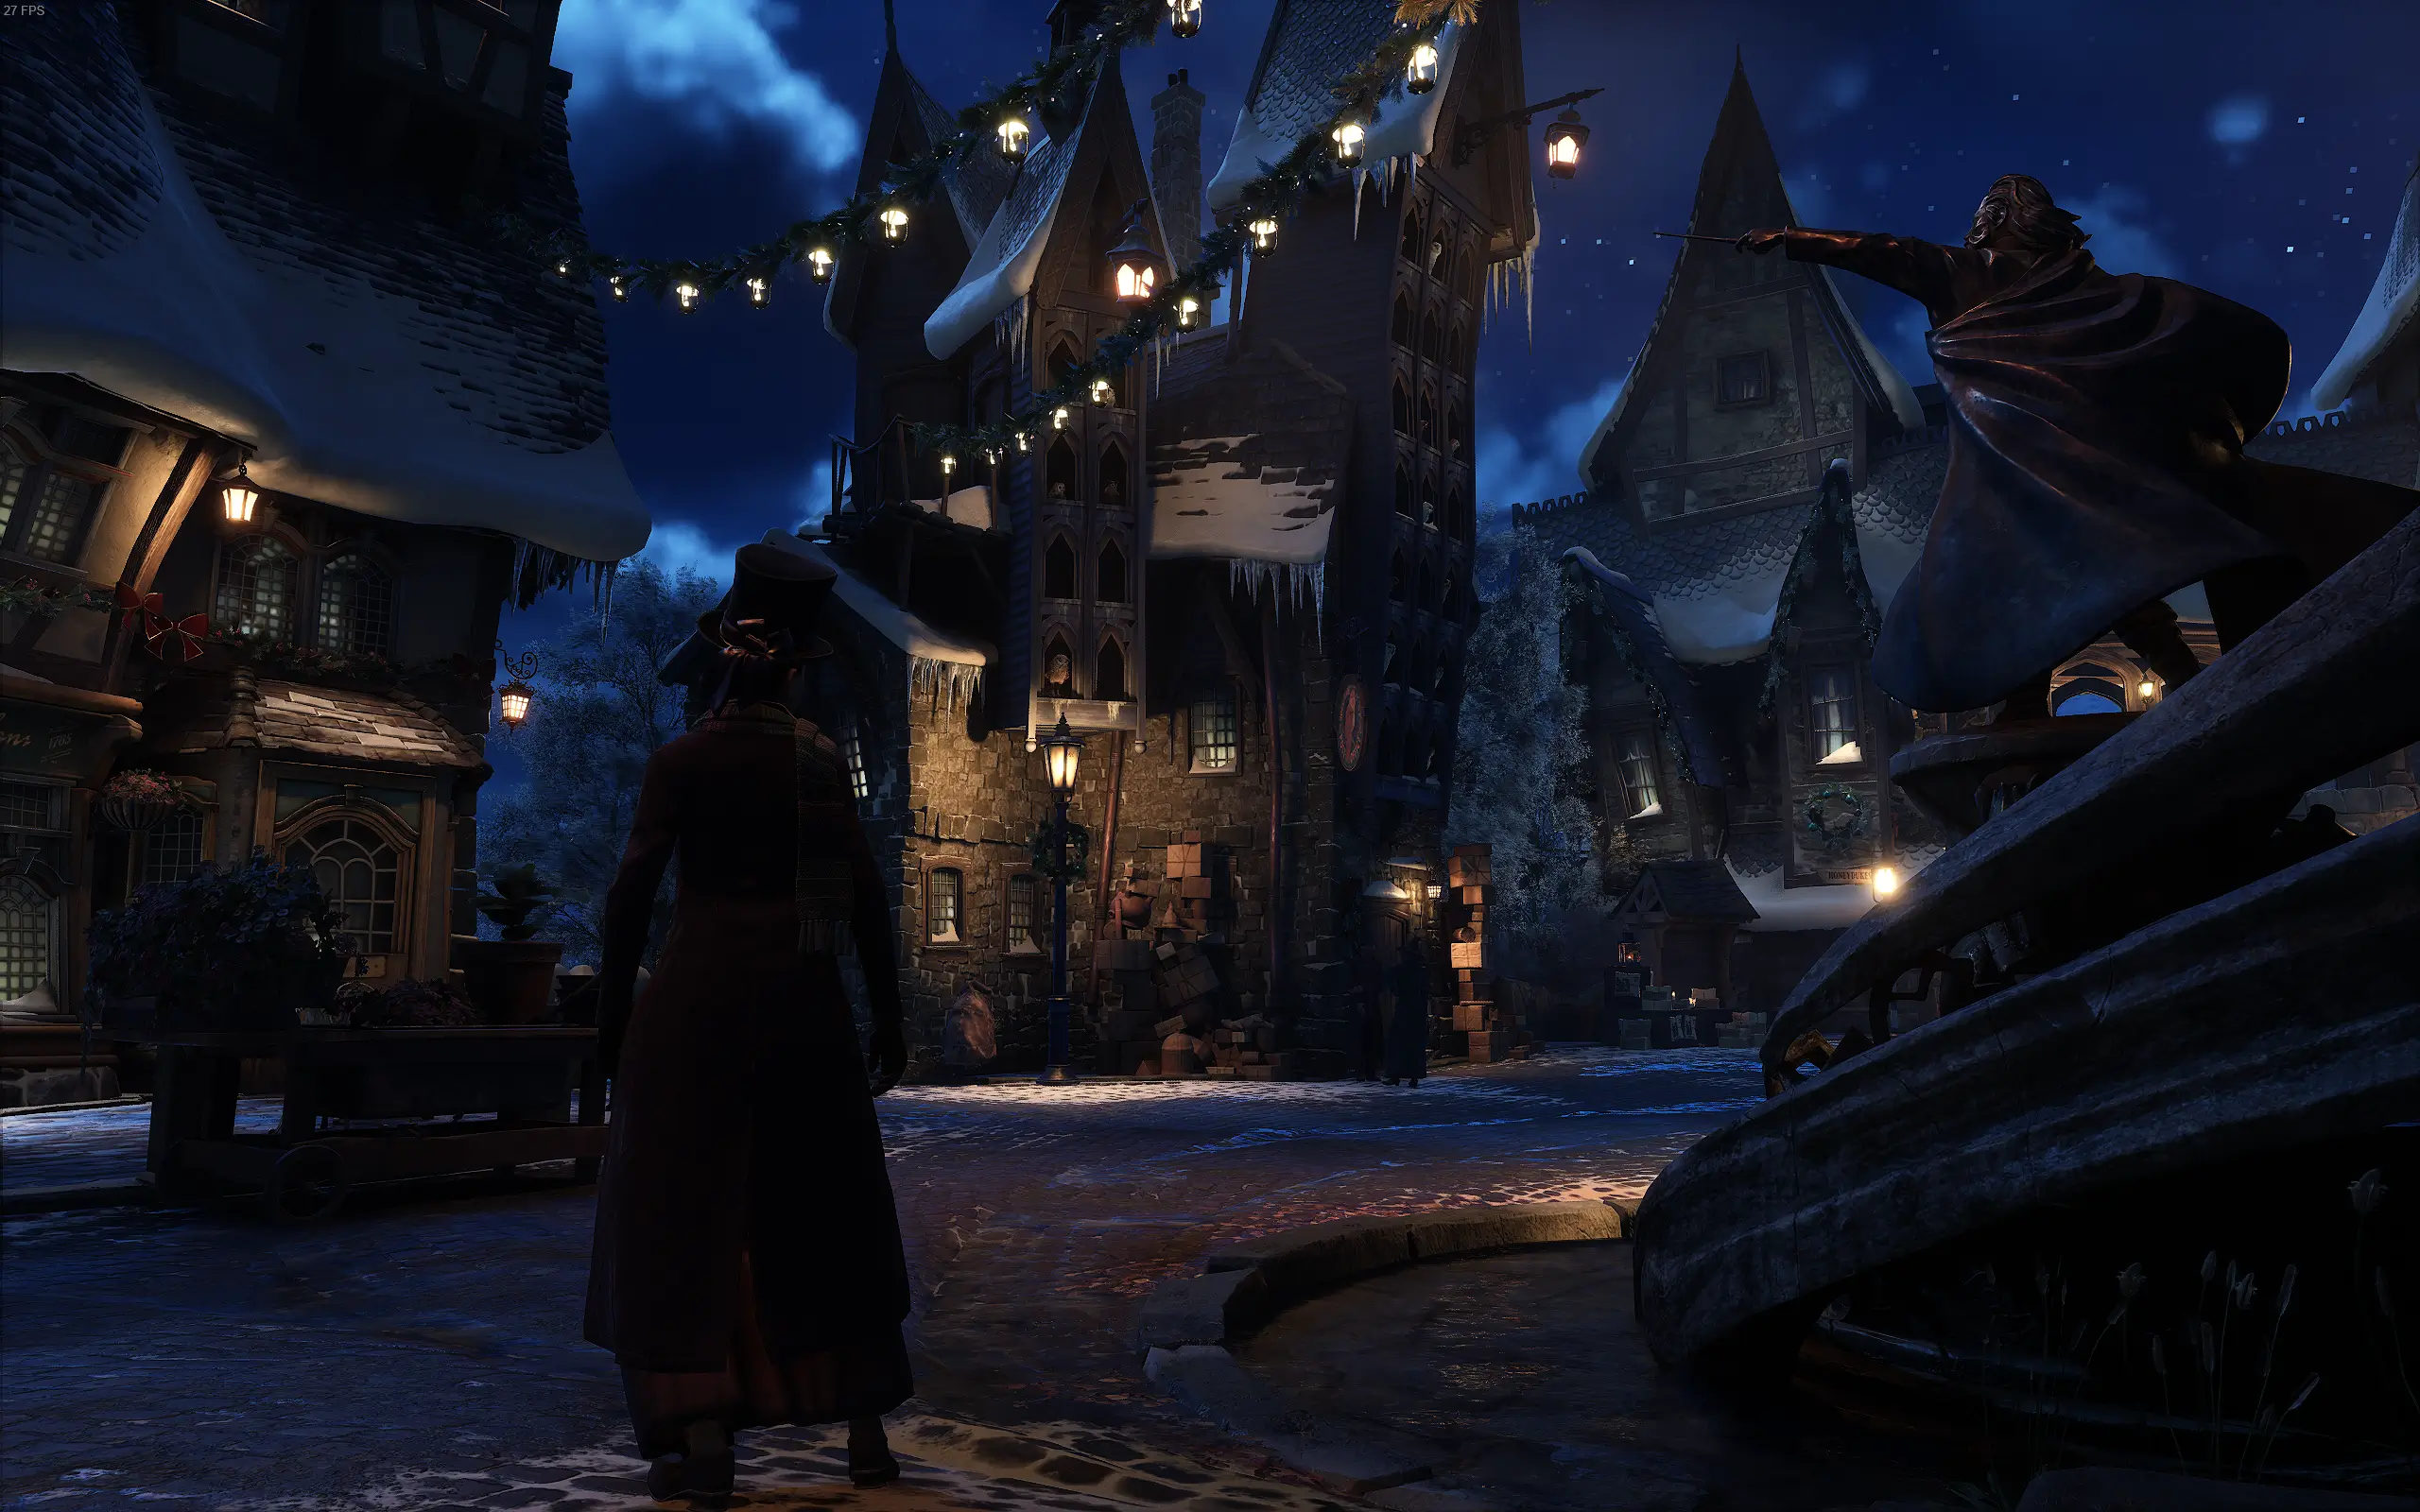
- Draw distances grass, shadows, and how far away light is cast by light sources is increased to the engine's maximum. Light pop-in is fixed in most places and minimised in others
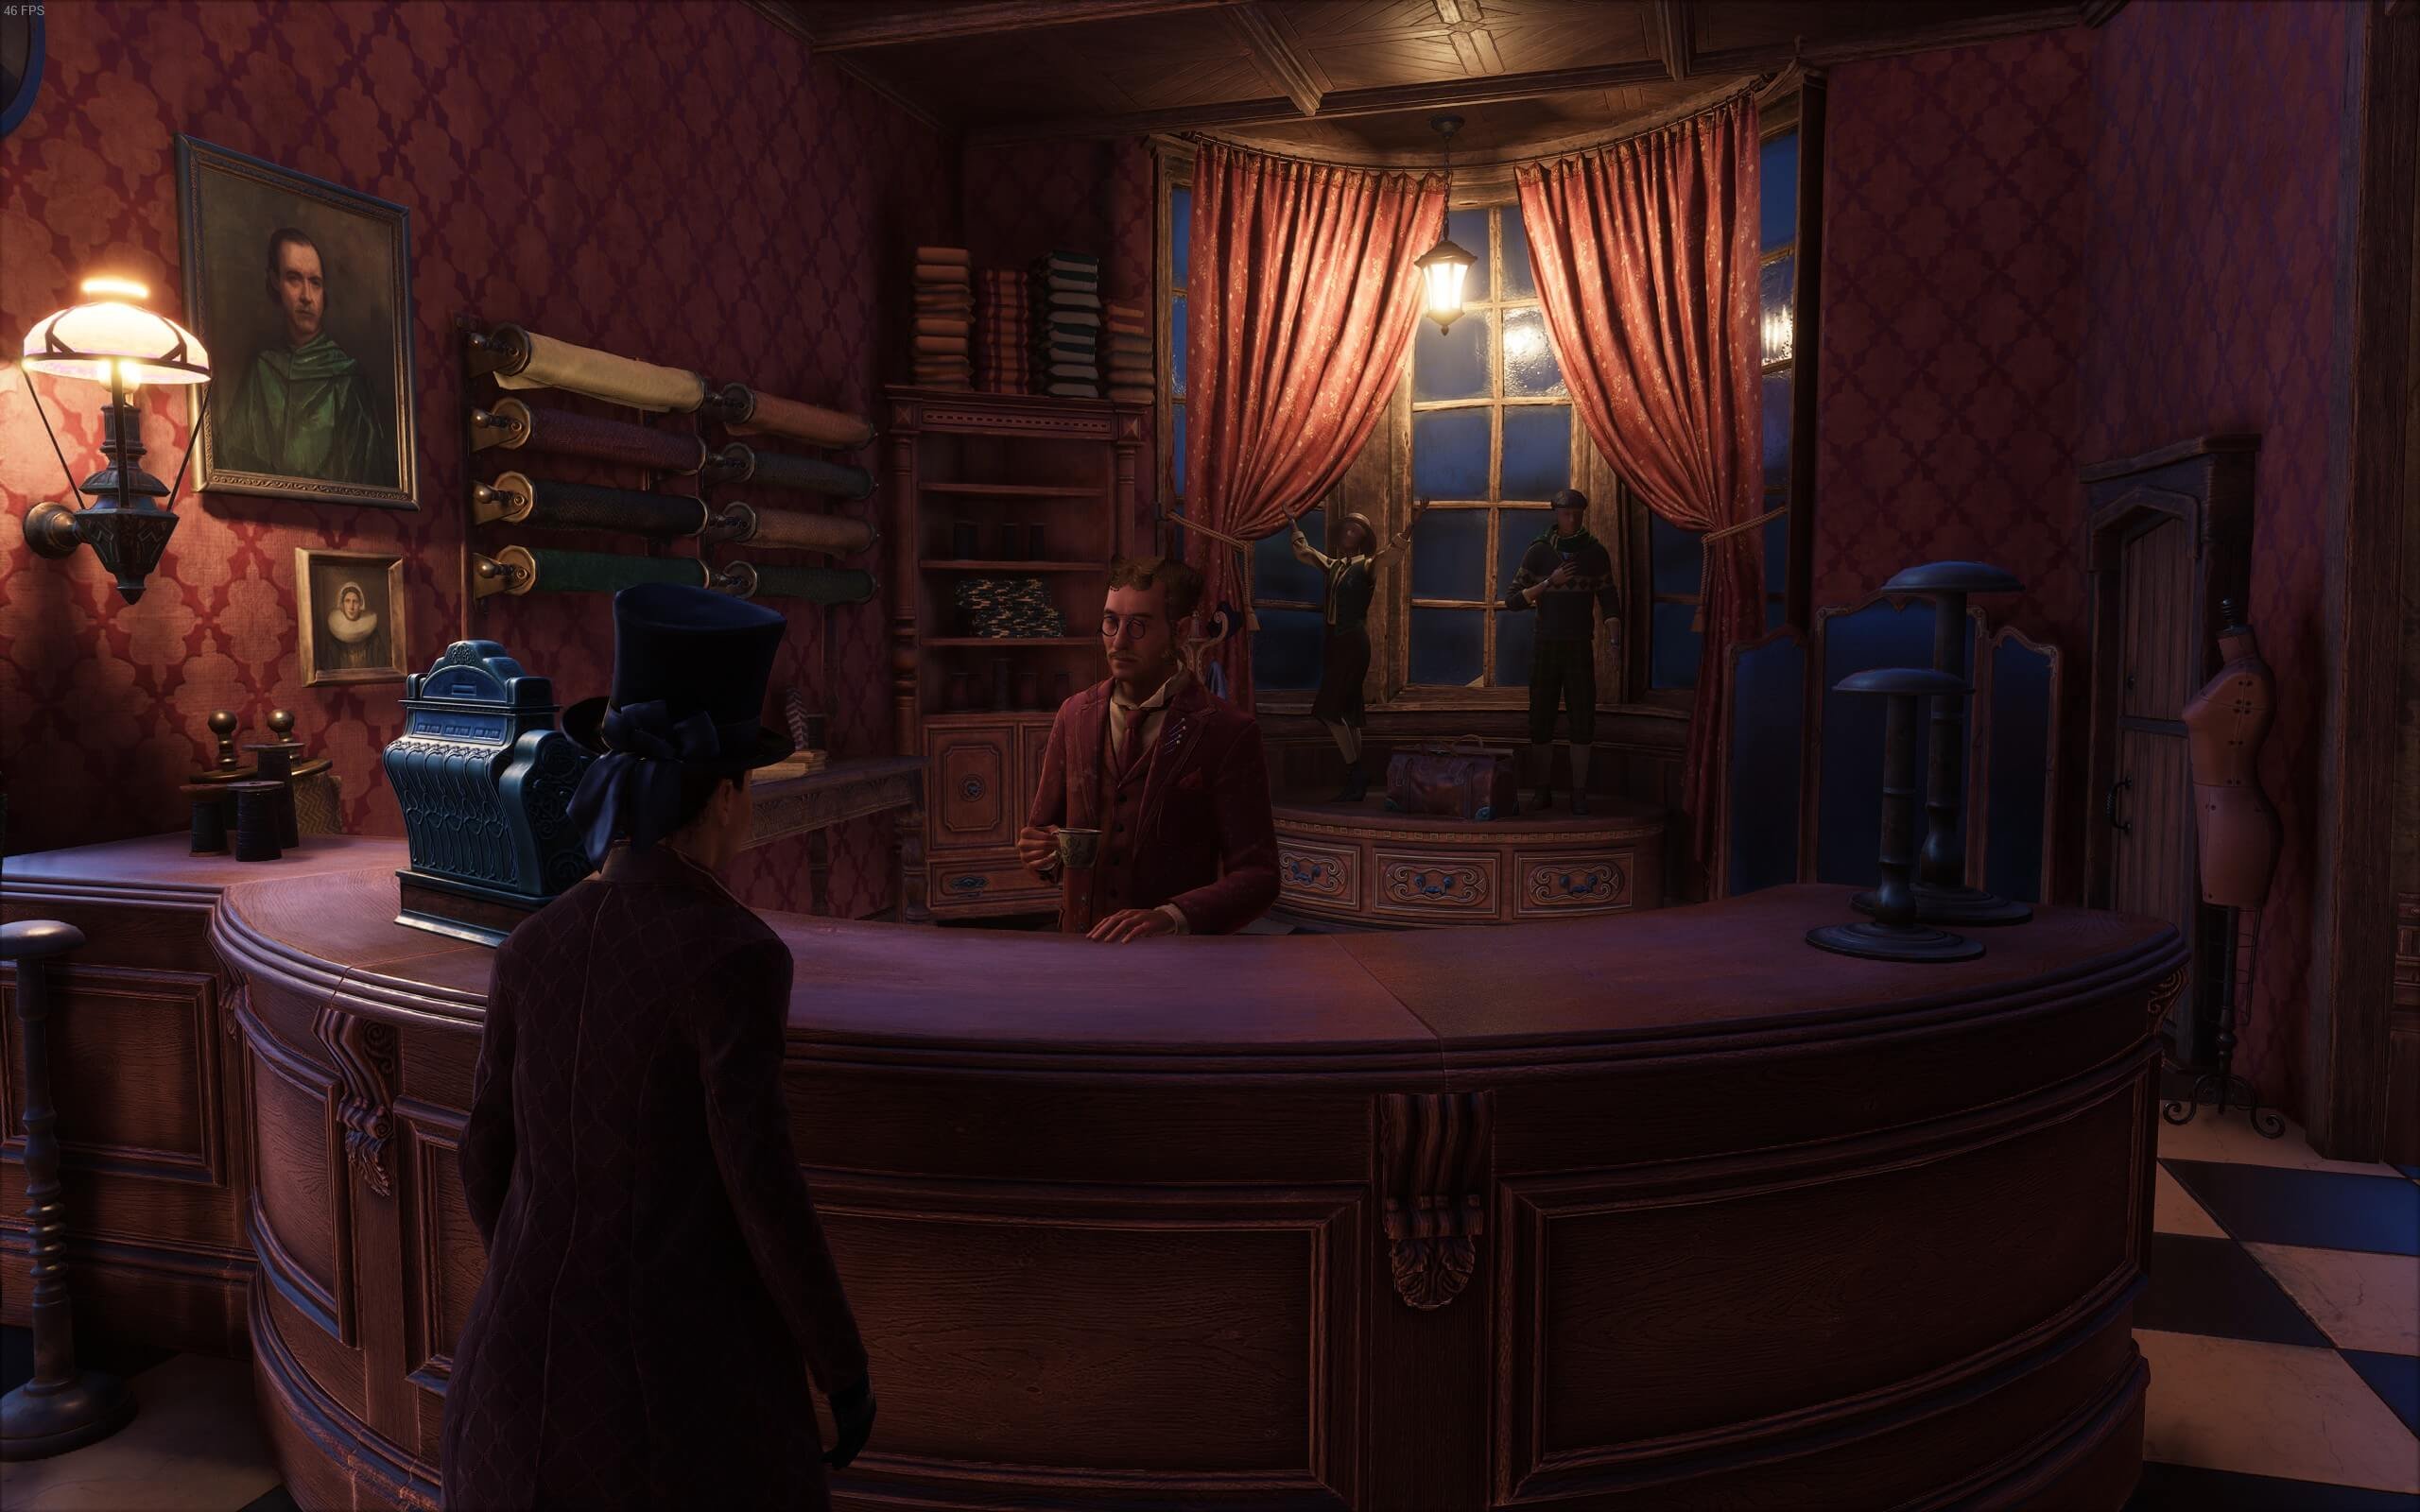
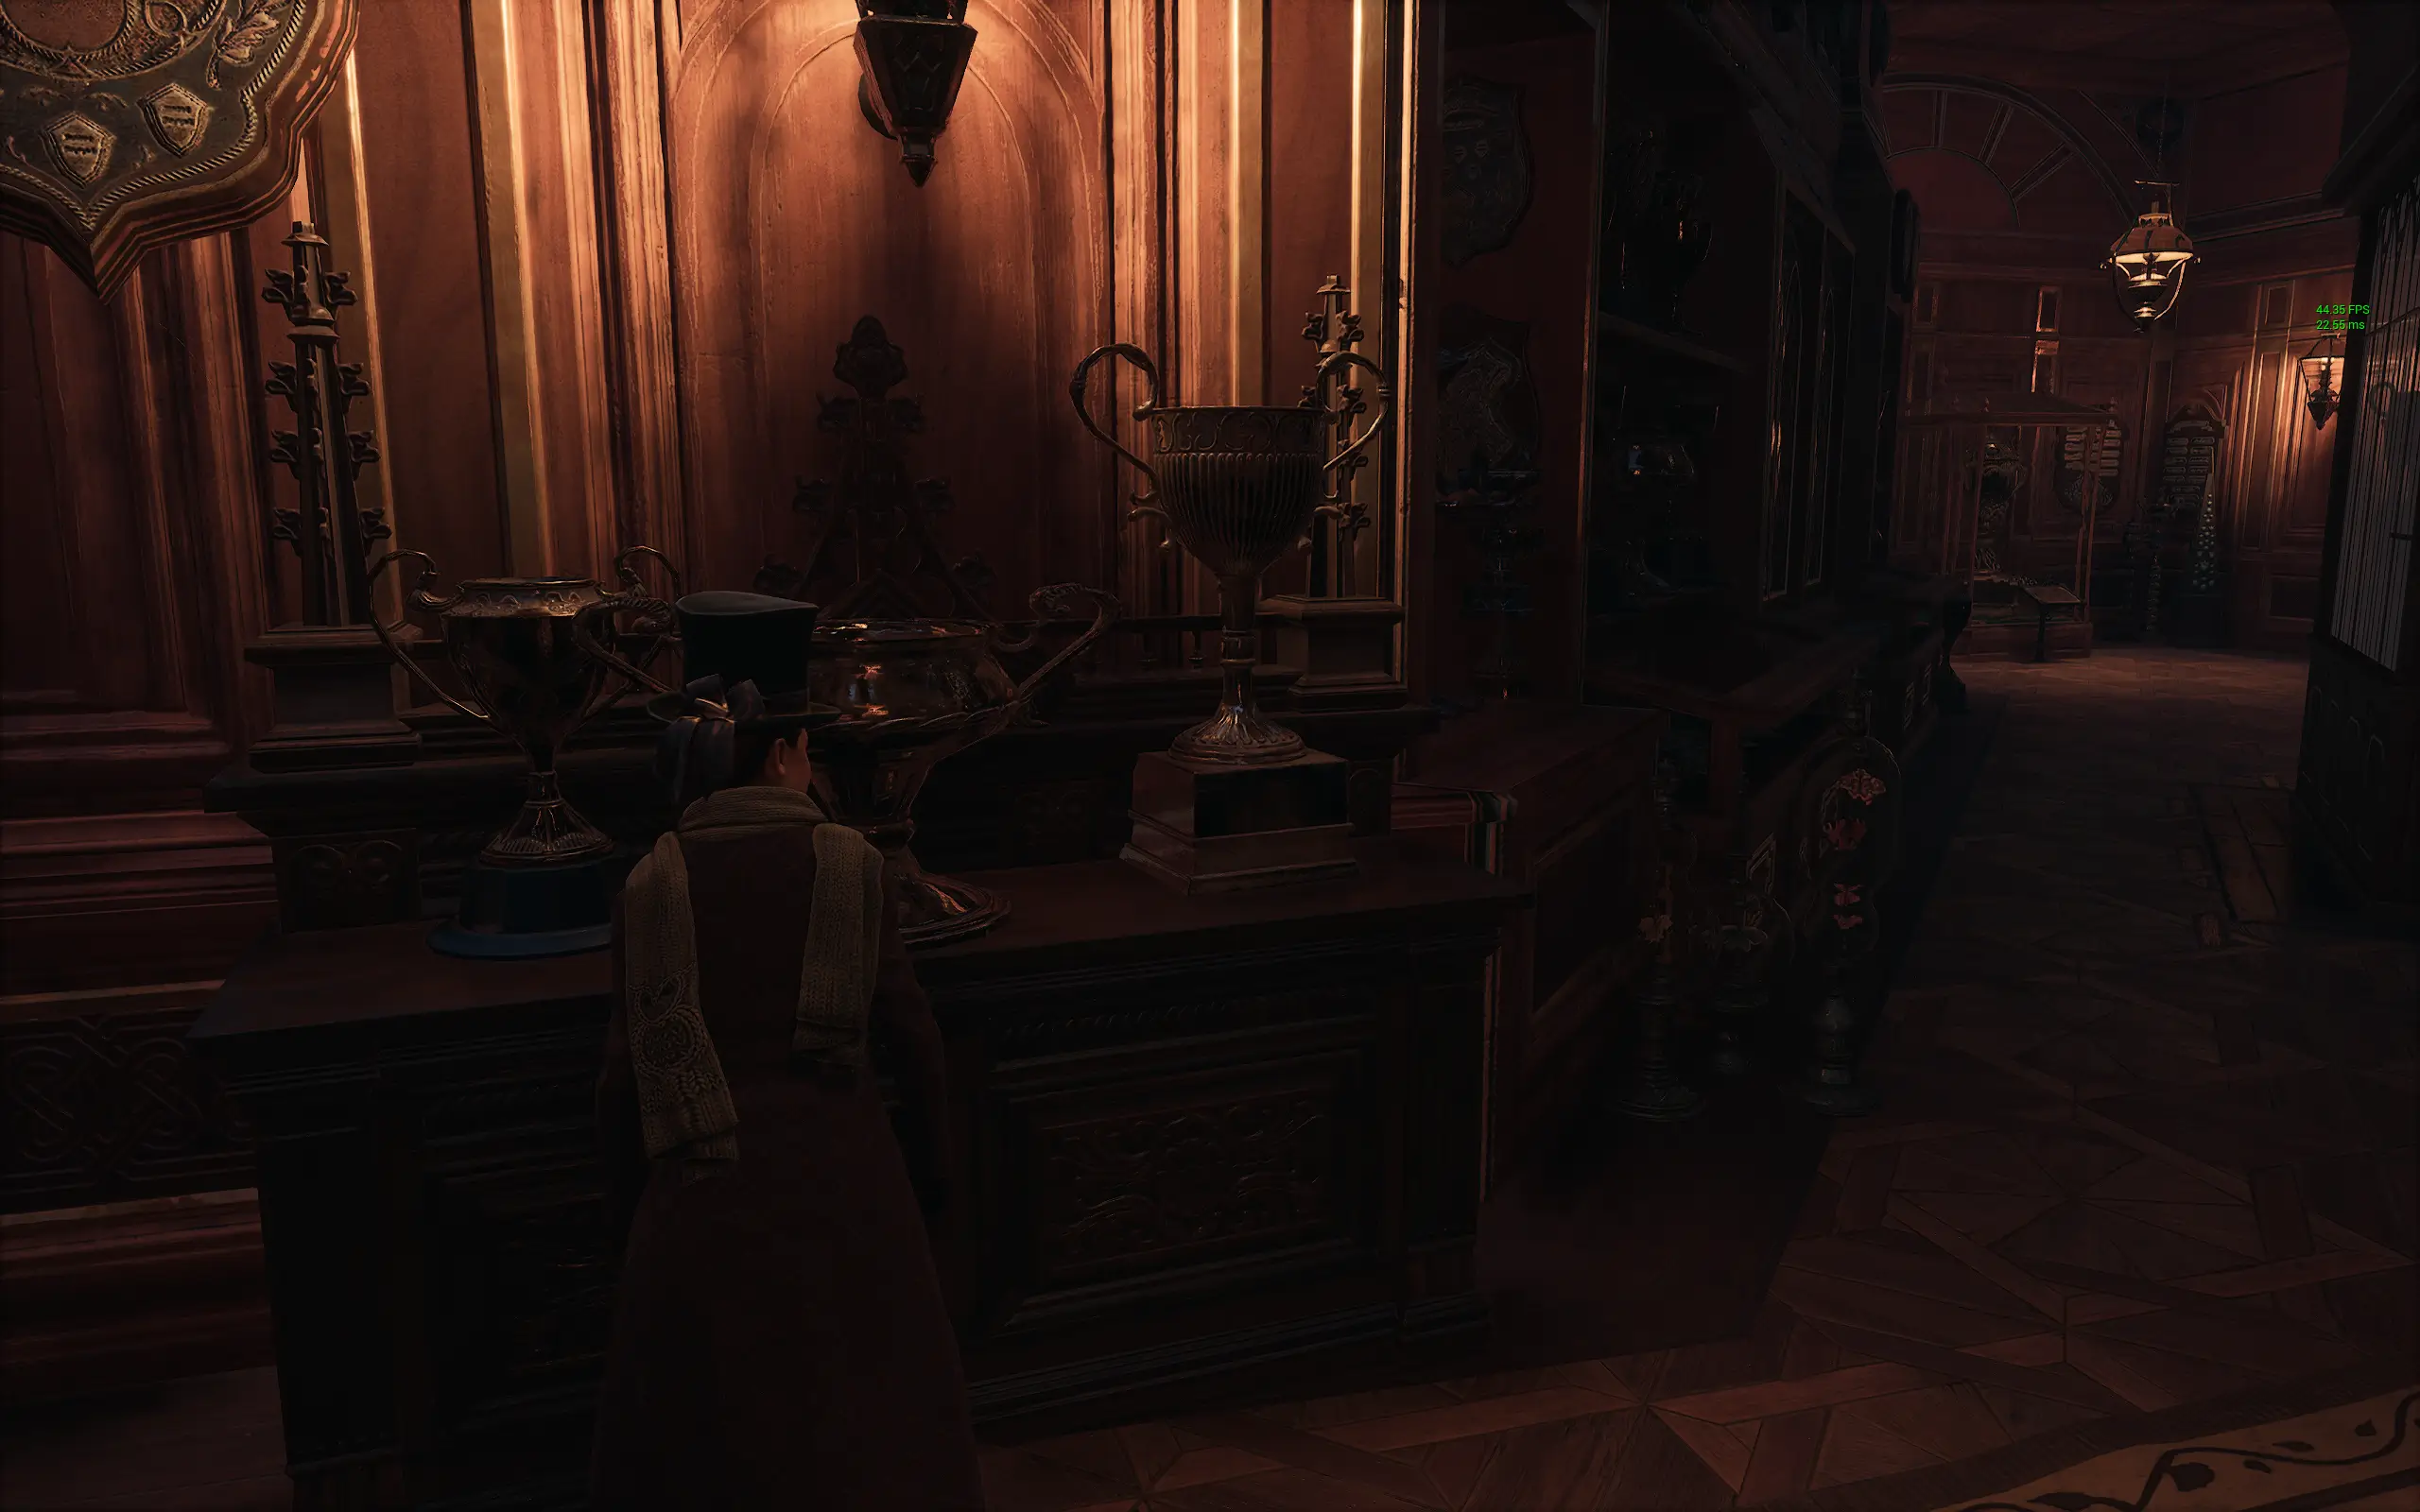
- Tweaks bloom and the colour depth to 32-bit floating point, and uses UE4's new filmic colour, so windows and lights look much nicer and everything looks like it belongs together rather than having to be hidden behind a haze
- Slightly increases the amount of grass, because it looked a bit sparse
- Dramatically tweaks ray traced reflections so they are less fake and distracting, and fit into the scenes better. Use less FPS, and look more believable, especially on floors and walls
- Sharpens the image and tweaks textures and TAA sharpening so it's more consistent on grass. (You shouldn't need to use DLSS or FSR sharpening as well, but you can if you want)
- Tweaks depth of field so it looks nicer and like it belongs
- Tweaks raytracing overall so it looks more like it's a cohesive part of the scene and doesn't stand out
- Significantly improves FPS for raytracing and non-raytracing, and clamps RT so poorly optimised locations are less able to kill your FPS
- Included a script and tool to clean up system memory which I find helpful in between launches. (I can't find any information about the license or distribution for this tool and haven't been able to contact the author, so I'm assuming it's okay to distribute, please let me know if not)
To Do
- Clamp RTAO in the Snidget quest so unoptimised tree assets don't kill FPS
- Clam RT culling distance further (20000.0f?) so it can be enabled on Insane RT
- Fix TAA jitter accumulation causing pixellated hair in Ansel
- Fix DLAA weird memory competition bug causing textures unloading
- Work out how to push the GPU harder if using async raytracing option below
- Fix the stupid pixelated window lights that move across the room (they're actually shadows)
- Fix stupid bright windows inside hogsmead
- An installer that lets you select all the option?
- Increase foliage tick rate in Performance version
How to Use
Looks like a lot of steps but it's worth it. Many people in Posts say this is the first time the game has worked well for them.
-
- Run the game at least once
- Press Windows + R and enter the following to get to the right folder:
%LocalAppData%\Hogwarts Legacy\Saved\Config\WindowsNoEditor\
- Copy the new Engine.ini - whichever one you like - and overwrite the original file
- Do NOT set a poolsize larger than 2000 with v4.0-streaming. We may need to find a perfect size, for now 1000 to 2000 work well, and possibly even 600 for low-end cards. Setting this to 3000 or 6000 like we used to will just crash!
- (Recommended) In NVidia Control Panel, go to Manage 3D Settings, then find set Shader Cache Size in the list. Set this to 10GB (or more if you have the space, or 5GB should be enough if you can't spare 10). This allocated more disk space for compiled shaders, so the game doesn't have to compile them while you're playing (which causes hitching). This step is "probably okay" if you don't do it, but for now I still recommend it
- (Required) On the first graphics settings page about 2/3 down, click Image Calibration and follow the instructions. I am working on Pantone calibrated screens and this mod uses every inch of available colour space, so you'll want to make sure your black level is set correctly
- (Optional) For extra FPS open GameUserSettings.ini in the same folder as above, and set FullScreenMode to 0 and LastConfirmedFullscreenMode to 0 also. You shouldn't need to write-protect this file any more as this mod will enforce fullscreen, as long as you don't change this option in-game
- (Recommended) I now also recommend to disable Control Flow Guard in Windows. Click Start > type Exploit Protection > Click Program Settings > Click Add program to customize > click Add by program name > type HogwartsLegacy.exe > Scroll down to Control flow guard (CFG) > Click Override > Switch it to Off. Done! You should get even fewer hitches. If the game was running you need to restart it
- (Required) Update NVidia DLSS with the file included in 4. DLSS_3.1.11, using the instructions in the readme in that folder
- (Required) Raytraced reflections require DLSS, DLAA, or TAA in this game. They may (probably?) won't work with other technologies
- If you have 12GB of VRAM or more, you will need to specify the pool size to prevent a bug. See Pool Size below
- (Required) If you're using any raytracing in-game, you must set the RT quality to Ultra. I have already overridden the important RT settings to get you more performance, and I don't test with lower RT levels because they have problems
- (Recommended) install Stuttering and Low Performance Fix (SPLF)
About flush-mem
I've included a basic tool that flushes unused memory in Windows. A lot of people recommend ISLC, however if ISLC is sitting in the background flushing memory while the game is running, this will cause you problems. Either set ISLC to manual mode while the game is running, or just use flush-mem.
I also do not recommend reducing the system time resolution to 0.5 in ISLC.
Low GPU usage?
- For the first few minutes after loading, HL can run at low GPU
- Be aware switching to task manager lowers the priority of the game so will show you lower GPU - you need to use RivaTuner or MangoHUD for accurate GPU usage
- There are very few problems (if any) with this mod. If you have problems see Troubleshooting below or tell me in Posts
Pool Size
Do NOT set a poolsize UNLESS you are using v3.x and lower AND have 12GB+ of VRAM.
v4.x streaming needs a small poolsize of 1000 to 2000. It may help to try between 500 and 2000, but the old settings of 3000 or 6000 will badly break with v4.x-streaming.
*****For v3.x and earlier, and 12GB+ vram only:*****r.Streaming.PoolSize=6000
r.Streaming.UseFixedPoolSize=1
RT Shadows
I don't recommend using RT shadows. It barely makes a difference and causes some weird problems, and Unreal Engine's raster shadows are already excellent.
You can set quality settings however you like. Ultra+ Full will override a handful of settings to keep things looking nice, and Ultra+ Balanced does this a lot less, and Ultra+ Performance does it barely at all.
If you have textures not loading properly, first try changing from DLAA to DLSS Quality, Balanced, or Performance.
If you'd like my recommendations (not even for this mod, just for the game in general):
- For 8GB+ graphics cards just set everything to Ultra 😊
- For 4GB with no raytracing, I would set all graphics settings to Ultra, and if you have problems Set Textures, Sky, View Distance, and Foliage back to High. There isn't a large visual difference unless you're on 4k.
- If you feel you need more performance, I'd set everything to High, but leave Population one step higher (e.g. Ultra) since faces aren't great in this game
- For 4GB, set all graphics to Med or High (except if you want to leave Population one step higher). I don't think you'll be able to use ray tracing except for maybe Ambient Occlusion
- For me personally, I disable Motion Blur and Chromiatic Aberration, but I leave DoF and Film Grain enabled
Extra Option 1 - Sharper or Softer Image
I saw someone using this mod with LumaSharpen (Reshade), however you probably don't need to. If you want a sharper image, try changing r.Tonemapper.Sharpen=1.0 ... l in the Engine.ini ... values of 1.0 to 2.6 work well...
r.Tonemapper.Sharpen=1.8
Extra Option 2 - Vanilla Colours
To go back to the original game colouring, simply delete these lines:r.Color.Min
r.Color.Mid
r.Color.Max
Extra Option 3 - Original Ultra+ Colours
To go back to the original Ultra+ colours (v3.x and earlier), change these lines to (replace the dots after Tonemapper with '=', that's so Nexus doesn't change things):
r.Color.Min=0.007
r.Color.Mid=0.77
r.Color.Max=1.0
r.TonemapperGamma...1.20
Extra Option 4 - Vignette
To disable vignette change the tonemapper quality from 2 to 0. This disables the higher quality post-processing unfortunately:
r.Tonemapper.Quality=0
Extra Option 5 - Disable Fog
Just a quick note to say DON'T set r.Fog to zero - it causes crashes. Instead to disable fog, add the following anywhere under [SystemSettings]r.VolumetricFog=0
Extra Option 6 - Sharper/Softer Skin Texture
Some people seem to not like the skin subsurface scattering. Face quality is something I'm still working on. To disable or reduce subsurface scattering, change r.SSS.Scale to 0.6 to 2.0 work well...r.SSS.Scale=0.6
Extra Option 7 - I want mirrors to reflect at full resolution
Change the following to 100%. Beware, on some cards this can kill FPS (others it's fine). Note some objects aren't reflected in mirrors. This appears to be a game bug and I haven't (yet) been able to fix it.r.RayTracing.Reflections.ScreenPercentage=100
Extra Option 8 - Fewer people
Some people prefer fewer people being around. This also affects performance, so you can just lower the number of NPCs and keep them at higher quality rendering. Just change from 1.0 to e.g 0.5 or whatever you prefer.pm.Populatijаvascript-event-stripped0.1
Extra Option 9 - User Interface (UI) Scaling
To make the UI smaller, add the following to the Engine.ini just above [SystemSettings], where "0.85" is the percentage of the UI you want. 0.70 to 0.95 work well. This affects the HUD and all UI elements.[/Script/Engine.Userinterfacesettings]
Applicatijаvascript-event-stripped0.85
Performance
Note: Ultra+ is designed to squeeze as much quality out of HL as possible, while staying as performant as possible. It often even fixes some low FPS problems and drops, by disabling unused or conflicting functionality in the engine, or by clamping raytracing settings.
However it is not a "fastest FPS" mod. With that said, there is a Balanced and Performance version included with every download, which many people have had success with.
As a rough guide, I have a 115W 3070 Ti 8GB and Intel 12650H CPU in my laptop, and...
...use Ultra+ Full:
- v4.x-streaming with no raytracing
- All settings Ultra
- I get super-consistent 50-80 fps depending on location
- At 1600p (2560x1600) DLSS Quality
- At 1600p DLAA I get 40-70 fps
...use Insane RT with raytracing:
- With RTAO, RT reflections, and RT water
-
- So all settings Ultra
- But Materials set to Cinematic quality (because Insane RT)
- I get super consistent 25-45 fps depending on location
- At 1600p DLSS Quality
- (Can't really use DLAA everywhere with my "little" card)
...use Insane RT without RT:
- v4.x-streaming with no raytracing
- Manually enabled r.SSGI.Enable=1 (screenspace ambient occlusion)
- So all settings Ultra
- But Materials set to Cinematic quality (because Insane RT)
- At 1600p DLSS Quality
- I get super-consisteent 40-60 fps depending on location
- I can use DLAA which gives 35-50 fps depending on location
For 30x0 and 40x0 series or equivalent, use Full or Insane (RT or not) ... depending on your FPS goals
For 10x0 and 20x0 series or equivalent cards, I would recommend Ultra+ Balanced (but you could go up or down, depending on your fps goals)
For lower cards, try Performance. Some people the game being playable even below their minimum system requirements.
v3.3
Only some people are having success with v4.x-streaming, so while I continue to work on this, I will continue to update the tried and tested version v3.x 😊
- Added Disable MPO, which lets you easily disable/re-enable Windows Multiplane Overlay, which can cause screen flickering. I'm still testing this but think it's worth including as some people (especially AMD) have reported screen flickering
- Updated with the latest colouring from v4.x-streaming. Both versions now look the same
- Increased the texture quality level to match v4.x-streaming
- Changed the HLOD method back to 0 to avoid texture pop-in. Note that in the end, game assets are set to try and fade in over 3 seconds, if you see them pop in it's your PC trying to keep up (even on high-end PCs, this Engine.ini will push it hard)
- Disabled raytraced directional shadows (same as v4.x) as they don't look as good as the rasterised directional shadows and can't be denoised at a sensible FPS cost
- Disabled r.Shadow.UnbuiltPreviewInGame (same as v4.x). This is a development option and should not be enabled in-game. It was causing hitching with lumos shadows, and the Merlin trial attracting fireflies into the stones, and has taken me forever to find!
- Removed D3D12.GPUTimeout which may cause instability
- Enabled Halton Distribution of grass loading, because it looks nicer
- As with v4.x I'm trying to increase the streaming temp memory from 120 to at least 512 (possibly higher), however this is not correctly reading from the Engine.ini and can only be set by console
- Increased r.Streaming.Boost to 2.0 (Insane only) to force textures to load in at higher quality
 25KB
25KB
UHG Reshade
4 presets in the archives - Cinematic, Colorful Cinematic, Vivid and now Realistic is added. ~10fps drop.
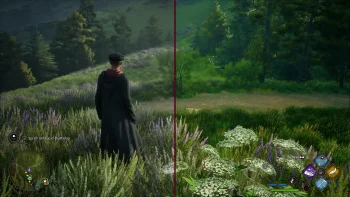
CHR Luminoso Reshade
This preset focuses mainly on global illumination plus more.
 1KB
1KB
Dilla's Hogwarts Legacy - CAS Two Time Pass Reshade
Added colourfulness, unsharp, cas and lightroom. Almost no fps / performance loss. Color reshade made for 8 bit monitors without HDR.
 2KB
2KB
Realistic ReSahde
A ReShade to get rid of the beige tint and make the game a bit more realistic.