RE4 Visual Overhaul - Your Perfect Reshade - Custom AO and GI (AIO)
")

IMPORTANT!
- REFramework is recommended as it fixes Reshade crashes
- For Nvidia GPU's, it is recommended to update to the latest Geforce Drivers
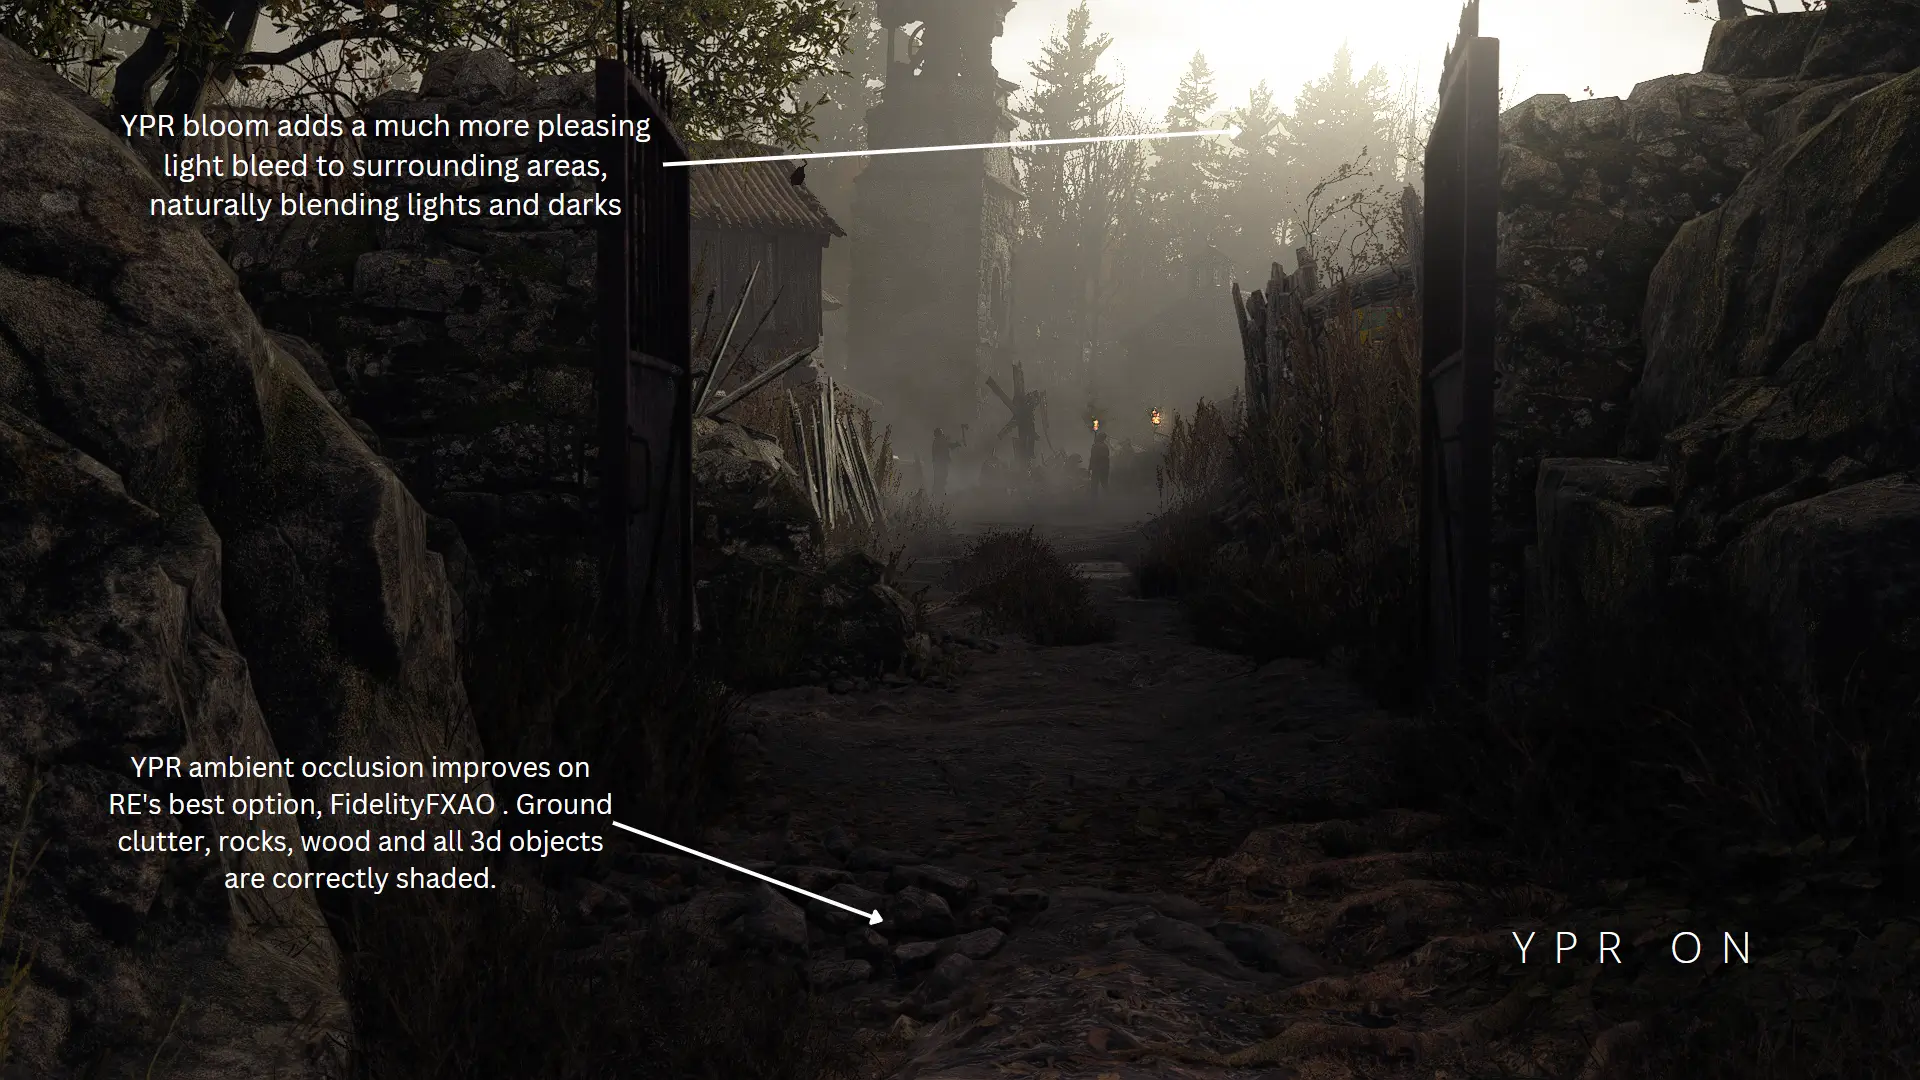
- Turn off in-game Ambient Occlusion and Bloom as this preset has it's own which is better quality.
Good day to you, survivors.
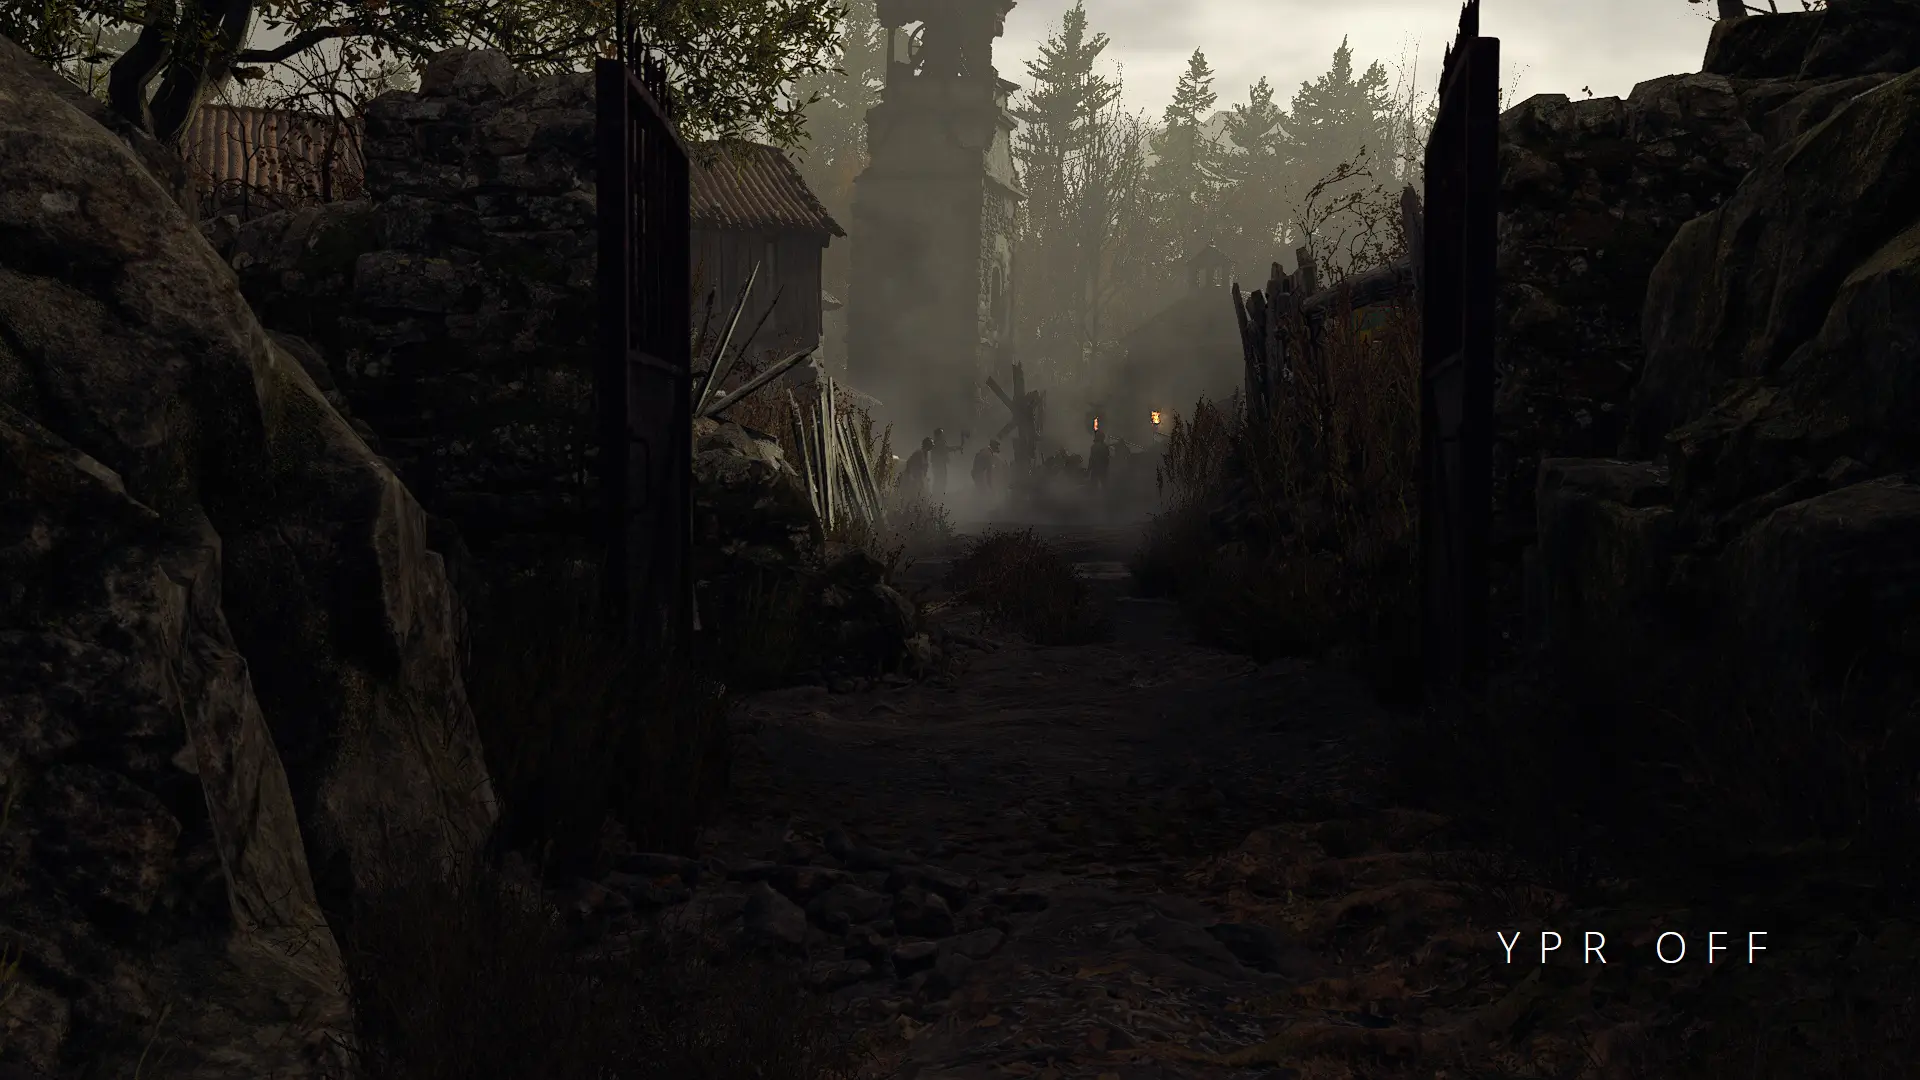
Welcome to Your Perfect Reshade. My sole focus here was to create a preset that balanced the overall visuals in RE4 and then allow each user to customise the Reshade to fit their personal perspective. The preset removes the blue tint, brightens the shadows and implements bloom and sharpening.
The issues I wanted to solve with my Reshade are as follows:
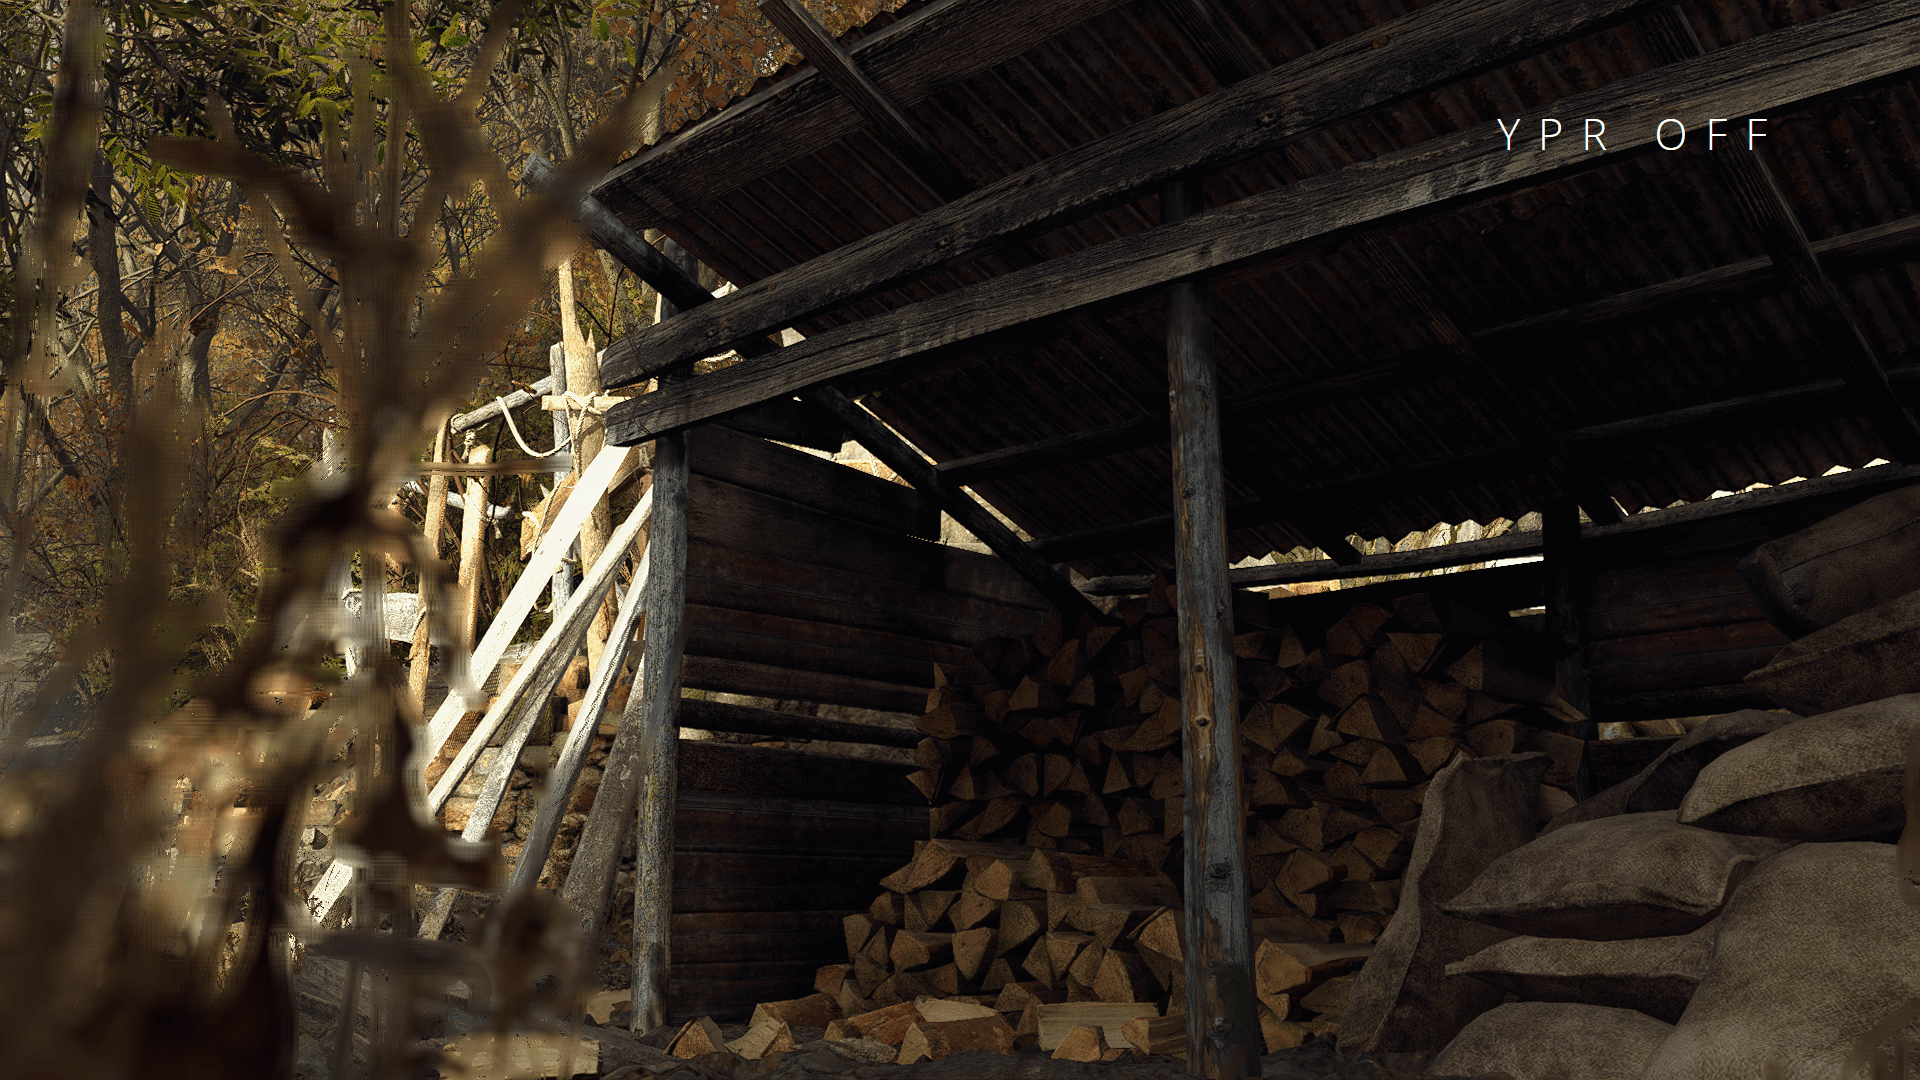
1. Lack of detail and clarity in textures.
2. Shadows are slightly too dark
3. The entire colour pallet has a blue tint applied which is an artistic choice
4. Low quality light spreading and bloom to blend bright and dark areas together
I will continue to update this mod but for now, here is the 1.0 version. I have all the instructions to install below, quick and simple, for beginners.
PERFORMANCE
This preset should not cost any noticeable FPS compared to Vanilla (with RE4 Bloom and Ambient Occlusion turned on) as I have only included the few necessary shaders needed which replace in game shaders at a higher quality
MY RESHADE CREATION PROCESS
1. Highlight areas to improve.
2. Test available options for each area (i.e sharpening, bloom, colour pallet) and choose 1 that has the best performance and achieves the desired result.
3. Avoid using multiple FX to save on performance.
4. Avoid extremities to better balance across all users devices
5. Provide a balanced, base preset with a guide for the user to then make their own changes to achieve their personal taste
COLOUR THEORY, PHYSICS AND IT'S APPLICATION IN GRAPHICAL MODIFICATIONS
Colour theory is vital when trying to achieve correct colour simulation. Here is a simple example of how it was used.
Clouds during the day are white. Clouds during sunset are pink. Why? During the day, light follows this path:
1. Light says "bye bye daddy/mummy" to sun and travels through space. Space is a vacuum, meaning it is void of any particles. Particles are what give light it's colour. This is why space is "black" and dark.
2. Light then enters the earth's atmosphere and is greeted by 2 main particles, Mr Hydrogen and Mrs Oxygen, which make sweet sweet light love and out pops lil h20 jnr :) I realise this is getting weird now....
3. o2 and h2o (water or water moisture) both reflect the hue blue. Why? I have no idea :) it isn't important, but this is why water and the sky is perceived as blue.
4. Clouds particles are so dense but not in a singular form, like water that as the light passes through the cloud, and the millions of particles, it loses a bit of colour each time. Once colour is absent, all that is left is white or black if there is no light. This is why clouds are white in the day.
However, when the sun is setting, it's light enters from under the clouds and its our eye receptors without being desaturated by the cloud. So the orange fire light from the sun travels through the blue atmosphere. Orange + Blue = Pink as shown below using a colour wheel.
https://imgur.com/a/MA8l1Xi
This is a simple use of colour theory but vital for achieving actual realism in lighting and colour.
Hopefully, for any one else wanting to create graphical mods, or any media that uses these concepts, this small guide should be helpful in laying out the thought process.
SIMPLE INSTALL INSTRUCTIONS
Drag and drop the files provided in to your Skyrim game folder:
reshade-shaders (folder)
ReShadePreset.ini
ReShade.ini
dxgi.dll
This is where you will find the folder to put the files in:
SteamLibrary\steamapps\common\RESIDENT EVIL 4 BIOHAZARD RE4
If you still can not find the "game" folder, don't worry. Adam's got you <3 Follow these instructions:
1. Go onto Steam and click on Resident Evil 4. In the top right hand corner, click on the "settings" button (looks like a cog)
3. Click on properties
4. Go down to LOCAL FILES
5. Click on Browse
6. Voila!!! There is the beautiful game folder. Click on that sonny Jim!
7. Copy and Paste the 4 files above into this folder.
8. Now sit back and forget about the real world for a few hours....days....
KEYS
- Open/Close Reshade Menu (HOME)
- Turn OFF/ON Reshade (PG UP)
- Turn OFF/ON Reshade Performance Mode (PG DN)
EDITING YOUR OWN RESHADE
To edit this reshade preset:
1. Copy and paste the current "RE4_YPR_1.0.ini" preset file and rename it to what ever you like
2. Launch game
3. Press "HOME" button to open the reshade menu
4. At the top of the menu, click the drop-down tab and find your renamed preset
5. Make sure "Performance Mode" is off by pressing "PG DN" button, to allow editing.
6. If you mess it up, you can always go back to my preset and start again because you COPY and PASTED
SEND ME YOUR PHOTOGRAPHY
I always enjoy including the community in my graphical mods, so I have opened up this mod page for submissions of your images. If I like it, it will be posted on the main page with your name. So get those cameras out and start snapping :)
Extra Help and Recommendations? Feel free to leave me any comments or questions and I will get back to you ASAP.
Thanks guys,
Enjoy!
Adam
 4KB
4KB
Resident 2.0 Reshade
Reshade focuses on contrast sharpening and color perception
 16.4MB
Essential REshade
Lightweight - boost color sharpness exposure and deband
 42.9MB
Wugonorama's RE4 Darker n Sharper
This is a Reshade that attempts to give your game a new vibe, it sharp the textures, it makes shadows more darker, adds ambient light etc
 2KB
2KB
X's RE4 Reshade
Clear up the image while maintaining a dark tone with this reshade.