UPK Explorer for UE3 v2.2.2.0

This tool is compatible with most Unreal Engine 3 games (and their DLCs) and will allow you to:
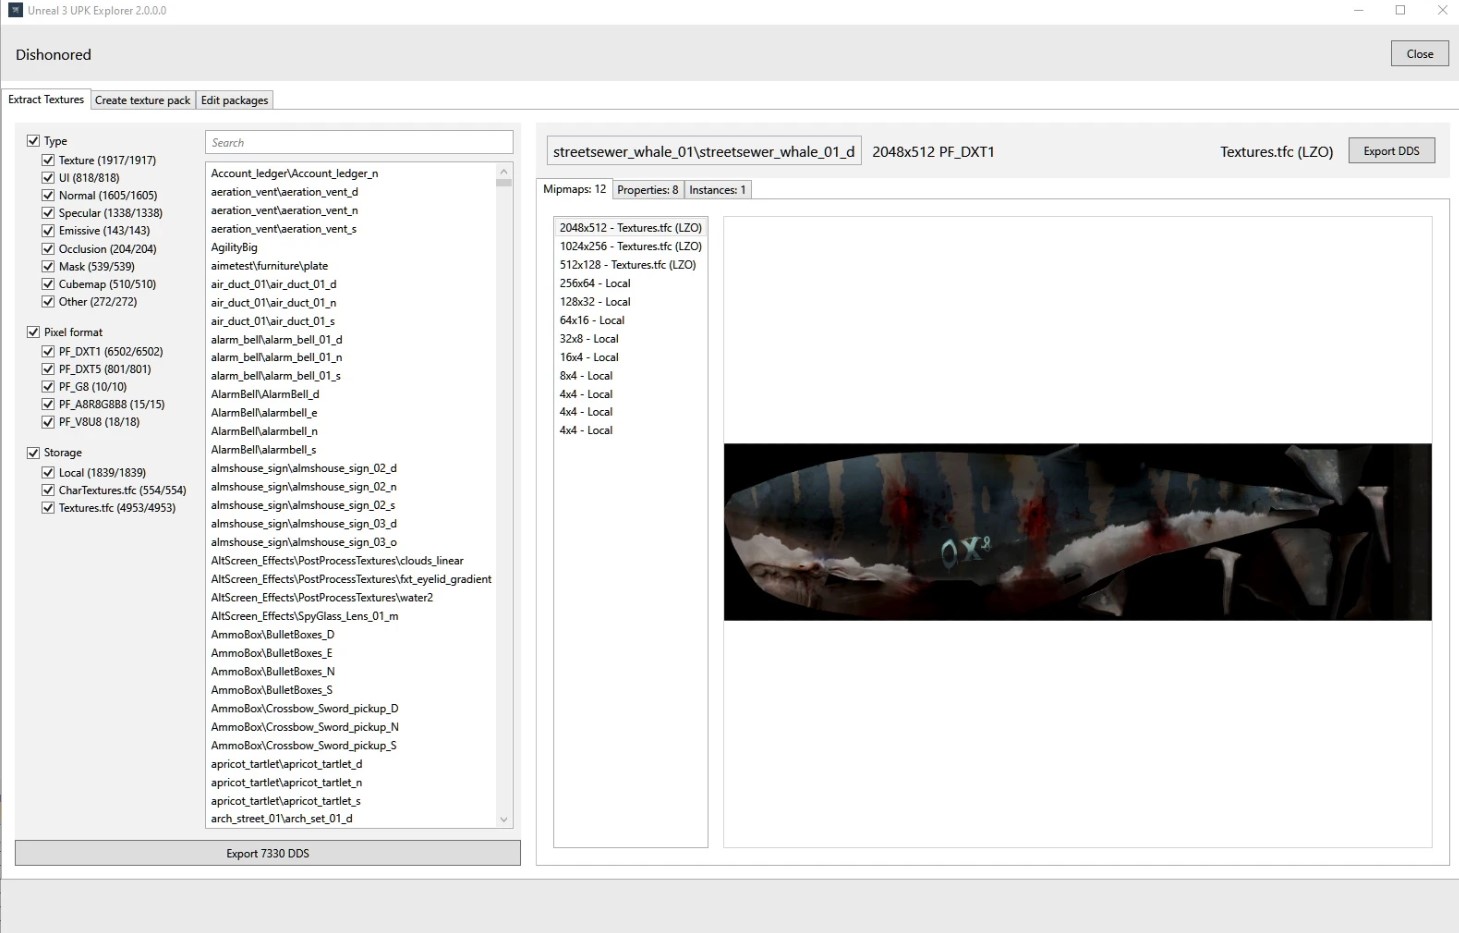
- Export textures as DDS files
- Create texture packs from your modified textures. The texture packs are installed with another tool called TFC installer. Mod users will need this tool to install your texture pack. The original package compression will be preserved.
- Create HD texture packs (upscaled textures are supported)
- Advanced mode: Inject textures directly into a new package (useful for creating custom DLC skins in certain games)
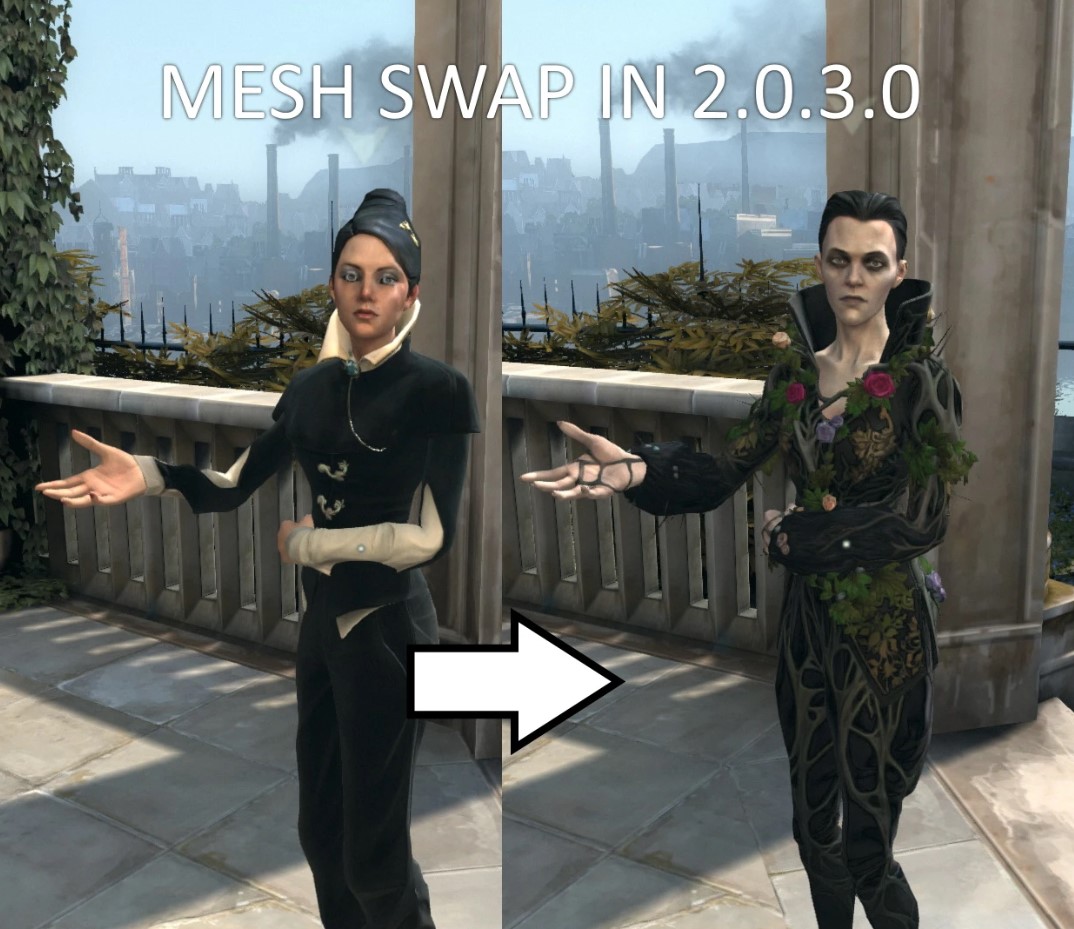
- Advanced mode: Import/export objects (can be used to swap meshes, materials etc... but not everything will work!)
- Advanced mode: Package Editor: Rename objects, modify object properties / name table / imports table and save a copy of the package. The original package compression will be preserved.
Check the instructions in the exe's "Documents" folder
What's new in 2.2.2.0?
- FBX Export for static and skeletal meshes lods
- Diffuse textures (experimental) and mesh info in mesh preview
- UV Map in mesh preview
- Rotators yaw, pitch and roll are now edited in degrees
- Support for XCom2 War of the Chosen (PC)
- Mesh support for Alpha Protocol (PC)
- Limited support for Nintendo Switch games (wip)
- Limited support for Nintendo WiiU games (wip)
- Various bug fixes and improvements
How to use:
Step 1: Set a working folder
The first thing to do is to set a working folder, for example c:\Workspace.
This is where file will be exported to, and textures will be imported from
Step 2: Open a package or open the game folder to view all textures at once
Select advanced mode, and open the package you want to work with, from your game installation folder.
Step 3: Export textures
Step 4: Inject textures
Once you've exported and edited your textures, put them in Working Folder\Game\Imports\[Texture Format] (texture formats MUST match)
Then go to the inject textures tab, click inject and save copy.
You should close the package at this point. If you need to modify object properties, open the newly created copy.
Step 4: Editing object properties (Optional)
To edit object properties you must be in Advanced Mode, go to edit package. Here you will be able to replace strings within the name table, including lengthening strings should you wish. In the objects tab you'll find the objects editor on the right. This is how you will edit properties and materials.
Once finished, click save, remove any _copy suffix and replace the original file. You should now see your mod ingame.
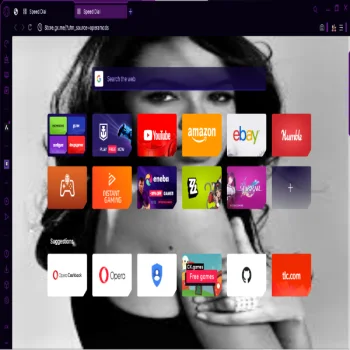
Aaliyah Opera GX Browser Extensions
Aaliyah for Opera GX Browser Extensions is the ultimate vibe for your online experience, bringing that smooth, stylish energy straight to your browser.

Megan Thee Stallion Mod For Opera GX Browser
Introducing the Megan Thee Stallion Mod for Opera GX Browser, brought to you by BlueLunarRose! This mod is a must-have for any fan of the iconic rapper and is sure to take your browsing experience to the next level.
 23 MB
23 MB
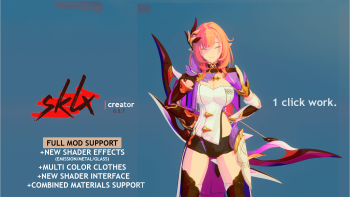
Sklx-Creator 0.5.7
Plugin for importing characters from games.
 15,8 Mb
KMSAuto Net 1.5.4 (2022) (working activator for Windows 10, 11, 8.1,
Program version: 1.5.4 Official site: Ru.Board Program author: Ratiborus Interface language: Russian, English, Ukrainian, Spanish, Vietnamese Treatment: not required