Virtual Car Dealer v2.1.1
Info
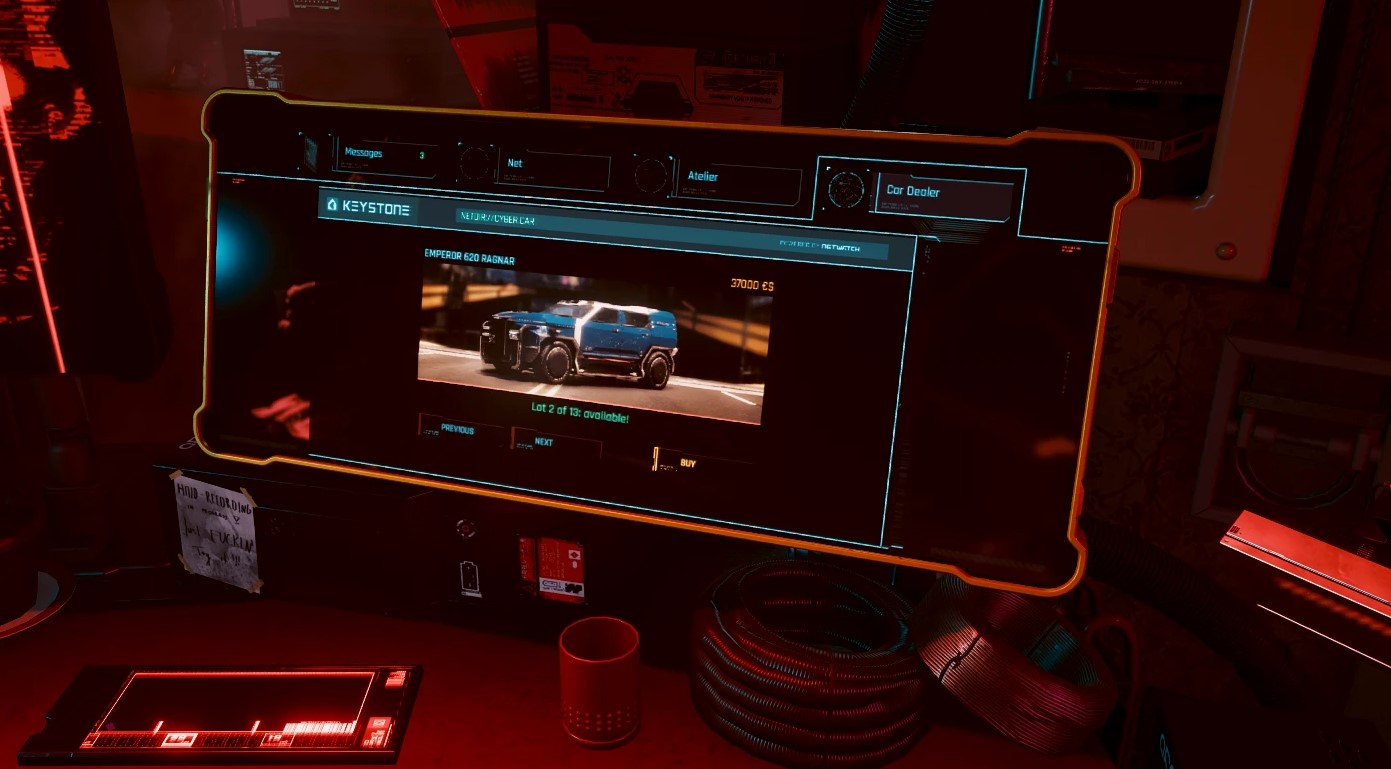
Virtual Car Dealer adds a new in-game store which you can access from PC in any of your appartments (the same way like Virtual Atelier does). It checks if any supported vehicle mods installed and just displays all detected records as purchasable cars.
For modders - Adding a new car
The only requirement here is that you have your car defined with TweakXL. Virtual Car Dealer searches for a few flats defined for vehicle record and adds a new purchasable item if records were found:
- dealerPrice - vehicle selling price - Int
- dealerCred - required Street Cred to unlock purchase - Int
- dealerAtlasPath - path to inkatlas resource for full vehicle preview image - String
- dealerPartName - texture part name inside inkatlas - String
- dealerVariants - additional color variations for base vehicle record - array of Strings
For example if you made a new vehicle with id Vehicle.my.custom_vehicle (and appended it to Vehicle.vehicle_list.list) then new lines might look like this:Vehicle.my.custom_vehicle.dealerPrice: 123000
Vehicle.my.custom_vehicle.dealerCred: 20
Vehicle.my.custom_vehicle.dealerAtlasPath: "base/gameplay/gui/common/icons/codex/assets_fullscreen25.inkatlas"
Vehicle.my.custom_vehicle.dealerPartName: "v_makigai_maimai_basic_suburban_05_full"
And if you are making color variations then declare dealerPrice, dealerCred and dealerVariants for base record and separate dealerAtlasPath and dealerPartName for each color variant and then append color variations records to Vehicle.vehicle_list (but not the base record). Example:Vehicle.my.custom_vehicle.blue.dealerAtlasPath: "your/path/to/inkatlas.inkatlas"
Vehicle.my.custom_vehicle.blue.dealerPartName: "your_blue_preview_icon"
Vehicle.my.custom_vehicle.green.dealerAtlasPath: "your/path/to/inkatlas.inkatlas"
Vehicle.my.custom_vehicle.green.dealerPartName: "your_green_preview_icon"
Vehicle.my.custom_vehicle.dealerPrice: 123000
Vehicle.my.custom_vehicle.dealerCred: 20
Vehicle.my.custom_vehicle.dealerVariants:
- "Vehicle.my.custom_vehicle.blue"
- "Vehicle.my.custom_vehicle.green"
# And somewhere in your tweak file
Vehicle.vehicle_list.list:
- !append t"Vehicle.my.custom_vehicle.blue"
- !append t"Vehicle.my.custom_vehicle.green"
For my sample cars pack I used previews from codex which have size 1860x609 so it is better to make something similar (or you can reuse codex images as well). Previews for vehicle summoning widget should have 470 px width.
How to install
- Download and install all required files
- Download the mod archives and unpack both to the game folder
How to uninstall
- Delete Cyberpunk 2077\r6\scripts\VirtualCarDealer folder
- Delete Cyberpunk 2077\r6\tweaks\VirtualCarDealer folder
- Delete VirtualCarDealer.archive and VirtualCarDealer.archive.xl from your Cyberpunk 2077\archive\pc\mod folder.
Translation
If you want to translate the mod to your own language, then download Translation sources archive, open vdealer.json with any text editor (I would recommend Notepad++) and translate only lines with "femaleVariant" key (sample screenshot from other mod, text which you should change marked with yellow). After that check the code for your language here at the table below and send translated file back to me.
Currently supported languages:
- English
- Russian
- French (credits to Unseen Unit)
- Traditional Chinese (credits to hansdofer)
- Polish (credits to george173)
- Spanish (credits to iguruspain)
- Italian (credits to NarakuITA)
- Turkish (credits to CalvinQuantine)
- Brazilian Portuguese (credits to F4xUu)
- Japanese (credits to onepkvn1)
- Simplified Chinese (credits to HarryGu)
- Czech (credits to Starfis)
- German (credits to Somerov)
Credits
- jekky for the redscript compiler
- WopsS for RED4ext
- psiberx for codeware and stuff
- e256 for a huge help with textures, testing and support
- Alien for inkatlas-utils photoshop plugin
